

You’ve just unboxed a new X-Acto knife, and you’re ready to start cutting paper, stencils, or detailed art pieces. But the razor-sharp blade feels intimidating, and you want to avoid mistakes or injury. Knowing how to use an X-Acto paper cutter properly is the key to achieving clean lines and staying safe every time you craft.
The X-Acto precision knife is a favorite tool among artists, students, and DIY crafters because it delivers accuracy that scissors simply cannot match. With the right setup, blade choice, and cutting technique, you can handle everything from straight trims to intricate curves. This complete guide covers workspace setup, blade installation, cutting methods, troubleshooting, and maintenance so you can get professional results from your very first cut.
Prepare Your Workspace for Safe Cutting
A well-organized workspace protects both you and your project. Before inserting any blade, take a few minutes to set up the right environment.
Use a Self-Healing Cutting Mat
Always cut on a self-healing cutting mat. This surface prevents your table from getting scratched and keeps the blade sharper for longer. A standard 12″ x 18″ mat provides enough room for most paper crafting projects.
Gather the Right Tools Nearby
Keep these essentials within reach before you start:
– Metal straightedge or ruler for guiding straight cuts
– Low-tack tape or weights to hold paper in place
– Replacement #11 blades for consistent sharpness
– Blade removal tool if your model includes one
Wear Protective Gear When Needed
For extended sessions or detailed work, consider wearing cut-resistant gloves. Always position your hands so the blade moves away from your fingers and never toward your body.
Install the Blade the Right Way
A secure, properly aligned blade gives you better control and prevents dangerous slips.
Choose a Compatible Blade
Most X-Acto handles, especially the classic #1, use #11 precision blades. These triangular-pointed blades are ideal for clean paper cuts. Confirm compatibility by checking your product manual or packaging before inserting.
Insert the Blade Step-by-Step
- Unscrew the cap or barrel from the knife handle to open the chuck.
- Slide the blade into the metal chuck, aligning the flat side with the set screw.
- Tighten the chuck by hand just until snug. Do not over-tighten.
- Gently tug the blade to confirm it does not wiggle.
🔧 Pro Tip: If your kit includes a small Allen wrench or tightening tool, use it to secure the set screw. This prevents loosening during heavy use.
Master the Basic Cutting Techniques
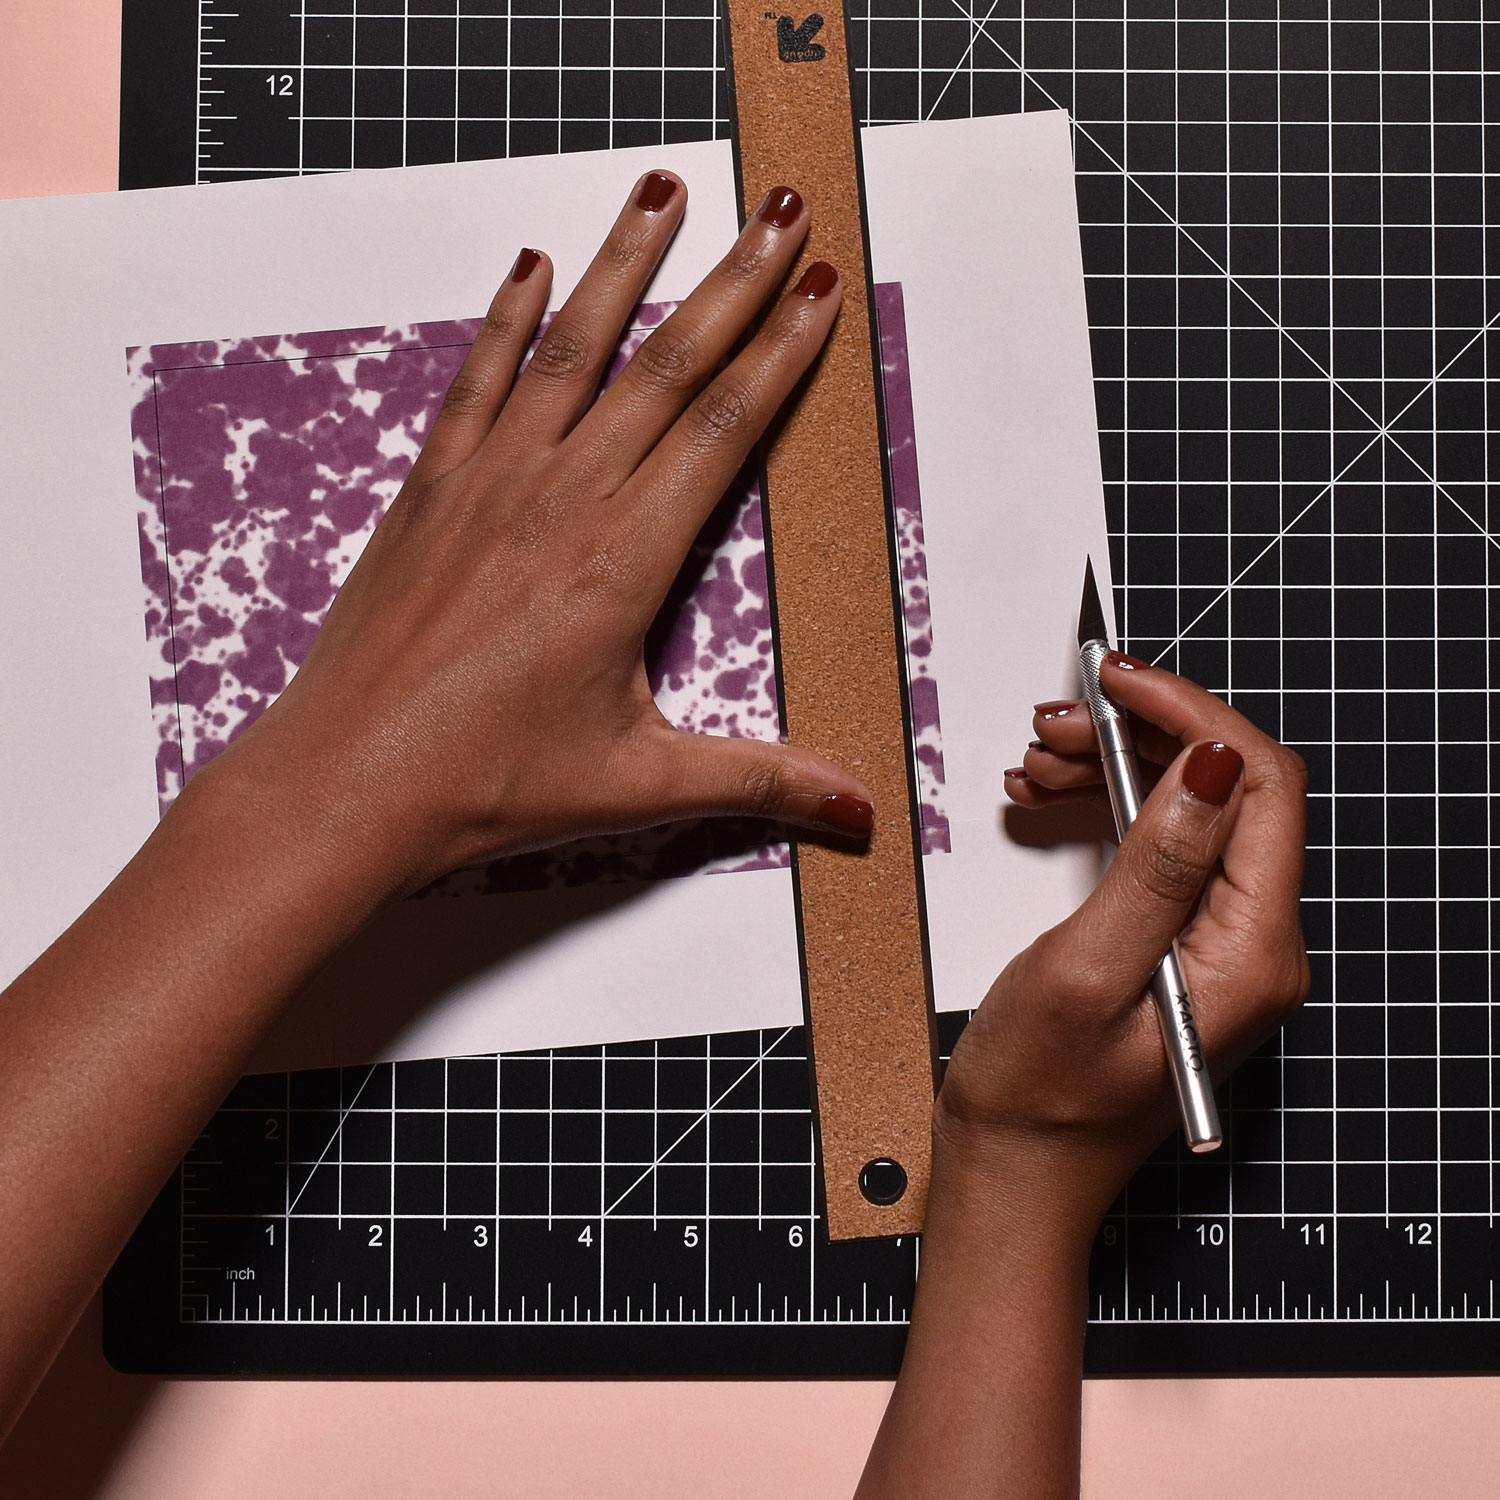
Clean cuts come from steady hands and consistent pressure, not brute force.
Cut Straight Lines with a Ruler
- Secure the paper with tape or small weights so it cannot shift.
- Place a metal ruler along your marked cut line. Metal is safer because the blade will not catch on its edge.
- Hold the ruler firmly with your non-dominant hand, keeping your fingers curled away from the blade path.
- Use short, repeated strokes instead of one long drag.
- Let the blade glide along the ruler’s edge with light, even pressure.
⚠️ Safety Note: Avoid cutting freehand over long distances. This creates wavy lines and increases hand strain.
Handle Curves and Intricate Shapes
For stencils, lettering, or organic shapes, use a different approach:
– Rotate the paper with your free hand to maintain a comfortable blade angle.
– Use small, controlled movements rather than long sweeping cuts.
– Change blades frequently when working on tight curves, since dull blades can catch and tear the paper.
Score Thick Materials Before Cutting
When cutting cardstock, mat board, or layered paper:
– Make a light first pass to score the surface.
– Follow with deeper strokes until the blade cuts all the way through.
– This prevents tearing and produces smoother edges.
Solve Common Cutting Problems Fast
Even experienced users run into issues. Here is how to fix the most frequent problems.
Blade Cuts Unevenly or Tears the Paper
Check Blade Sharpness
Replace dull blades immediately. A dull tip requires more pressure, which increases slip risk and hand fatigue.
Confirm Blade Alignment
A misaligned blade pulls to one side and ruins straight cuts. Make sure the tip is centered and the blade is not bent.
Secure the Paper
Shifting material is one of the top causes of jagged edges. Use low-tack tape or a non-slip mat to keep paper in place.
Blade Feels Loose in the Handle
If the blade wobbles during use:
– Tighten the chuck using the included tool or a small screwdriver.
– Inspect the blade for chips or damage and replace if needed.
– Avoid over-tightening, which can strip the internal threads.
Replace Blades Safely and Easily
Swapping blades takes seconds, but always handle them with care.
Remove the Old Blade
- Use the built-in blade remover found in the cap of most X-Acto #1 handles.
- Slide the blade into the slot and pull it out using a pliers-like motion.
- Never touch the blade directly with your fingers.
Install a Fresh Blade
Follow the installation steps listed above. Always store used blades in a dedicated metal container or blade bank to prevent injuries during cleanup.
🗑️ Safety Reminder: Never throw loose blades into a regular trash can. A proper sharps container keeps your home or studio safe.
Clean and Store Your X-Acto Knife
Routine care extends the life of your tool and keeps every cut smooth.
Clean After Every Use
Wipe the blade and handle with a dry cloth to remove dust and debris. For sticky residue:
– Use isopropyl alcohol on a cotton swab.
– Avoid soaking the handle, since moisture can loosen internal parts.
Store in a Dry, Safe Place
- Keep the blade cap on when the knife is not in use.
- Store in a tool roll or case to protect the tip and prevent accidents.
- Keep your knife in a dry area away from humidity.
Adjust Your Technique for Different Materials

X-Acto knives work on more than just standard paper. Here is how to handle other common craft materials.
Cardstock and Illustration Board
Use a fresh blade and score the surface first. Apply consistent, moderate pressure for the cleanest results.
Foam Sheets and Craft Foam
Tilt the blade slightly to prevent tearing. Cut in one direction only, since sawing back and forth damages foam.
Plastic Sheets Like Acetate
Use slow, steady strokes and support the material fully underneath. This prevents flexing that can crack the plastic.
❌ Do Not Cut: Metal, thick wood, or laminated surfaces. These materials can shatter the blade or damage the tool permanently.
Prevent Injuries While You Work
Safety habits keep you crafting for years to come.
Always Cut Away from Your Body
Position your hands so that a slip directs the blade away from skin. Never pull the knife toward yourself.
Keep Fingers Out of the Blade Path
For very small pieces, use a push stick or holding tool instead of gripping the material with your fingers.
Take Short Breaks
Hand fatigue reduces control. Pause every 10 to 15 minutes during long sessions to stretch and reset your grip.
Extend the Life of Your Blades and Tool
Smart habits save money and improve performance.
Rotate Blades Often
Switch to a fresh blade as soon as you notice drag, fuzziness, or uneven cuts. Most crafters replace blades every 15 to 20 minutes during heavy use.
Never Use the Knife for Prying
Avoid using your X-Acto as a screwdriver or pry bar. This bends or snaps the blade instantly.
Match the Handle to the Task
- #1 Handle: Best for fine paper cutting and detail work.
- #2 or #3 Handle: Larger grips for extended sessions.
- Swivel Knives: Ideal for curves and continuous patterns.
Choose ergonomic models if you craft often to reduce strain.
Troubleshoot Persistent Cutting Problems
If your cuts still look off, try these targeted fixes.
Paper Tears at the Start of the Cut
Begin the blade on the paper surface, not at the very edge. Starting at the edge can cause the tip to catch and rip the material.
Edges Look Jagged or Fuzzy
Uneven pressure is usually the cause. Use light, consistent strokes and replace the blade if fuzziness continues.
Blade Skips or Slides Across the Paper
Loose material is the most common cause. Re-secure the paper with tape and confirm your ruler is held firmly in place.
Final Tips for Professional-Quality Results
A few extra habits can take your work from good to great.
Use a Light Box for Tracing
Place your design over a light box and trace with the X-Acto for perfectly aligned stencils or overlays.
Mark Cut Lines with a Soft Pencil
Light pencil lines guide your blade and erase cleanly afterward.
Practice on Scrap Paper First
Test your angle, pressure, and grip on scrap material before working on your final project.
Frequently Asked Questions About the X-Acto Paper Cutter
What type of blade does an X-Acto paper cutter use?
Most X-Acto knives use standard #11 precision blades, which feature a sharp triangular tip ideal for clean paper cuts. Some models also accept #10 blades. Always check your product manual for exact compatibility.
How often should I replace the blade?
Replace the blade whenever you notice drag, tearing, or uneven edges. During heavy use, this can be as often as every 15 to 20 minutes. For light craft work, blades may last several sessions.
Can I use an X-Acto knife on materials other than paper?
Yes. X-Acto knives work well on cardstock, craft foam, acetate, and thin plastic sheets. They are not designed for woodworking, metal, or laminated surfaces, which can damage the blade and the tool.
How do I tighten a loose X-Acto handle?
If the handle feels loose, use a small Allen wrench or the included tool to tighten the set screw inside the chuck. Be careful not to over-tighten, since this can strip the threads.
What is the safest way to dispose of used blades?
Store used blades in a metal container or dedicated blade bank until you can dispose of them properly. Never throw loose blades into a regular trash can where they can cause injury.
Where can I buy replacement X-Acto blades?
Replacement blades are available at craft stores, major online retailers, and directly through the X-Acto website. Buying in bulk packs is more cost-effective for frequent crafters.
Key Takeaways for Using an X-Acto Paper Cutter
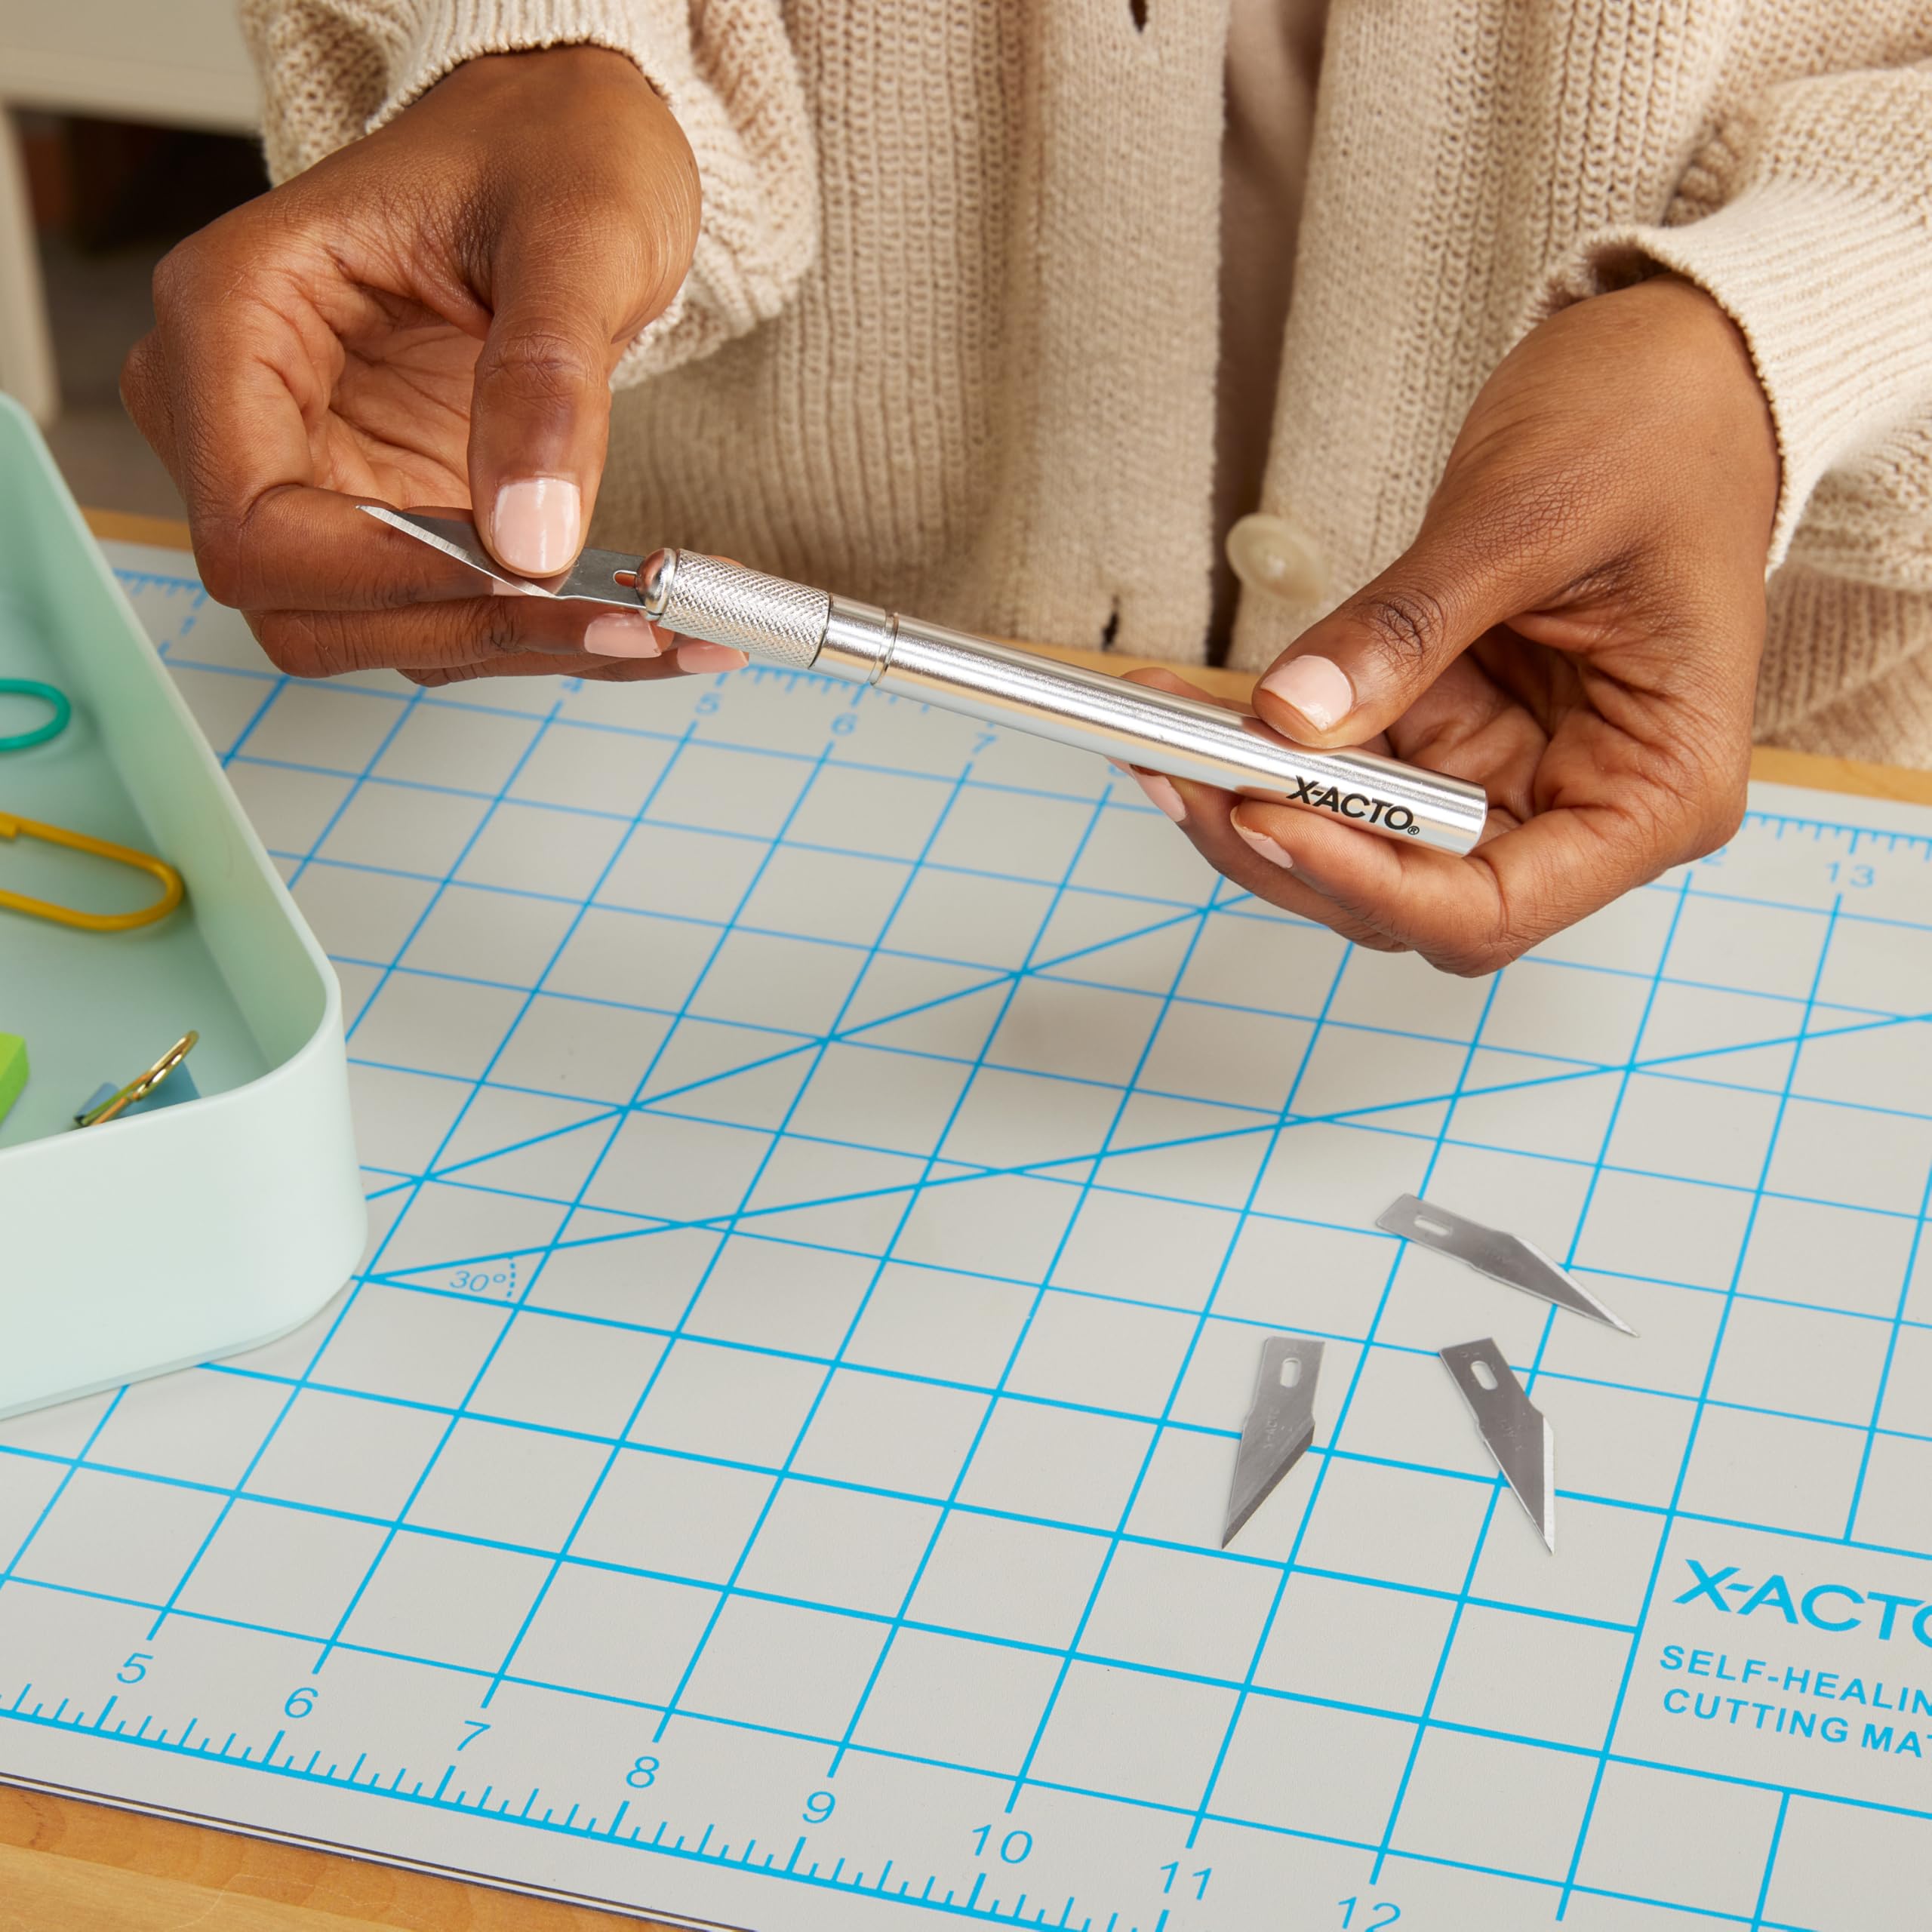
Learning how to use an X-Acto paper cutter comes down to three essentials: a safe workspace, a sharp blade, and steady technique. Always cut on a self-healing mat, replace blades at the first sign of dullness, and let short repeated strokes do the work instead of forcing the knife. With these habits, you will produce clean, professional cuts on every project while keeping your hands safe.
Your next step: Gather your cutting mat, a fresh #11 blade, and a piece of scrap paper. Practice the straight-line and curve techniques described above, and you will feel confident in your X-Acto knife within minutes. For model-specific questions or warranty support, visit the XActo Support Portal or contact their team directly.