

You don’t need a specialized binding machine to use plastic combs. Hand-binding reports, presentations, or notebooks is possible with simple tools and a bit of technique. Many people assume that comb binding requires expensive equipment, but learning how to use binding combs without a machine is a practical skill for students, small business owners, or DIY crafters working on tight budgets. Whether you’re assembling a project at home or need a quick fix without access to a machine, manual methods can produce clean, professional-looking results.
This guide walks you through every step, from hole punching to inserting and closing the comb, using only everyday tools. You’ll learn how to align pages perfectly, punch clean holes, open combs by hand, and secure them tightly so your document stays intact during use. With the right approach, you can achieve durable, flip-friendly bound documents that rival machine-bound versions.
Essential Tools for Manual Binding
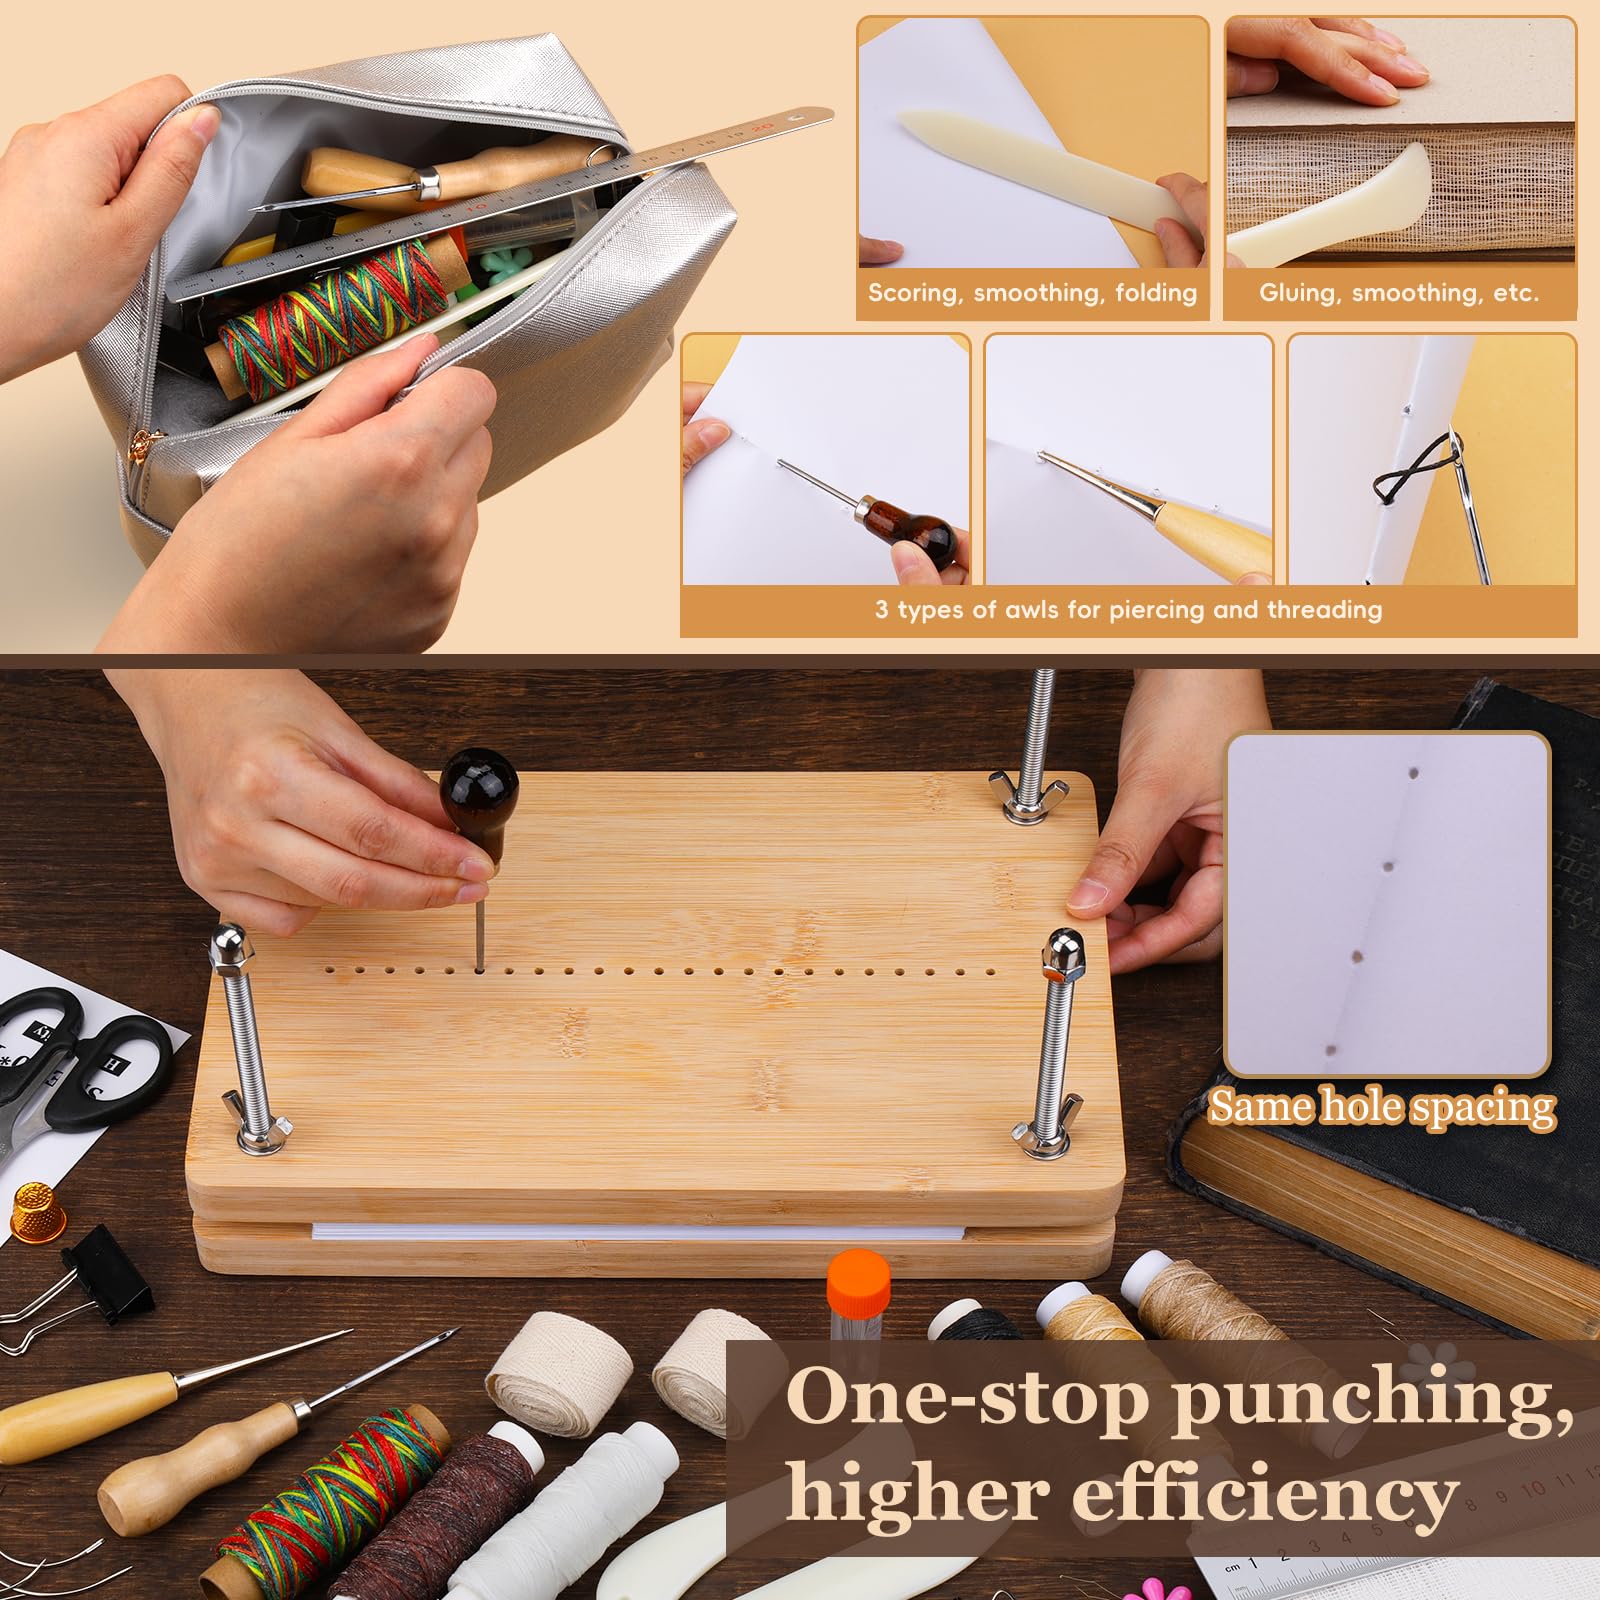
Before diving into the binding process, gather the basic supplies needed to use binding combs without a machine. While you won’t have automated hole alignment or comb crimping, these tools make the job faster and more precise.
Gather Required Supplies
You will need:
– Plastic binding combs sized for your document’s page count
– Three-hole punch or multi-hole punch with standard 3:1 pitch for combs
– Flathead screwdriver or coin
– Pliers (needle-nose preferred)
– Ruler or paper clamp
– Scissors or comb cutter (optional)
Choose a punch that matches the comb’s spacing. Most standard combs use 3:1 pitch, which means three holes per inch. If your punch doesn’t align with the comb’s prongs, the binding won’t close properly.
Prepare Your Document Pages
Stack all pages in the correct order and ensure they’re trimmed evenly. Misaligned edges lead to crooked holes and an unprofessional finish. Use a paper clamp or binder clip to hold sheets together firmly before punching. This prevents shifting and ensures all pages get punched in the exact same position.
For best results, limit stacks to 20 to 30 sheets depending on paper weight when punching manually. Thicker stacks increase resistance and may result in partial punches or misaligned holes.
Accurate Hand Hole Punching
Proper hole alignment is critical when you’re using binding combs without a machine. Since there’s no guide rail or margin control, precision comes from preparation and consistency.
Align and Secure the Paper Stack
Place your clamped stack against a flat, hard surface. Use a ruler to check that all edges are flush. If the top or side corners flare out, realign and re-clamp. Even a small shift can throw off hole placement across the stack.
Position the paper so the binding edge is easily accessible and the punch won’t hang off the table. A slight overhang helps apply full pressure during punching.
Punch Holes One Section at a Time
If your punch struggles with thick stacks, divide the document into smaller batches of 10 to 15 sheets. Punch each batch separately, keeping the alignment consistent by using the first batch as a template.
After punching the first set, place it under the next and align the holes visually before clamping. This registration method ensures all pages line up perfectly when assembled.
Pro Tip: Mark the top of each sheet with a small dot before disassembling batches. This prevents accidental flipping or reversal during comb insertion.
Open the Binding Comb by Hand
Since you don’t have a machine to spread the comb’s teeth, you’ll open it manually. This step is crucial because improper opening leads to torn pages or misfeeds.
Use a Flathead Screwdriver to Spread Teeth
Insert the tip of a flathead screwdriver between the center tines of the closed comb. Gently twist the screwdriver like a lever to widen the gap. Rotate the comb and repeat at both ends to ensure even opening.
Avoid forcing the screwdriver too far, as it can crack the comb spine. Work slowly and apply steady pressure rather than sudden force.
Expand Fully with Needle-Nose Pliers
Once the center is open, grip one end of the comb with needle-nose pliers and pull outward while holding the other end steady. This stretches the comb uniformly along its length.
Keep the comb straight as you pull to maintain alignment. A bent or warped comb won’t feed smoothly through the holes.
Warning: Do not heat the comb (for example, with a hairdryer) to soften it. This can deform the plastic and weaken the binding.
Insert the Comb Through Document Holes

With the comb open and your pages punched, it’s time to thread them onto the spine. This step requires patience and steady hands.
Feed Pages Onto the Open Comb
Hold the document vertically with the punched edge facing up. Align the open comb with the bottom hole and begin sliding the tines upward into the first page.
Once the first page is on, continue feeding the remaining pages one by one, keeping the edges aligned. Let gravity help by holding the comb at an angle so the pages slide down onto the spine naturally.
Maintain Page Alignment During Feeding
If pages shift during insertion, stop and re-flush the stack. Misaligned pages will cause uneven tension and may tear when the comb closes.
Use your non-dominant hand to stabilize the growing stack below while adding new pages from the top.
Expert Note: For thicker documents, insert half the pages on one end of the comb, then feed the other half from the opposite side. Meet in the middle to reduce strain on the plastic.
Close the Comb Securely by Hand

After all pages are threaded, the final step is closing the comb to lock everything in place. A loose closure means pages can fall out.
Pinch Ends First with Fingers
Start by pressing the two ends of the comb together with your thumbs and fingers. The plastic should snap back partially into its closed position.
This initial pinch prevents the comb from unraveling while you work on the rest.
Flatten the Entire Spine with Pliers
Run the needle-nose pliers along the length of the comb, squeezing gently but firmly at 1-inch intervals. Work from one end to the other, ensuring all tines are fully closed around the paper.
Apply even pressure so you don’t crush the spine, but make sure there are no gaps where paper could slip out.
Visual Cue: A properly closed comb lies flat and shows no visible paper between the tines. Run your finger along the edge. If it catches, re-squeeze that spot.
Troubleshooting Common Issues
Even with care, problems can arise when using binding combs without a machine. Here is how to fix them quickly.
Pages Won’t Fit on the Comb
This usually means the comb isn’t opened wide enough or the holes are misaligned.
- Re-check hole alignment across all pages
- Re-punch any misaligned sheets using a single sheet as a guide
- Fully re-open the comb using both screwdriver and pliers
If the paper resists sliding on, back off and re-flush the stack. Forcing it may tear pages.
Comb Won’t Stay Closed
A comb that springs open indicates incomplete closure or damage.
- Re-squeeze the entire length with pliers
- Check for cracked or warped sections and replace the comb if found
- Ensure you’re using the correct comb size for your page count, since overfilled combs resist closing
Uneven Spacing or Twisted Binding
This happens when pages shift during insertion.
- Disassemble and re-feed pages, maintaining edge alignment
- Use a corner clamp to hold pages square before and during binding
- Insert pages slowly, pausing to adjust alignment every few sheets
Alternative Methods for Emergency Binding
If you lack proper tools, try these improvised techniques to use binding combs without a machine.
Coin-Based Comb Opening
No screwdriver available? Use a quarter or similar coin.
Insert the coin edge-first between the tines and twist gently to create an initial gap. Then switch to pliers for full expansion.
This method works best on smaller combs up to 1/2 inch in diameter.
Manual Punch Alignment Trick
Need an alignment guide? Create one yourself.
Punch a single sheet, then place it behind your stack while aligning it perfectly. Shine a bright light behind it so the holes cast shadows. This helps you position the punch accurately on the remaining sheets.
Maintenance and Storage Tips
Once bound, protect your document and extend its life with simple care.
Flatten Stored Documents
Always store comb-bound documents spine-up or flat, never bent open. This prevents stress on the plastic teeth and keeps pages from detaching over time.
Avoid stacking heavy objects on top of bound documents.
Reopen Combs for Edits
Need to add or remove pages? Use the screwdriver method to re-open the comb slightly. Slide pages off, make changes, then re-close by hand. Most combs survive 1 to 2 reopenings before weakening.
Limitation: Repeated opening weakens plastic. For frequently updated documents, consider spiral coils instead.
Frequently Asked Questions About Using Binding Combs Without a Machine
Can I really bind a document well without any machine?
Yes, you can produce clean, professional results manually. The key is careful hole alignment, slow comb feeding, and thorough closing. While it takes more time than a machine, the finished product holds up well for reports, notebooks, and presentations.
What size comb should I use for my document?
Choose a comb diameter that matches your page count. As a general rule, add about 1/8 inch of capacity for every 25 sheets of standard paper. Most suppliers provide sizing charts based on sheet count and paper weight.
How do I know if my holes are punched correctly?
Check that the holes match the spacing of your comb’s tines. Place the comb against the punched edge. Every tine should align with a hole with no overlap or gap. If holes are too close together, pages won’t lie flat when turned.
Can I reuse a binding comb after removing it?
Yes, combs can be reused if they aren’t cracked or permanently warped. Open them slowly with a screwdriver and pliers, remove the pages, and close them gently when finished. Most combs handle 1 to 2 reuse cycles before weakening.
What if I don’t have needle-nose pliers?
Regular pliers work in a pinch, though they offer less precision. You can also use two flathead screwdrivers, one on each end, to spread the comb outward. Work slowly to avoid snapping the spine.
Is there a faster way to open many combs at once?
For batch projects, align multiple combs side by side and use a wide flat tool to spread them simultaneously. However, this requires careful handling to avoid cracking. For occasional use, opening combs one at a time is safer and more reliable.
Key Takeaways for Manual Comb Binding
Learning how to use binding combs without a machine gives you a flexible, budget-friendly option for professional-looking documents anywhere. Precision in punching, patience in feeding, and thoroughness in closing are the three pillars of success. Start by practicing on scrap paper to get a feel for hole alignment and comb opening before tackling your final project. With just a hole punch, a screwdriver, and pliers, you can bind reports, portfolios, or manuals that hold up to regular use without investing in expensive equipment.





