

Your Royal paper shredder suddenly stops working. No hum, no spin, or maybe it runs in reverse but refuses to shred when you insert paper. You’re not alone. Thousands of users face this frustration, especially with popular models like the Royal 1212X. But before you toss it or buy a replacement, know this: most issues are fixable with basic tools and a clear plan.
“Royal paper shredder not working” is a common search for a reason. These machines often fail due to preventable jams, worn gears, or simple electronic faults. The good news? You can diagnose and repair many problems in under an hour. Whether it’s a silent unit, a humming motor, or a shredder that only runs in reverse, this guide walks you through every step.
Power and Connection Fixes
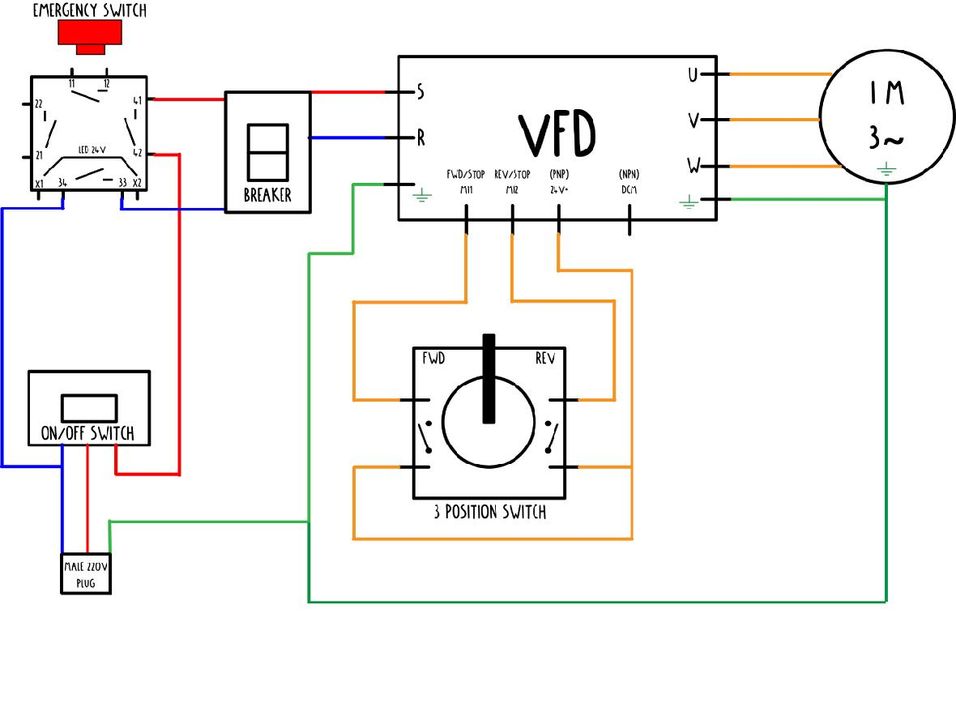
Start with the basics. If your Royal shredder won’t turn on, the issue might not be internal. Rule out external power problems first.
Test the Outlet and Cord
Plug the shredder into a different wall outlet, preferably one on another circuit. Many users mistake a tripped breaker or dead outlet for a broken machine. Use a lamp or phone charger to confirm the outlet works. If the shredder powers up elsewhere, reset the breaker or replace the outlet.
Check the power cord for kinks, frays, or loose connections. A damaged cord can interrupt power even if the plug seems secure. Wiggle the cord near the shredder base while it’s plugged in. If the unit flickers or starts briefly, the cord is faulty and needs replacement.
Verify Bin Alignment and Safety Switch
Royal shredders have a safety interlock that kills power if the waste bin isn’t seated correctly. Even a slight misalignment can make the shredder appear dead.
Remove the shredder head from the bin completely. Wipe the contact points clean. Re-seat the head firmly until you hear a click. Try rotating the head 180 degrees before reattaching. Some models have asymmetrical alignment tabs.
Ensure the bin isn’t overfilled. If shreds reach the top, they can block the head from seating fully. Empty the bin past the fill line and retest.
Reset Thermal Overload
If the shredder was running for several minutes before failing, the motor may have overheated. Royal units have built-in thermal protection that cuts power until the motor cools.
Unplug the shredder for 30 to 60 minutes. Do not attempt to force operation during this time. After cooling, plug it back in. If it starts normally, reduce continuous use in the future. Shred for 2 to 3 minutes, then pause.
Clearing Jams and Debris

A jammed shredder may hum but not cut, or show no response at all. Paper fragments, dust, and misaligned combs often cause this.
Remove Visible and Hidden Jams
Unplug the unit. Tilt it sideways or upside down and shine a flashlight into the feed slot. Look deep between the blades for stuck paper.
Use tweezers or needle-nose pliers to pull out jammed pieces. Never use fingers. Blades are sharp and can cause serious injury.
If the motor hums but blades don’t turn, the jam may be deeper. Run the shredder in reverse to back out paper. If reverse fails, manually rotate the blades using a credit card or plastic tool inserted at the top. Move it back and forth gently to dislodge debris.
Clean Sensors and Blade Area
Paper dust accumulates around sensors and gears, blocking detection and movement.
Spray compressed air into the feed slot, focusing on the sides where optical sensors sit. Use a dry cotton swab to wipe sensor windows. Do not use liquids.
Wipe the blade housing with a dry cloth. Avoid oiling yet. Clean first, then lubricate after clearing jams.
Inspect the Paper Comb
The paper comb can break or bend, preventing shreds from exiting. This causes false jams.
Remove the bin and check the comb for cracks or missing teeth. If damaged, it may need replacement. If intact, ensure it’s properly seated and not clogged with shreds.
Diagnose Stripped Gears (Royal 1212X Fix)
If the motor spins but blades don’t move, stripped plastic gears are likely. This is common in heavy-duty models after overloading.
Confirm Gear Failure
After unplugging, remove the bottom casing. Use a Phillips screwdriver to take out three screws. Lift the base cover. Detach the top housing and remove gear housing screws.
Spin the motor by hand or briefly power it. If the motor shaft turns but the output gear doesn’t, the primary gear is stripped.
Inspect the gear teeth. Worn, smooth, or missing teeth confirm damage.
Repair with JB Weld (Temporary Fix)
Since replacement gears are often unavailable, reinforce the gear with epoxy.
Prepare the Gear Surface
Drill six shallow holes around the gear’s outer rim at 60-degree intervals. Use a small drill bit. Do not go deep. These holes create anchor points for the epoxy.
Clean the gear with isopropyl alcohol to remove oil and debris.
Apply Epoxy and Reassemble
Mix equal parts JB Weld epoxy and hardener. Fill each drilled hole with epoxy. Avoid getting it on the gear teeth.
Let cure for 4 to 6 hours, following product instructions. Wipe off excess.
Reinstall the gear, ensuring it meshes properly with the drive gear. Reassemble the housing, tightening screws in a cross pattern to avoid warping.
No additional grease is needed if original lubrication remains.
Note: This is not permanent. The gear will eventually fail again under stress, but it can extend life by months.
Fix Optical Sensor Issues
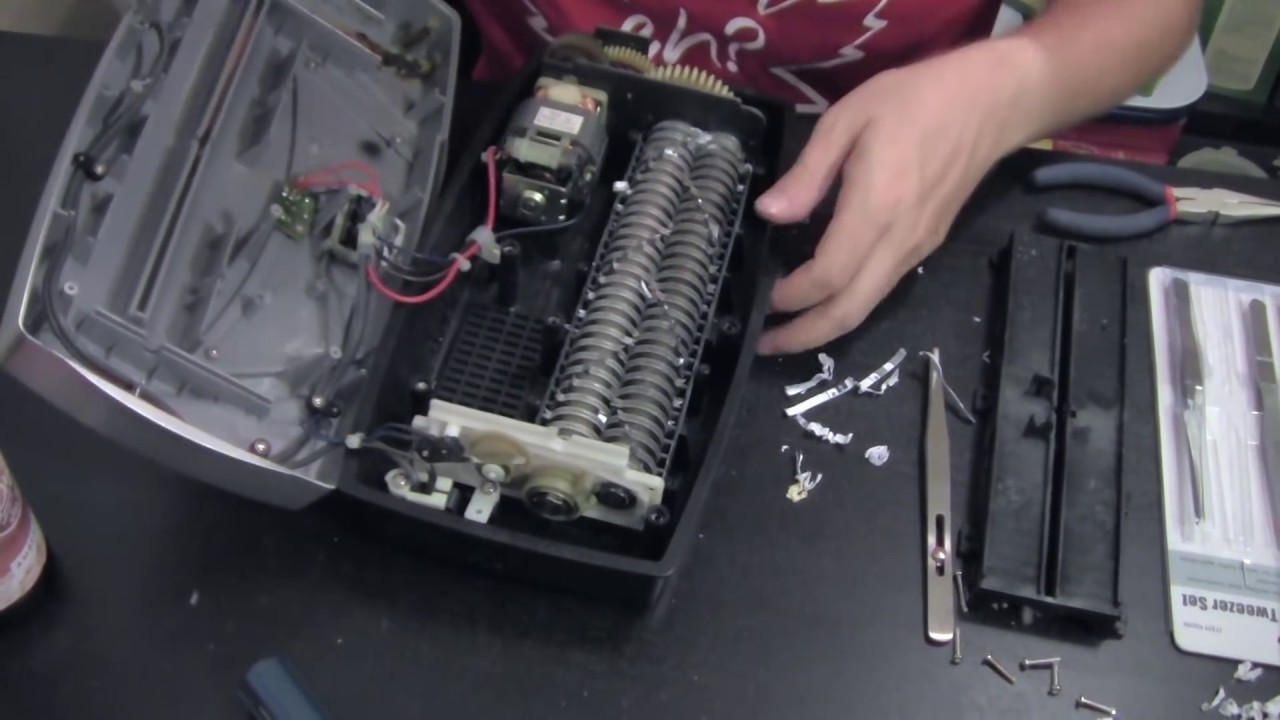
If the Ready light is off and auto mode does not trigger, but reverse works, the optical sensor is likely faulty.
Clean the Sensor Window
Dust or shreds block the infrared beam that detects paper.
Use a dry cotton swab or soft cloth to gently wipe the sensor area inside the feed slot. Shine a flashlight to see both sides, emitter and receiver.
Blow compressed air into the slot to remove fine particles.
Test and Bypass the Sensor
Multimeter Test
Set a digital multimeter to DC voltage. Probe the sensor’s receiver leads.
Insert paper. Voltage should change when the beam is blocked. If voltage shifts but shredder doesn’t start, the issue is downstream, for example, circuit board.
Temporary Aluminum Foil Trick
Tape a small piece of aluminum foil over the sensor window. It reflects the IR beam, tricking the unit into thinking paper is present.
This can restore auto mode for weeks or months. Replace foil if it loosens or stops working.
Align the IR Sensors
Sensors are angled to detect reflected light, not direct beam.
Manually aiming them straight across may not work. Ensure both sides are angled inward slightly. Misalignment prevents proper detection.
Repair Circuit Board Failures

When reverse works but auto mode and the Ready light fail, check the voltage regulation circuit.
Identify Burnt Zener Diode and Resistor
Open the casing and inspect the main board.
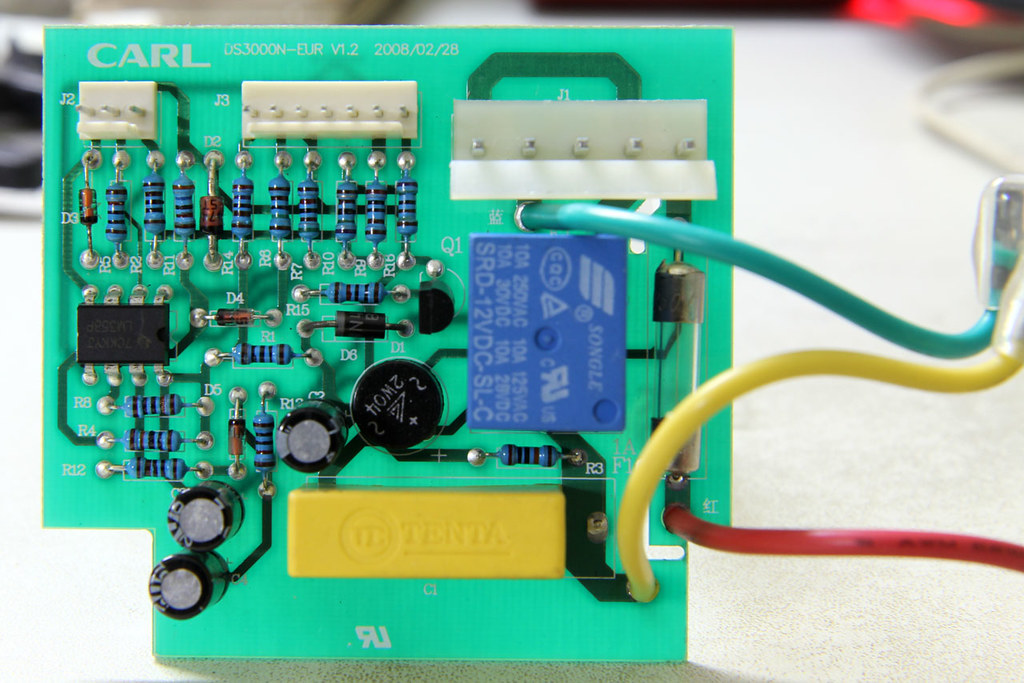
Look for ZD1, an 18V Zener diode, often labeled. Look for R21, a 300-ohm resistor, near ZD1. Look for signs of burn marks, discoloration, or charring.
These components form a dummy load to stabilize voltage to the 7812 regulator. With a 35V rail, low-wattage parts overheat and fail.
Replace Critical Components
Upgrade the Zener Diode
Replace ZD1 with an 18V/1W Zener diode. Do not use a 25V version. It can overvoltage the 7812 regulator and destroy it.
Replace the Resistor
Swap the 300-ohm resistor with a 1W or higher version. This handles heat better and prevents burnout.
Check the Capacitor
A 2.2uF/250V capacitor helps smooth voltage. If bulging or leaking, replace it. Use an LCR meter if available to test capacitance.
Verify 7812 Regulator Output
After repairs, power the unit. Use a multimeter to check input and output of the 7812. Output should be 12V stable. Input should be around 18.6V, regulated by ZD1 circuit.
If output is unstable or missing, the LM324 op-amp or relay may be faulty. But Zener/resistor failure is more common.
Bypass Auto Mode (Last Resort)
If sensor or board repair is not possible, bypass auto mode. But do so with extreme caution.
Solder a Relay Jumper
Locate the motor control relay, often labeled SRU-S-112L. Solder a jumper across the relay contacts so the motor runs whenever power is on.
Consequence: The shredder runs continuously when plugged in. You must unplug it to stop.
Safety Warning
This disables automatic stop and thermal protection. Never leave it unattended. Treat it like a power tool with no safety guard.
Only attempt if you accept the risk. This is not recommended for homes with children or shared workspaces.
Prevent Future Failures
Fixing is one thing. Keeping it working is better. Follow these steps to avoid repeat issues.
Lubricate Blades Regularly
Blades dull and bind without oil.
Apply 3 to 5 drops of shredder oil across the blade entry. Let sit 10 seconds. Run in reverse for 3 seconds, then forward with one sheet.
Do this every 15 to 20 uses or after heavy shredding.
Avoid Overloading
Feeding too many sheets at once is the number one cause of jams and gear failure.
Stick to 75% of rated capacity. For a 12-sheet shredder, feed 8 to 9 sheets max per pass. Pause between batches.
Clean After Every Use
Use compressed air to blow out dust from the feed slot weekly.
Empty the bin before it hits the fill line. Overfilled bins misalign and trigger safety switches.
Frequently Asked Questions About Royal Paper Shredder Not Working
Why does my Royal shredder turn on but not shred?
This usually indicates a jam or stripped gears. Check for paper stuck in the blades first. If the motor hums but blades don’t move, the plastic gears have likely stripped from overloading.
How do I reset my Royal paper shredder?
Unplug the shredder and wait 30 to 60 minutes to reset thermal overload. For bin alignment issues, remove and re-seat the shredder head firmly until it clicks.
Can I fix a stripped gear on my Royal shredder?
Yes. Drill shallow holes around the gear rim, clean with isopropyl alcohol, and fill with JB Weld epoxy. This is a temporary fix that can extend life by several months.
Why is my shredder not detecting paper?
The optical sensor is likely dirty or faulty. Clean the sensor window with a dry cotton swab. If cleaning does not work, try taping aluminum foil over the sensor as a temporary workaround.
How often should I oil my Royal paper shredder?
Oil the blades every 15 to 20 uses or after heavy shredding sessions. Apply 3 to 5 drops of shredder oil, then run the machine in reverse for a few seconds.
Key Takeaways for Fixing Your Royal Paper Shredder
Most Royal paper shredder not working issues stem from three root causes. First, power problems like tripped breakers, loose cords, or bin misalignment. Second, mechanical jams from paper fragments or debris. Third, electronic failures in sensors or circuit boards.
Start troubleshooting with the simplest fixes. Test the outlet, verify bin alignment, and check for visible jams. Only move to advanced repairs like gear reinforcement or circuit board fixes when basic troubleshooting fails.
Regular maintenance prevents 80% of failures. Oil your blades every 15 to 20 uses, avoid overloading the shredder, and clean dust from the feed slot weekly. With proper care, your Royal shredder can last years longer than the average lifespan.





