Your paper shredder powers on, the lights are active, but nothing happens when you insert a sheet. It is not a dead motor. It is likely a paper shredder sensor not working. This common issue stops the auto-feed function, leaving your documents untouched and your frustration high. The good news? In over 80% of cases, the problem is not permanent failure. It is dust, misalignment, or a simple mechanical glitch. With the right tools and steps, you can restore full operation in minutes.
This guide delivers a step-by-step plan to diagnose and fix both front and back sensor failures. Whether you are dealing with a Royal, AmazonBasics, or generic model, you will learn how to clean, test, adjust, and when necessary, bypass faulty sensors safely. You will also discover prevention tips to extend your shredder is life and avoid repeat issues.
Identify the Sensor Type Before Troubleshooting
Understanding what kind of sensor your shredder uses determines your repair path. Most units have two distinct sensors working together to enable auto-feed functionality.
Front Sensor: Paper Detection Role
The front sensor sits near the paper entry slot. It detects when paper breaks an infrared beam or presses a mechanical switch. If this sensor is blocked or dirty, the motor will not start even though the unit powers on correctly.
Back Sensor: Head Alignment Function
The back sensor is a mechanical switch inside the unit that confirms the shredder head is locked onto the bin. It engages a green indicator light on newer models. If this sensor is not engaged, the auto mode disables completely.
Common Sensor Configurations
Shredders typically use one of three sensor types. Infrared pairs consist of two small LED-like components angled toward each other. When paper passes through, it breaks the invisible beam. LED or phototransistor pairs work similarly but may emit faint visible light. Mechanical switches are physical levers pressed by the bin or head, common in budget models.
Pro Tip: Shine a flashlight into the feed slot. If you see two dark rectangles facing each other, it is an IR pair. If there is a spring-loaded pin at the back, that is your alignment sensor.
Front Sensor Not Responding? Clean First

Most dead sensors are simply dirty. Cleaning resolves the issue in the majority of cases, and it takes less than ten minutes.
Why Cleaning Sometimes Fails
Many users try cotton swabs or compressed air, and both can make things worse. Swabs are too thick and can damage delicate sensor lenses. Compressed air blows debris deeper into the mechanism. Using the right tools matters more than effort.
Correct Cleaning Tools to Use
The best tools are already in your home. Use a folded paper towel or napkin doubled for stiffness. A soft dry brush works well, such as a clean makeup brush or paintbrush. Microfiber cloth picks up fine dust effectively. For jammed debris, use pliers or tweezers.
Avoid cotton swabs, liquids, and compressed air entirely.
Step-by-Step Cleaning Process
Unplug the shredder before any cleaning. Fold a paper towel twice to create a firm edge. Insert it into the center of the feed slot where the sensor sits. Gently scrub side to side and up and down to dislodge paper fibers and dust. Use a dry brush to sweep out loosened debris. Reconnect power and test with a single sheet.
Visual Cue: If paper gets stuck halfway through the slot, the sensor area is likely clogged.
Time Estimate: 5 to 10 minutes.
Success Rate: Over 70% for units under 3 years old.
Back Sensor Not Engaging? Check Alignment
If the auto mode does not activate and the indicator light stays off, the back sensor is likely the culprit. This sensor tells the shredder that the head is properly seated on the bin.
Symptoms of Back Sensor Failure
Watch for these warning signs. No green light appears when the head is seated. The shredder only works when you apply firm downward pressure on the back of the head. The unit intermittently cuts out during use.
Pressure Test: Confirm the Issue
Plug in the shredder. Insert paper while pressing down firmly on the back of the head. If it starts shredding, the back sensor is not fully engaging. This means the sensor is not clicking into place due to wear, misalignment, or weak spring tension.
Fix AmazonBasics Back Sensor With Shim Trick

A proven fix exists for models where the head does not sit flush on the bin. The shim technique has helped thousands of AmazonBasics owners restore their shredders.
Disassembly Steps
Unplug the unit first. Flip it over and remove all six screws. One may be hidden under a warranty sticker, but removing it voids the warranty. Gently pry the top casing open by wiggling it. Watch for hidden clips that hold the pieces together. Locate the small metal pin or switch at the rear that depresses when the head locks into place.
Apply the Shim
Cut a thin strip of sturdy paper or folded napkin. Insert it around the sensor post or into the hole so the pin cannot retract fully. Test fit by reattaching the head. The green light should illuminate without extra pressure. Secure the shim with a tiny piece of tape if needed, but keep tape away from the blades.
Why It Works: The shim compensates for mechanical wear, ensuring consistent contact between the sensor and the bin.
User Verified: Thousands of AmazonBasics owners report long-term success with this method.
Test Sensor Function With Multimeter
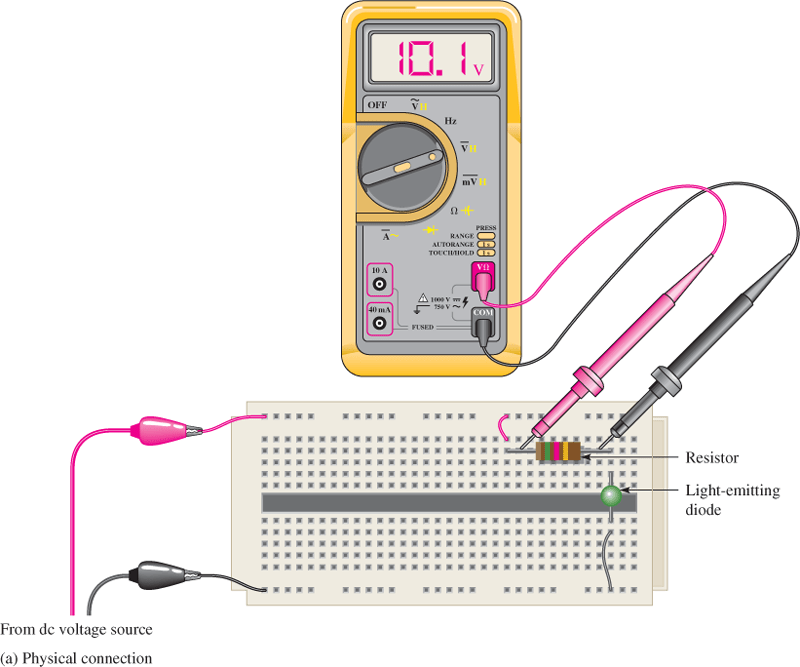
For advanced users, electrical testing verifies whether the sensor is truly dead or if the issue lies elsewhere.
Electrical Test Setup
Unplug the shredder and open the casing. Locate the sensor wires connected to the control board. They usually form a two-wire Molex plug. Set your multimeter to DC voltage. Reconnect power carefully and measure voltage across the receiver leads.
Interpreting Results
A functional sensor shows voltage dropping when paper breaks the beam. No change in voltage indicates a dead sensor, a blown fuse, or damaged wiring. Zero voltage across the board means you should check for a blown fuse on the control board.
Warning: Never short the leads together. This can fry the logic board permanently.
Bypass a Dead Sensor: Advanced Repair
If cleaning and shimming fail, a hardwire bypass can revive a working motor. This method is for experienced users only.
Risks and Important Warnings
When you bypass sensors, safety features are disabled. The blades run whenever the unit is powered. There is no auto-stop means no automatic cooldown. The warranty is voided by internal modifications. This is irreversible.
Method 1: Wire the Sensor Circuit
Identify the two wires that carry the paper detected signal. Strip and twist them together or use a jumper wire. This simulates a constant paper present signal. The result is the shredder runs continuously when powered on.
Method 2: Relay Jumper Technique
Locate the motor relay on the control board. Solder a jumper across the relay is output contacts. This bypasses the entire logic board. The outcome is the power switch directly controls the motor with no sensors involved.
Safe Operation After Bypass
Always unplug when not in use. Label the unit clearly with a warning that sensors are bypassed and manual control is required. Limit run time to 30 seconds, then allow a 2-minute cooldown. Never leave the unit unattended while running.
Prevent Future Sensor Failures
Keep your shredder running smoothly with simple habits that take minutes to perform.
Routine Maintenance Schedule
Clean the front sensor area every 3 months. Run 1 to 2 sheets of shredder oil paper every 2 weeks. Inspect back sensor engagement annually. Make sensor cleaning part of your office spring cleaning checklist.
Best Practices for Longevity
Use high-quality paper to reduce fiber shedding. Avoid overloading the shredder beyond recommended sheet counts. Shred oil occasionally to prevent jamming and keep sensors clear. Store the unit in a low-dust area, as garages and basements accelerate clogging.
Model-Specific Fixes That Work

Royal Shredders: Repeating Sensor Failure
Some Royal models suffer from IR sensor degradation over time. The symptom is cleaning works temporarily, but failure returns within weeks. One owner used a small piece of aluminum foil taped near the sensor to reflect ambient light, tricking it into staying active for six months. The long-term fix is replacing the IR pair or hardwiring the circuit.
AmazonBasics: Deep Recessed Sensors
Front sensors on AmazonBasics models are hard to reach. The solution is using a folded paper towel, not cotton swabs. Avoid poking with sharp objects because the lenses are fragile and easily damaged.
When to Repair vs. Replace
Repair If
You are comfortable with basic tools. The motor still runs in manual mode. Replacement cost exceeds $50. You want to reduce electronic waste.
Replace If
The motor is dead. Blades are dull or permanently jammed. The unit is over 5 years old with repeated issues. Safety features are compromised.
Cost Insight: A $30 AmazonBasics shredder can be fixed for $0.10 using a paper shim. Even soldering a $2 sensor costs less than buying a new unit.
Safety First: Critical Warnings
Never skip these precautions. They protect you from serious injury.
Do Not
Insert tools while the unit is plugged in. Sensors can trigger instantly and cause injury. Touch blades during disassembly. They are sharp even when the power is off. Bypass sensors without labeling the unit. Others may not know the danger. Run the shredder continuously without breaks. Motors overheat fast.
Do
Unplug before any internal work. Use insulated tools for electrical tests. Wear safety glasses when opening the case. Keep fingers clear of the feed slot during testing.
Quick Troubleshooting Flowchart
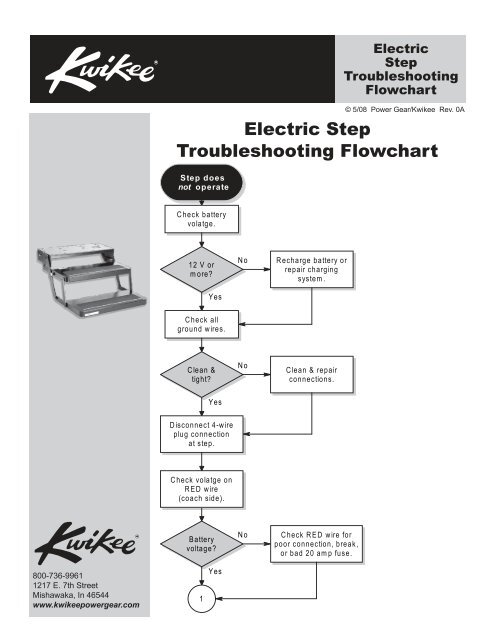
Use this to diagnose fast.
Shredder powers on? No means check outlet, power cord, switch. Yes means continue.
Green light on back? No means back sensor issue. Try pressure test first, then shim. Yes means continue.
Motor runs when paper inserted? No means clean front sensor. Still no means test with multimeter or bypass.
Paper jams halfway? Yes means clean sensor, use oil, remove debris with pliers.
Final Fix Checklist
Unplugged before cleaning. Used folded paper towel, not cotton swab. Checked back sensor light. Tested with downward pressure. Cleaned every 3 months. Labeled unit if bypassed.
Frequently Asked Questions About Paper Shredder Sensor Issues
Why does my shredder power on but not shred when I insert paper?
This is the classic symptom of a paper shredder sensor not working. The motor is fine, but the sensor that detects paper is not triggering the blades. Usually, the front sensor is dirty or blocked with dust and paper fibers.
Can I use compressed air to clean the sensor?
No. Compressed air can blow debris deeper into the mechanism and damage sensitive optical components. Use a folded paper towel or soft brush instead.
How do I know if the back sensor is the problem?
Plug in the shredder and observe the indicator light. On newer models, a green light confirms the back sensor is engaged. If the light stays off, or if you must press down firmly on the head to make it work, the back sensor is not engaging properly.
Is bypassing the sensor safe?
Bypassing removes automatic safety features. The shredder will run whenever powered on. You must manually control it and enforce cool-down periods. Only experienced users should attempt this, and the unit should be clearly labeled.
How often should I clean my shredder sensors?
Clean the front sensor area every 3 months. If you use the shredder heavily or store it in a dusty environment, clean more frequently.
Why does my Royal shredder sensor fail repeatedly?
Some Royal models have IR sensors that degrade over time. Cleaning provides temporary relief, but the sensors eventually lose sensitivity. A permanent fix requires replacing the IR pair or hardwiring the circuit.
Key Takeaways for Fixing Your Paper Shredder Sensor
A paper shredder sensor not working is rarely a death sentence for your machine. With cleaning, alignment fixes, or a controlled bypass, most units can be restored to full functionality. The front sensor usually fails due to dust and paper fiber buildup, and a simple cleaning with a folded paper towel resolves over 70% of cases. The back sensor often needs a shim to compensate for mechanical wear, a fix that costs almost nothing.
The key is acting early. Clean sensors every few months before dust turns into permanent clogs. Use high-quality paper and avoid overloading to reduce debris buildup. When cleaning fails, advanced users have options like multimeter testing or even bypassing the sensor entirely, though this requires careful attention to safety.
By following this guide, you will save money, reduce electronic waste, and keep your shredder running like new. Now plug it in, test a sheet, and get back to hassle-free shredding.