

Is your paper shredder refusing to pull in documents even when set to “Auto”? You’re not alone. A malfunctioning auto feed is one of the most common issues users face, and it can bring your productivity to a halt. Whether you’re clearing sensitive files or managing office clutter, a paper shredder that won’t auto-feed defeats the purpose of convenience. The good news? In over 90% of cases, the problem isn’t permanent. Most auto feed failures stem from simple, fixable causes like paper jams, dirty sensors, or misaligned safety switches.
This guide will walk you through every step to diagnose and resolve why your paper shredder auto feed isn’t working. We’ll cover how to identify whether the issue is mechanical, electrical, or sensor-based, and provide brand-specific fixes for models like AmazonBasics, Aurora, Royal, and Bonsaiishop. From cleaning optical sensors to resetting thermal protection, you’ll learn exactly what to check so you can get back to hassle-free shredding fast.
Clear Auto Feed Jams Fast

A paper jam is the top reason your shredder won’t auto-feed. Even a small clump of shredded paper stuck in the cutting chamber can block the rollers from pulling in new sheets. The auto feed relies on a clear path, and if resistance is detected, the system stops to prevent damage.
Free Stuck Paper with Reverse Mode
Start by switching the shredder to Reverse. Plug it in and hold the reverse button for 3 to 5 seconds. This often backs out jammed material. If nothing comes out, switch between Forward (Auto) for 1 second and Reverse for 5 seconds. Repeat this cycle up to five times. The back-and-forth motion helps loosen tightly packed debris.
If the motor hums but the paper doesn’t move, the jam is likely too stubborn for reverse alone. Unplug the shredder immediately. Then, use needle-nose pliers or tweezers to gently pull out visible paper fragments. Never use your fingers near the blades.
Push Through Jams with Cardstock
For jams deep in the feed path, grab a piece of rigid cardstock, an index card, or a cereal box panel. Cut it to fit the feed slot width and insert it straight into the center. Push down firmly to force the obstruction through. This method also helps reset the activation switch, which can get blocked by jammed paper.
If the jam still won’t budge, apply the oil soak technique:
- Unplug the shredder.
- Drizzle 2 to 3 tablespoons of shredder oil (or cooking oil in a pinch) directly onto the blades at the jam site.
- Wait 30 minutes for the oil to soften the paper fibers.
- Plug it back in and insert the cardstock again with strong pressure.
- Run in Reverse to eject all loosened material.
Never reverse while shredding credit cards or CDs. This can bend or damage the cutting heads.
Fix Sensor Blockage in Seconds

If your shredder powers on but won’t start feeding when paper is inserted, the activation sensor is likely blocked. This tiny component, usually an optical sensor or mechanical switch in the center of the feed slot, detects paper and tells the motor to start. Dust, oil residue, or paper fibers can blind it, making the machine think no paper is present.
Locate and Clean the Sensor
Unplug the unit first. Shine a flashlight into the feed slot. Look for small glass-like beads, LED lights, or a black rectangular flag. This is the sensor. On many models, it sits directly in the middle.
Use a soft-bristle brush or dry cloth to remove loose debris. Avoid canned air on sensitive models like Aurora, as it can force particles deeper or damage internal components.
For sticky residue or oil buildup, dampen a cotton swab or lint-free cloth with isopropyl alcohol. Gently wipe the sensor surface. If the slot is narrow, fold a paper towel into a thin strip and slide it up and down around the sensor area. Let the sensor dry completely before plugging in.
Test Sensor Response
After cleaning, test it with a stiff index card. Insert it straight into the center of the feed slot and wiggle slightly. You should hear the motor engage. If your model has an LED, watch for a light change, such as green to red or blinking, indicating activation.
If it still doesn’t respond, the sensor may be misaligned or disconnected internally, especially in older or long-unused units.
Restore Roller Grip and Alignment
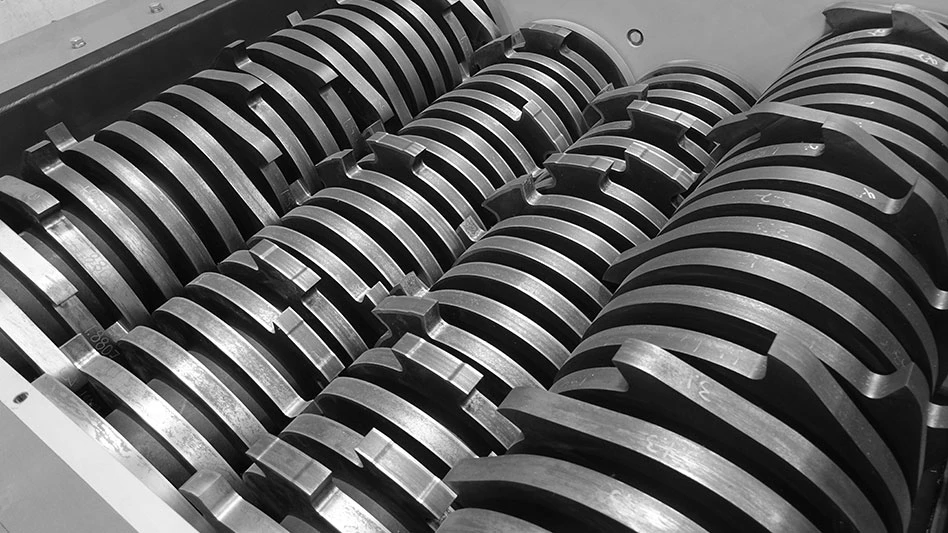
The auto feed rollers are rubberized wheels that grab paper and pull it in. When they’re dirty, worn, or misaligned, they can’t grip properly, causing paper to sit idle on the tray.
Clean or Replace Worn Rollers
Unplug the shredder. Inspect the rollers for paper dust buildup, oil slicks, or smooth, shiny surfaces. Clean them with a dry microfiber cloth. For stubborn grime, lightly dampen the cloth with water, but never soak it.
Avoid abrasive cleaners or alcohol, which can degrade the rubber over time.
If the rollers feel slick and cleaning doesn’t help, they’re likely mechanically worn. Smooth, glazed rollers can’t generate enough friction. While replacement parts exist for some commercial models, most consumer shredders aren’t cost-effective to repair. In such cases, replacement may be the better option.
Align Paper Correctly
Even with clean rollers, feeding fails if paper is curled, folded, or skewed in the tray. Always fan the stack before loading to prevent multiple sheets from sticking together. Load paper straight. Don’t tilt it to one side. Misalignment causes uneven roller pressure, leading to jams or feed refusal.
Reset Safety Interlocks Properly
Your shredder won’t auto-feed if a safety interlock detects an unsafe condition. These are built-in protections that prevent operation when something’s out of place.
Seat the Bin Correctly
Check that the wastebasket is fully pushed in and the shredder head is securely seated on top. Most models have a raised tab on the bin that must align with a slot on the shredder base. You should hear a distinct click when properly locked.
On some units, a green indicator light means the bin is engaged. No light? The bin may be slightly pulled out or misaligned. Remove and reseat it firmly.
Remove Plastic Liners
Using a plastic bag to line the bin is a common mistake. It can block the bin sensor or prevent the interlock tab from making contact. Always remove plastic liners before use.
Check the Cover Position
On models with ShredSafe or tilt sensors like Aurora, opening the cover too far beyond the first preset angle triggers a safety shutdown. Close the cover completely and ensure it’s not being pressed open by nearby objects.
Cool Down After Overheating
If your shredder stops suddenly or won’t start after heavy use, the thermal protector has likely activated. This safety feature cuts power when the motor overheats.
Recognize Overheat Symptoms
The unit is completely unresponsive. The power light is off or shows a steady red or amber glow. A high-pitched hum occurs briefly when switched on, then silence.
Allow Proper Cool-Down Time
Turn the power off and unplug the shredder. Wait 30 to 60 minutes before trying again. This allows the motor to cool and the thermal cutout to reset.
Some models have a cooling fan that runs when the power is on. If yours does, you may leave it plugged in but switched to “Off” during cooldown. Check your manual. Never force operation while hot.
To prevent future overheating, follow the duty cycle. Shred for the recommended time, typically 5 to 10 minutes, then rest for 20 to 30 minutes. Lubricate regularly because dry blades increase motor strain and heat.
Diagnose Model-Specific Failures
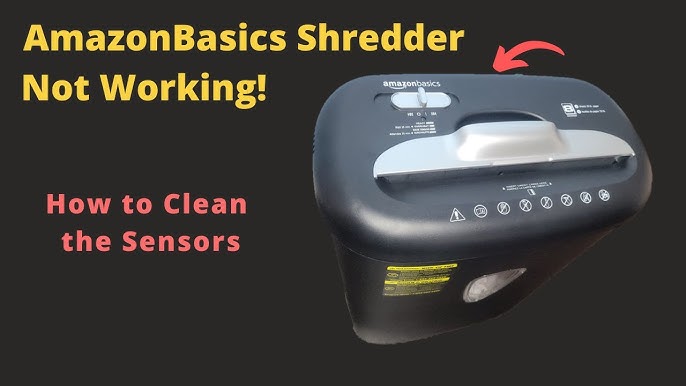
Some auto feed issues are unique to certain brands. Knowing these quirks can save time and avoid unnecessary repairs.
AmazonBasics: Back Sensor Fix
AmazonBasics shredders often fail to start because the rear sensor doesn’t engage, even when the bin is seated. This sensor detects when the head unit is properly locked.
To fix this permanently, unplug the unit. Remove all six screws. One may be under a warranty sticker. Open the casing and locate the small metal back sensor. Insert a folded piece of paper or tape into the sensor hole to keep it slightly extended. Reassemble. Now the sensor stays engaged, eliminating the need to press down on the back.
Opening the unit voids the warranty. Use this fix only on out-of-warranty models.
Aurora: Center-Only Trigger Zone
Aurora shredders require paper to be fed directly into the center of the slot. The sensor is narrow and won’t activate if paper is inserted off-center. Always align stacks precisely.
Also, if the motor runs constantly in “Auto” mode, the sensor is stuck in the “on” position due to debris. Clean the center slot thoroughly.
Royal PX1201: Internal Sensor Disconnection
If your Royal PX1201 shows no response despite clean sensors and proper bin seating, the optical sensor may be disconnected internally, especially if unused for years.
Test with a flashlight. Look for a plastic flag in the sensor path. If cleaning and cardstock tests fail, the unit likely needs professional repair. However, repair costs often exceed the shredder’s value. Replacement is usually more practical.
Bonsaiishop: Auto Button Failure
If the shredder reverses but won’t go forward, and sensors are clean, the “Auto” button itself may be faulty. A damaged power cord connection to the button can interrupt the forward signal.
Try jiggling the cord near the button. If the shredder briefly responds, the internal wiring is loose. Button replacement is possible but often not cost-effective.
Prevent Future Auto Feed Issues

The best way to avoid auto feed failure is preventative maintenance. A few simple habits can extend your shredder’s life and keep it running smoothly.
Oil Blades Every Few Uses
Lubrication reduces friction, heat, and wear. Frequency depends on your model.
• Micro-cut: Every 15 to 20 minutes of use
• Cross-cut: Every 30 minutes or half-bin
• Strip-cut: Every full bin or 2 hours
Use shredder-specific oil. Never use WD-40, vegetable oil, or spray lubricants. Apply a thin line across the feed slot, then run in Reverse for 5 seconds to distribute.
Avoid Prohibited Materials
Never shred these items:
• Windowed envelopes (plastic catches in blades)
• Staples or large paper clips
• Adhesive labels or sticky notes
• Laminated paper, transparencies, or cardboard
• Damp or recycled paper (increases jam risk)
These materials cause jams, damage blades, and trigger sensor errors.
Track Usage and Maintenance
Keep a simple log. Record the date and time of use, oil applications, and jam occurrences. This helps spot patterns, such as increasing jams indicating it’s time for more frequent oiling or replacement.
Frequently Asked Questions About Paper Shredder Auto Feed
Why does my shredder run in reverse but not in auto mode?
This usually indicates a jam in the feed path or a blocked activation sensor. Try clearing any paper jams first using the reverse function. If that doesn’t work, clean the sensor in the center of the feed slot with isopropyl alcohol.
Can I use canned air to clean my shredder sensors?
You should avoid canned air on sensitive models like Aurora. It can force particles deeper into the mechanism or damage internal components. Use a soft brush or dry cloth instead, and resort to alcohol-damped swabs only for stubborn residue.
How long should I wait if my shredder overheats?
Allow 30 to 60 minutes for the motor to cool and the thermal cutout to reset. Do not attempt to force operation during this period. Check your model-specific guidance, as some units with cooling fans should remain plugged in but switched off.
Why does my shredder run constantly in auto mode?
The activation sensor is stuck in the “triggered” position, likely due to dust, debris, or hardened oil blocking it. Clean the sensor area thoroughly with isopropyl alcohol to reset it to the ready state.
Is it worth repairing a shredder with auto feed failure?
Most auto feed problems resolve with basic troubleshooting like jam removal, sensor cleaning, and lubrication. If the motor runs but blades don’t turn, or if gears are stripped, the unit may be beyond repair. In most situations, a few minutes of maintenance restores full function.
Key Takeaways for Fixing Your Paper Shredder Auto Feed
Most paper shredder auto feed problems are solvable with basic troubleshooting. Start with jams, sensor cleaning, and bin seating. They resolve the vast majority of cases. If the motor runs but blades don’t turn, or gears are stripped, the unit may be beyond repair.
Keep your shredder oiled according to your cut type, clean the sensors regularly, and always use within the recommended duty cycle. Avoid shredding prohibited materials like staples, windowed envelopes, or laminated paper. These simple habits prevent most auto feed failures from occurring in the first place.
If brand-specific fixes like the AmazonBasics rear sensor modification don’t resolve the issue, and your unit shows signs of internal gear damage or disconnected optical sensors, replacement is often the more practical choice. But in most situations, a few minutes of cleaning and resetting will restore full auto feed function and keep your shredder serving you reliably for years.





