
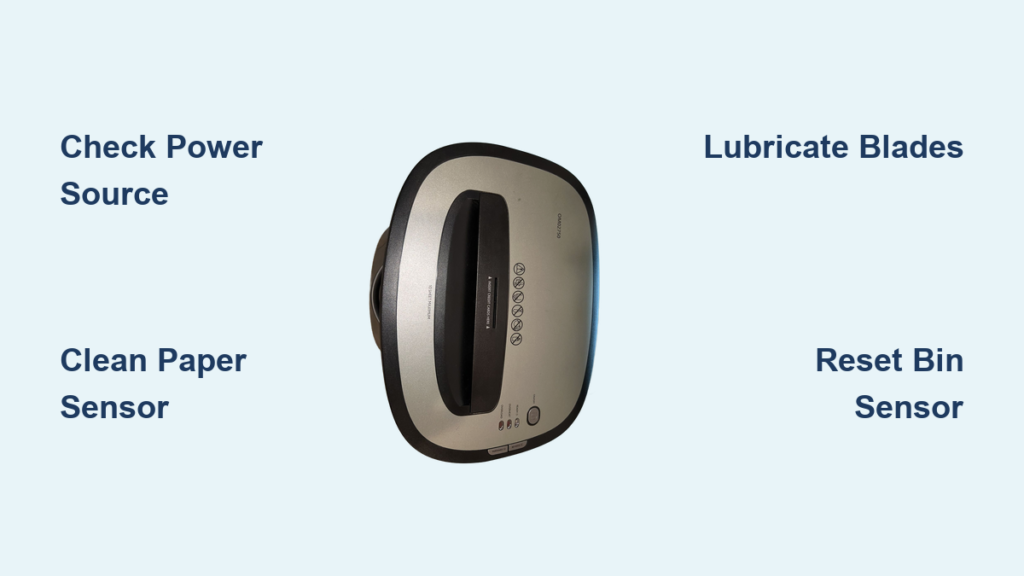
If your OM02750 shredder won’t power on, jams constantly, or runs only in reverse, you’re not alone. This compact cross-cut shredder is built for everyday use, but without proper care, it can quickly develop performance issues. Most problems like failure to start, paper jams, or sluggish operation are caused by simple issues like power faults, sensor blockages, lack of lubrication, or minor mechanical misalignments. The good news? Over 90% of OM02750 shredder issues can be resolved at home with basic tools and a few minutes of effort. In this guide, you’ll learn how to diagnose and fix every common problem, from no power to continuous running, using step-by-step procedures based on real teardown analysis. You’ll also discover how to prevent future failures with proper maintenance and correct usage.
Power Failure: No Response When Turned On
When your OM02750 doesn’t turn on, no lights and no sound, it’s usually due to a preventable cause. Before assuming the motor is dead, follow these checks to restore power quickly.
Check Power Source and Cord
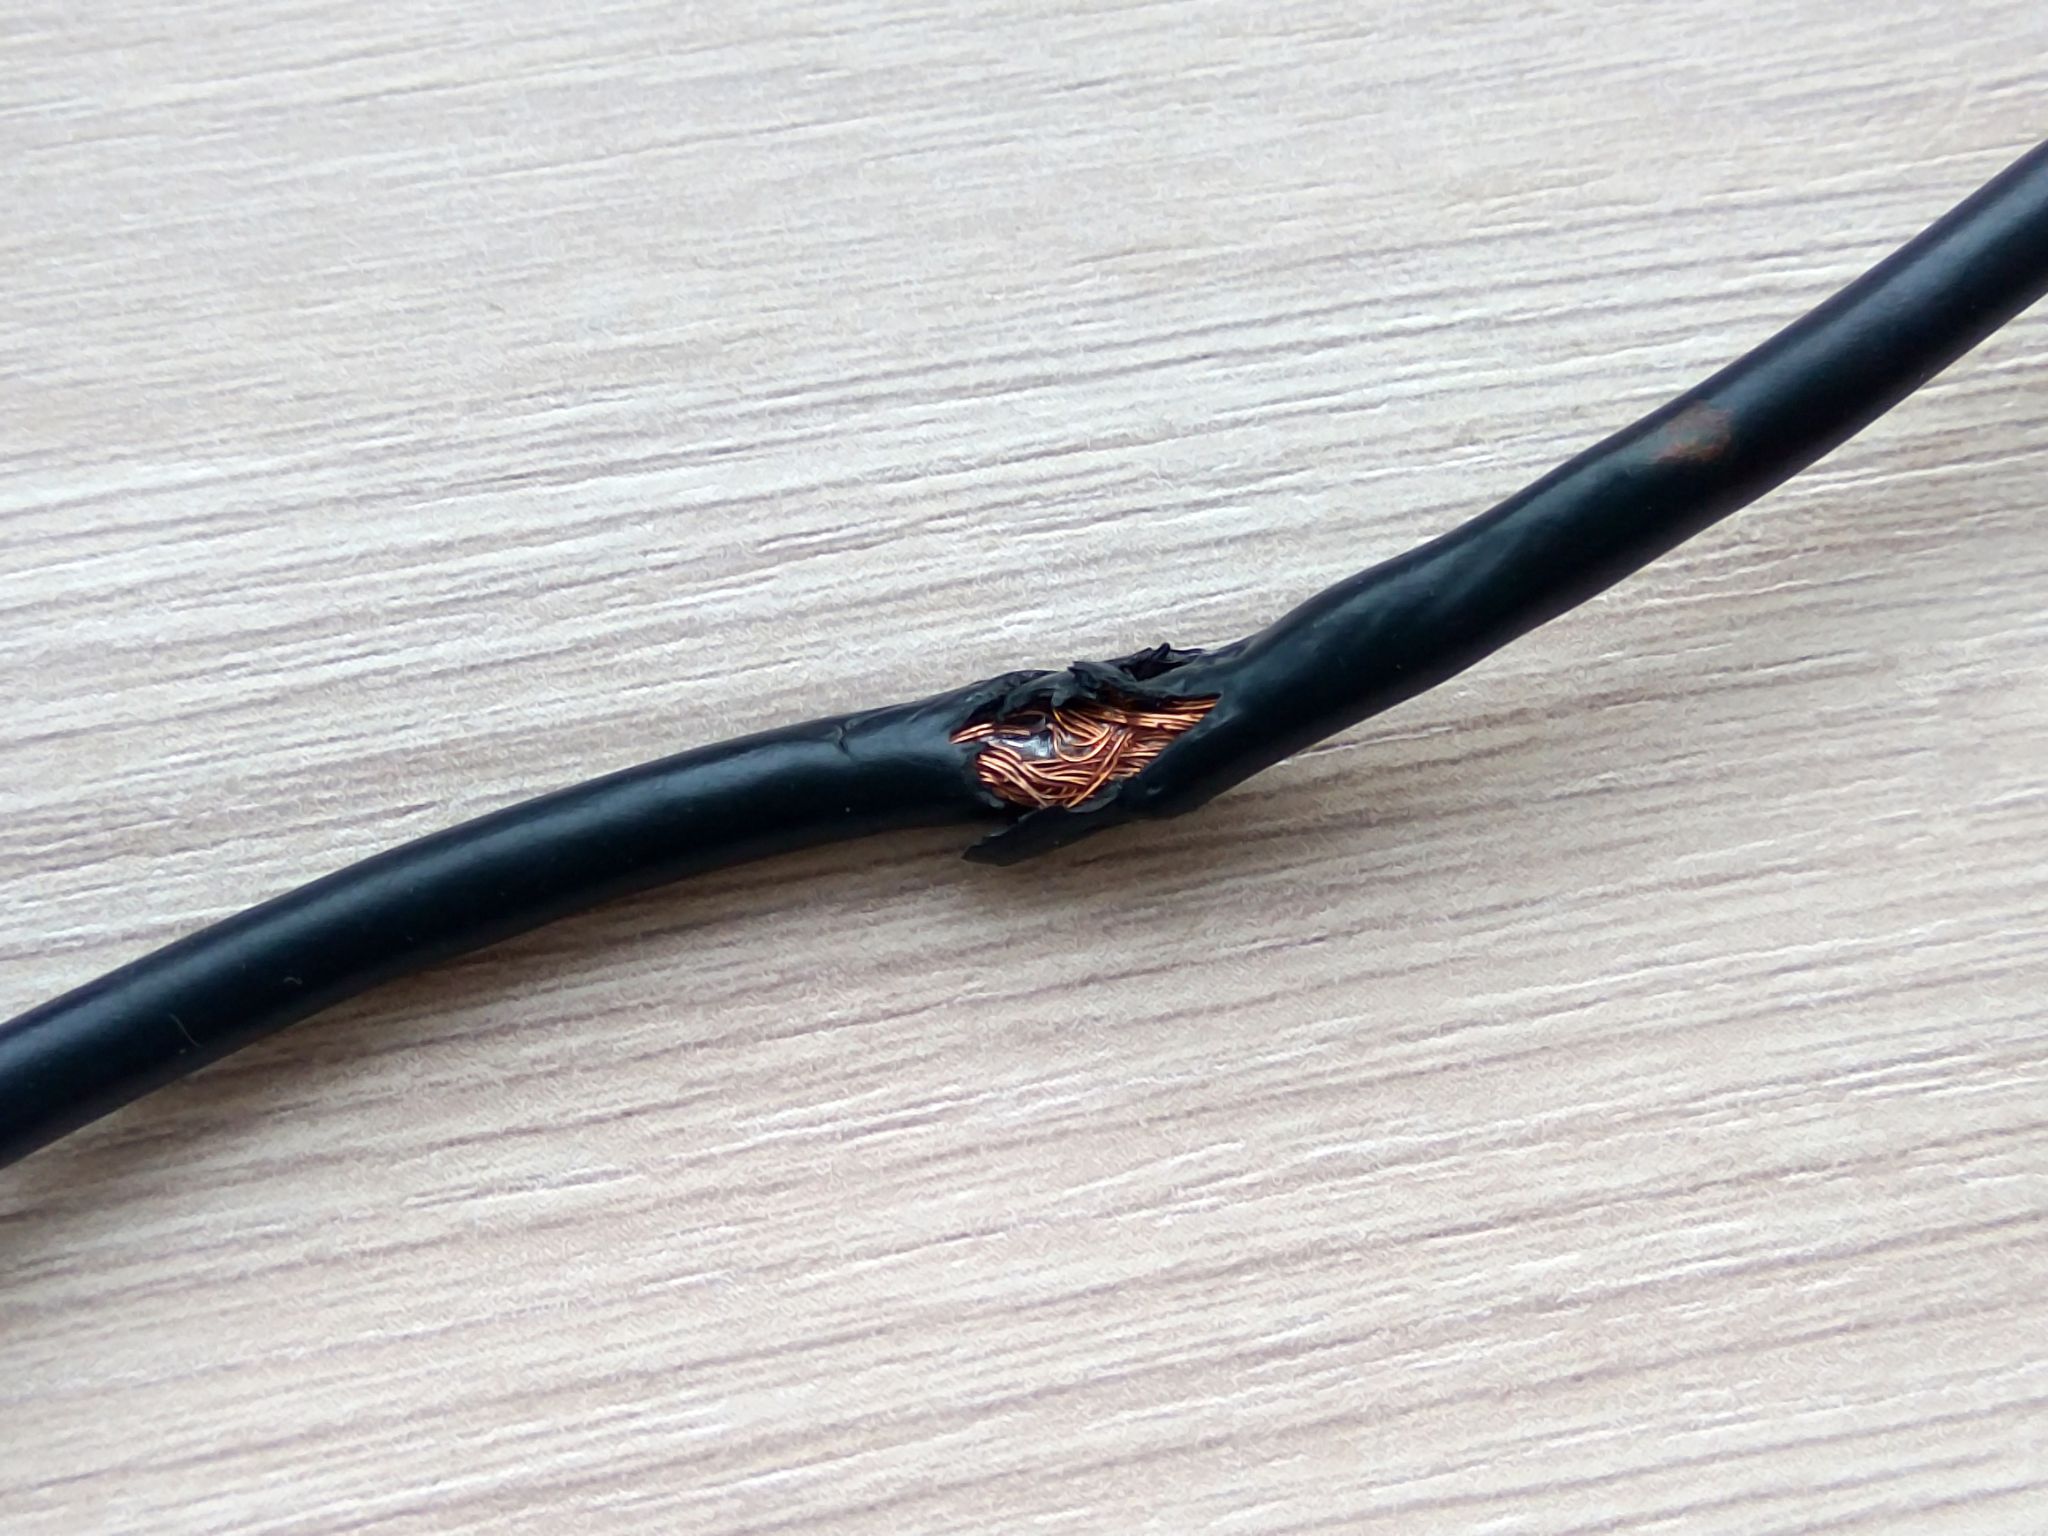
Start with the basics. Plug a lamp or phone charger into the same outlet to confirm it’s live. If the outlet works, inspect the shredder’s power cord for cuts, kinks, or fraying near the plug or where it enters the unit. A damaged cord interrupts power flow. If the cord is intact, ensure it’s fully seated in both the wall and the shredder. Loose connections mimic power failure.
Reset Thermal Overload Protection
The OM02750 has a built-in thermal cutoff that shuts off the motor after prolonged use. If you’ve been shredding for more than 5 minutes continuously, this safety feature likely triggered. Unplug the unit and wait 30 to 60 minutes to allow the motor to cool. Do not attempt to bypass this. Forcing operation can burn out the motor. After cooling, plug it back in and test in Auto mode.
Verify Bin and Safety Interlock
The shredder won’t power on if the waste bin isn’t properly seated. Remove and reinsert the bin, ensuring alignment tabs click into place. Listen for a subtle snap indicating full engagement. Some models have a plastic safety lever that detects bin presence. If this lever is bent or stuck, the circuit stays open. Open the casing, locate the small metal rod near the bin base, and gently straighten it. Clean the pivot with contact cleaner and add a drop of light oil to ensure smooth movement.
Test Internal Fuse and Capacitor
If power still fails, the internal fuse may be blown. Unplug the unit and open the casing using Phillips screws on the base. Locate the glass or ceramic fuse near the power entry. A broken filament or darkened glass means it’s dead. Replace with an identical fuse, matching voltage and amperage. While inside, inspect nearby capacitors. If any are bulging or leaking, they must be replaced by someone with soldering skills, as faulty capacitors disrupt motor power.
Inspect Power Switch Contacts
A worn or misaligned power switch can prevent electrical contact. Disassemble the switch housing carefully. Look for flipped metal contacts. If one is upside down, use tweezers to reposition it symmetrically. Reassemble and test for a firm click. If the switch feels loose or unresponsive, replace the entire switch module.
Motor Runs But Blades Don’t Turn
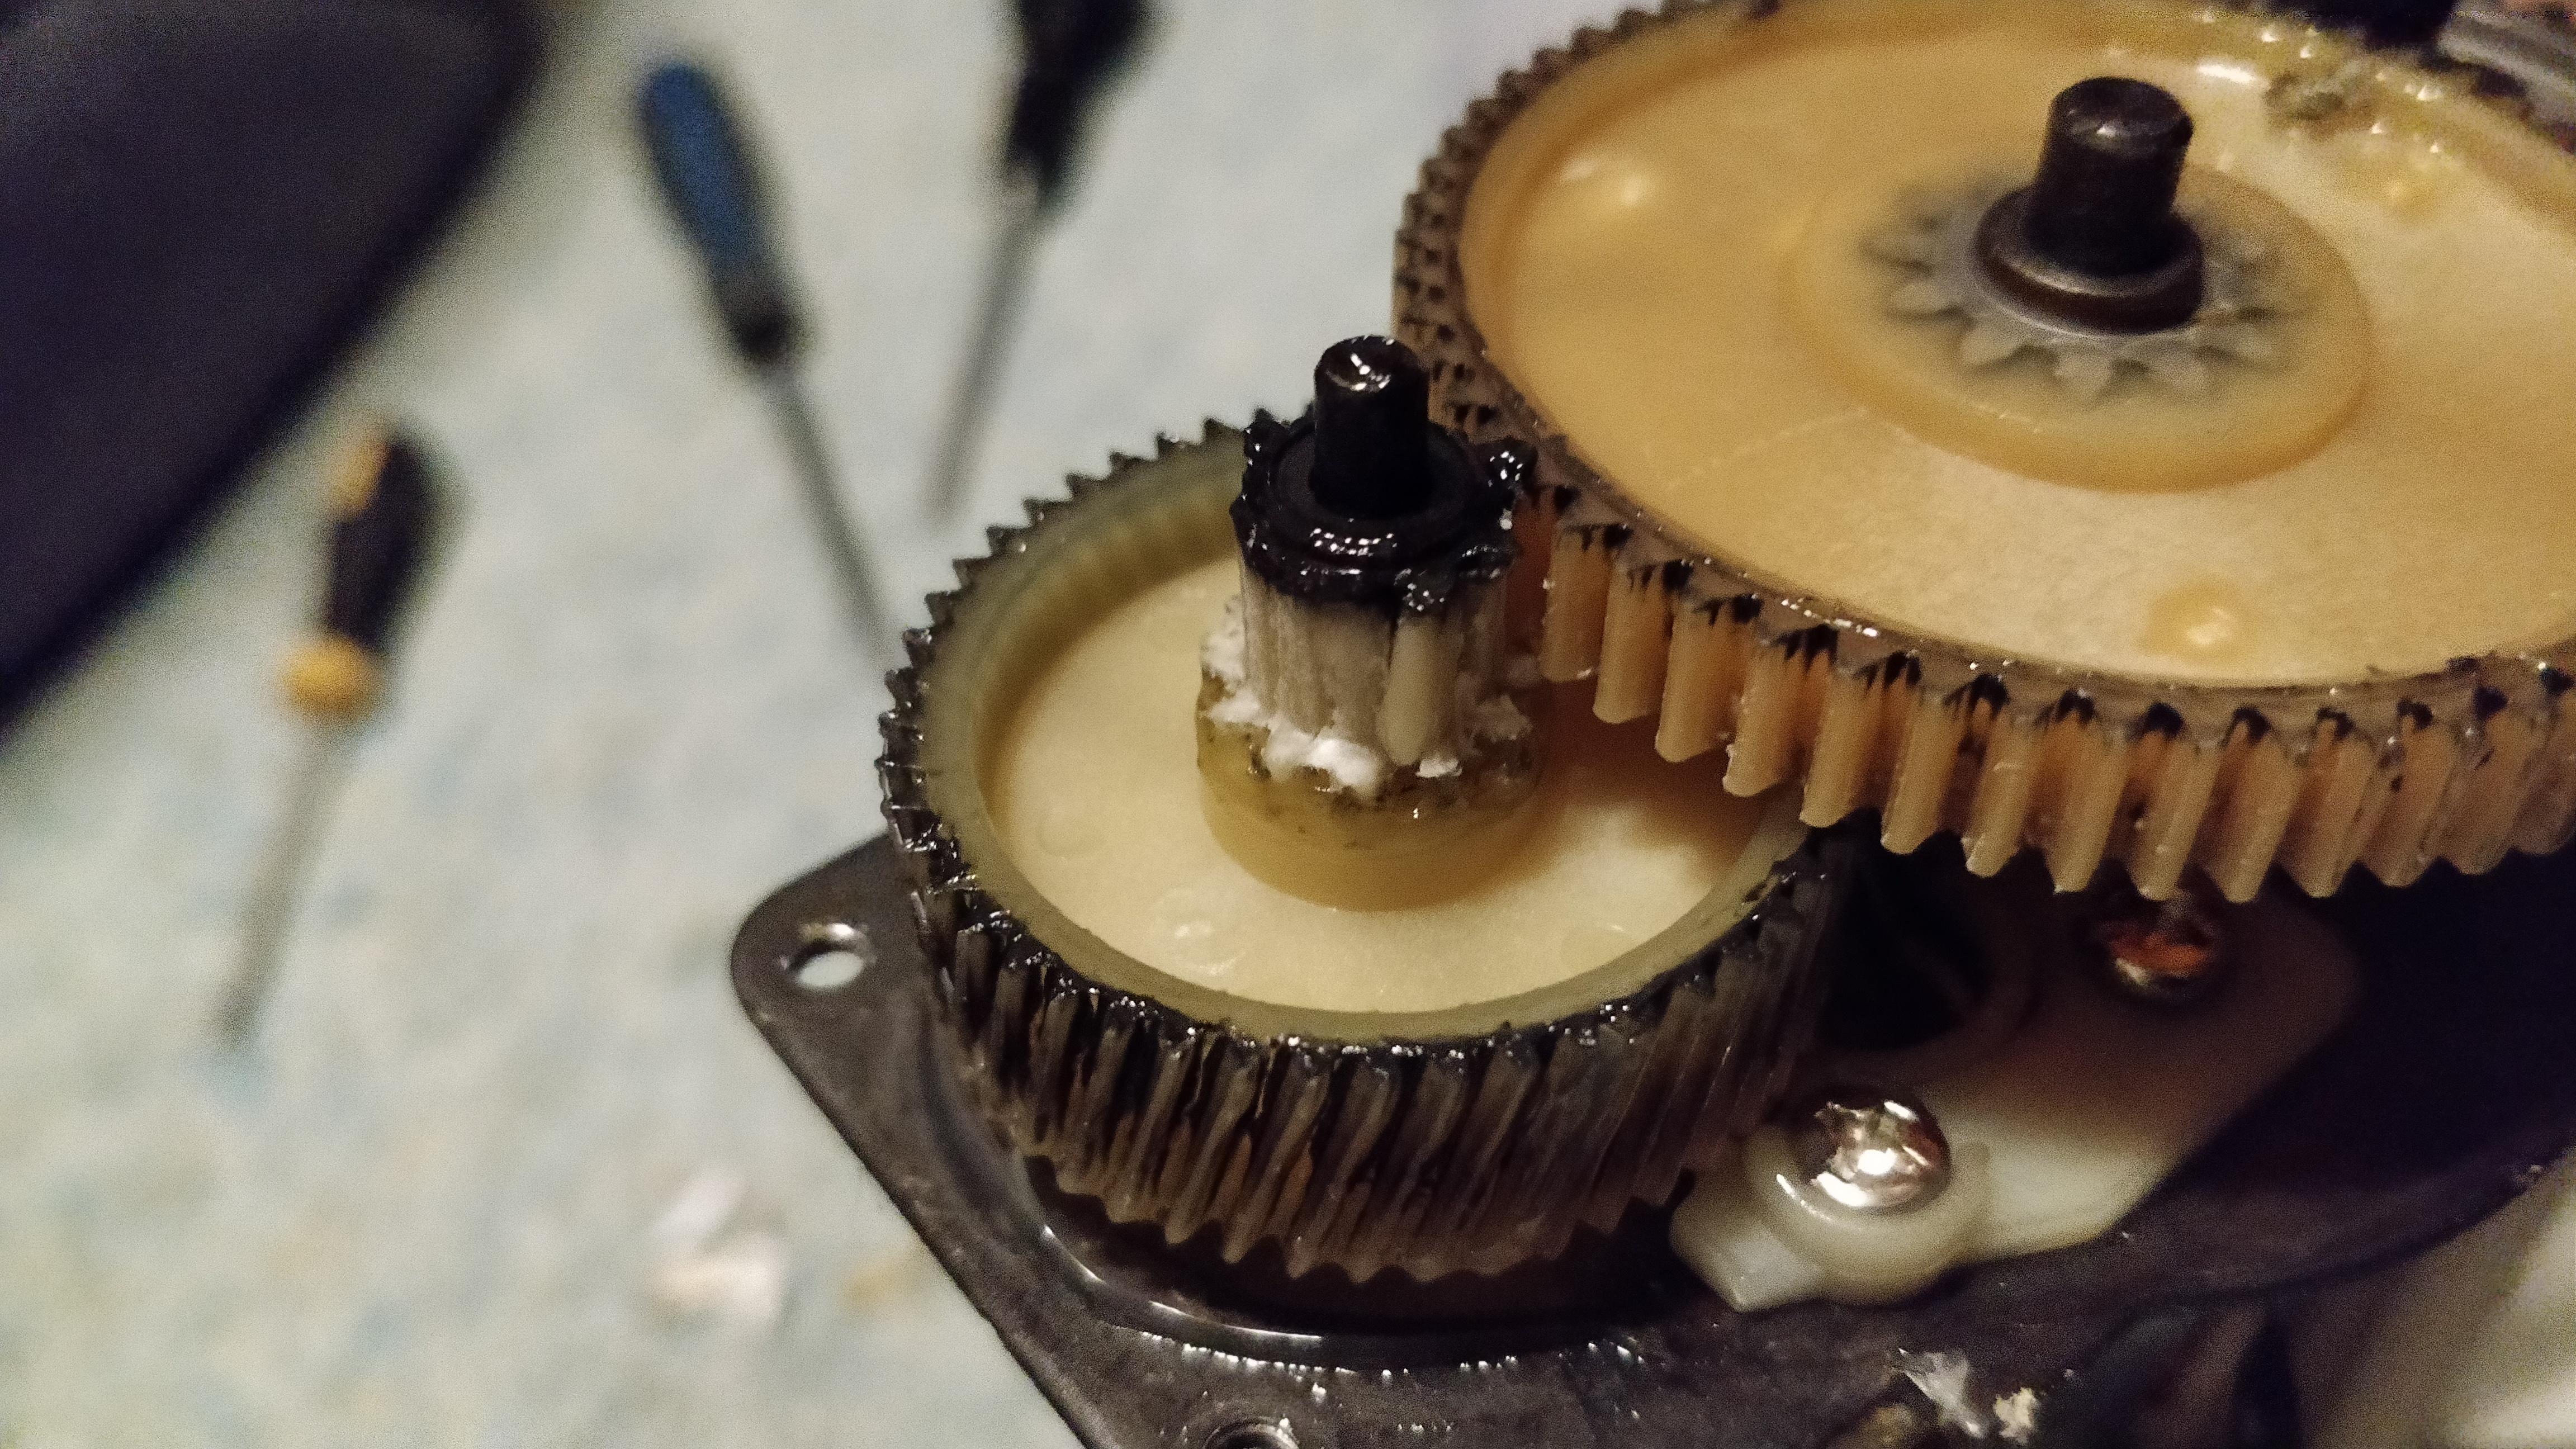
You hear the motor hum, but paper sits untouched at the feed slot. This indicates the motor spins, but power isn’t reaching the blades, typically due to mechanical failure.
Confirm Mode Is Set to Auto
Ensure the switch isn’t in Reverse mode. In Auto, the motor should engage only when paper triggers the sensor. If stuck in Reverse, the unit won’t accept new paper. Flip the switch to Auto and test with a single sheet.
Diagnose Stripped Gears or Broken Belt
A high-pitched whining noise without blade movement points to stripped plastic gears or a failed drive belt. These components transfer motor power to the blades. Overloading, exceeding sheet capacity, or shredding staples can destroy them instantly. Open the casing and inspect the gear assembly. If teeth are missing or worn down, the gear must be replaced. For belt-driven models, check for cracks or slippage. Source exact replacement parts. Generic gears won’t mesh correctly.
Rule Out Bin Sensor False Trigger
Even with motor noise, a misread bin full sensor can halt operation. Empty the bin completely and wipe the sensor window with a dry swab. Reinsert the bin firmly. If the Full light persists, unplug the unit for 2 minutes to reset the control board.
Shredder Only Runs in Reverse
The reverse function works, but inserting paper does nothing. This is almost always a sensor issue.
Clean the Paper Sensor
Dust, oil, or paper fibers block the optical sensor in the feed slot center. Unplug the unit. Dip a cotton swab in isopropyl alcohol and gently wipe the sensor lens. Do not use canned air, as it can push debris deeper or damage sensitive optics. Use a soft brush if needed.
Clear the Activation Trigger
The central trigger mechanism may be stuck. Insert a rigid index card or file folder straight into the feed slot with firm pressure. Push it through several times to dislodge any jammed debris and reset the sensor arm.
Check Wiring and Control Board
If cleaning fails, inspect internal wiring. A loose or disconnected wire to the forward circuit prevents Auto mode. Trace the wires from the sensor to the control board. Reconnect any loose terminals. If connections are secure, the control board itself may be faulty. Consider replacement if other fixes fail.
Shredder Runs Continuously in Auto Mode
The motor runs nonstop, even with no paper. This wastes energy and overheats the unit.
Fix a Stuck Sensor
Debris is holding the sensor in the on position. Unplug the shredder. Use a cotton swab to clean the sensor area. Insert a stiff card into the feed slot and push through to dislodge any stuck paper fragment. Test with the switch in Auto.
Inspect for Wiring Shorts
If the sensor is clean but the motor runs, check for internal wiring shorts. Exposed or frayed wires touching the chassis can bypass the sensor. Open the casing and trace all wires. Insulate damaged sections with electrical tape or replace the wire harness.
Slow, Noisy, or Strained Operation
The motor labors, cuts poorly, or makes grinding sounds. Address this immediately to prevent permanent damage.
Lubricate the Blades
Dry blades cause friction, heat, and slow cutting. Use shredder oil, not cooking oil, and apply it via oiled paper or direct feed slot application. Run the oil through in Reverse for 5 to 10 seconds, then a clean sheet in Forward. Do this every 1 to 2 weeks for moderate use.
Remove Fiber Buildup
Compacted paper dust between blade stacks increases resistance. Unplug the unit. Use compressed air to blow out debris from the cutting assembly. For stubborn buildup, disassemble the blade stack and scrub with a stiff brush.
Extract Metal Objects
A grinding noise means staples, clips, or other metal is caught in the blades. Stop immediately. Run in reverse briefly. If noise continues, unplug and manually remove the object during teardown. Leaving metal in the blades will chip or dull them permanently.
Tighten Loose Components
Vibrations can loosen internal screws or housing parts. Open the casing and check all fasteners. Tighten any that are loose, especially near the motor and gear assembly.
“Bin Full” Light Stays On
The unit refuses to start, claiming the bin is full when it’s empty.
Clean the Bin Sensor
Paper dust blocks the optical sensor eye. Use canned air or a soft brush to remove debris. Avoid touching the lens with fingers. Oil smudges reduce sensitivity.
Re-seat the Waste Bin
Pull the bin out and reinsert it firmly. Ensure it clicks into place. If using a plastic liner, make sure it’s not draped over the sensor area or preventing full seating. Remove the bag and test without it.
Reset the Control Board
Unplug the shredder for 1 to 2 minutes. This resets the sensor logic. Plug back in and test.
Clearing Paper Jams Safely
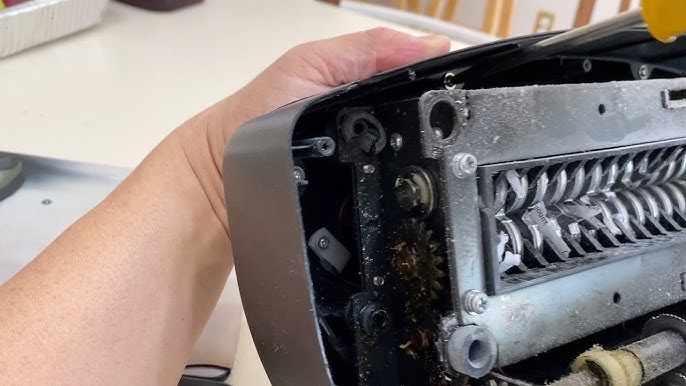
Jams are the most common issue. Follow this protocol to clear them without damaging the blades.
Immediate Response Steps
- Switch to Off and unplug.
- Wait 30 to 60 minutes if the unit was hot.
- Plug in, switch to Reverse, and run for 3 to 5 seconds.
- If stuck, alternate: 1 second Forward, 5 seconds Reverse. Repeat 2 to 3 times.
Manual Extraction Methods
If reverse fails, use a rigid card. Insert a file folder or index card into the feed slot with firm pressure to push through the jam. Use plastic tools like tweezers or chopsticks to gently pull paper out. Never yank. This tears paper and leaves fragments. Avoid metal tools. Screwdrivers or knives can scratch or chip precision blades.
Soak Severe Jams
For tightly wedged paper, unplug the unit. Drizzle 2 to 3 tablespoons of shredder oil onto the jam. Let it soak for 30 minutes to soften fibers. Try the rigid card method again.
Preventive Maintenance Schedule

Regular care prevents 80% of OM02750 failures.
Lubricate Based on Usage
Use this schedule for optimal performance.
• Light use, fewer than 10 sheets per day: Once per month
• Moderate use, 10 to 50 sheets per day: Every 1 to 2 weeks
• Heavy use, more than 50 sheets per day: Every 15 to 20 minutes of runtime
Use only shredder oil. Never cooking oil, it gums up. Never WD-40, it degrades plastic.
Clean Sensors and Feed Slot Weekly
Use a dry cotton swab or soft brush. For sticky residue, lightly dampen with isopropyl alcohol. Keep liquids away from electronics.
Empty Bin at 75% Capacity
Overfilling causes jams and false Full readings. Replace bags when three-quarters full.
What Not to Shred
Avoid these items to prevent damage.
• Metal: Staples, binder clips, paper clips
• Adhesives: Sticky notes, labels, glued envelopes
• Plastics: Laminated paper, credit cards unless rated, CDs
• Thin paper: Tissue, newsprint
• Corrugated materials: Cardboard, rolls
Exceeding sheet capacity by more than 10 to 20% also risks gear damage.
When to Open the Casing
If basic fixes fail, internal inspection is needed.
Disassemble Safely
- Unplug the unit.
- Remove 4 to 6 Phillips screws from the base and back.
- Lift off the casing. Organize screws by location.
Inspect Key Components
Inspect gears for stripped teeth. Replace if damaged. Check blade stack for bent blades or trapped metal. Ensure safety lever moves freely and aligns with the bin. Confirm all wiring connections are secure.
Key Takeaways for OM02750 Shredder Troubleshooting
Most OM02750 shredder problems stem from simple causes: no power, clogged sensors, lack of oil, or paper jams. By following this guide, you can diagnose and fix nearly every issue without professional help. Remember to unplug before servicing, oil regularly, and never overload. With proper care, your OM02750 will deliver years of reliable service. If motor or control board failure occurs and repair costs exceed $20, consider replacement. This model is designed for affordability, not field-replaceable motors. But for sensor issues, jams, and power faults, this guide gives you everything needed to restore full function fast.
Frequently Asked Questions About OM02750 Shredder Troubleshooting
Why won’t my OM02750 shredder turn on at all?
Start by checking the power outlet with another device to confirm it’s working. Inspect the power cord for damage, ensure it’s fully plugged in, and verify the waste bin is properly seated. If the unit was used continuously for over 5 minutes, the thermal overload may have triggered. Unplug and wait 30 to 60 minutes before testing again.
How do I fix a paper jam in my OM02750 shredder?
First, switch to Off and unplug. If the unit is hot, let it cool for 30 to 60 minutes. Plug in, switch to Reverse, and run for 3 to 5 seconds. If that fails, insert a rigid card into the feed slot with firm pressure to push the jam through. For severe jams, apply 2 to 3 tablespoons of shredder oil and let it soak for 30 minutes before attempting again.
Why does my shredder run continuously without paper?
This indicates a stuck sensor. Unplug the unit and clean the sensor area in the feed slot with a cotton swab dipped in isopropyl alcohol. Use a stiff card to push through the slot and dislodge any debris. If the problem persists, check for wiring shorts inside the casing.
How often should I lubricate my OM02750 shredder?
Lubrication frequency depends on usage. For light use under 10 sheets daily, oil once monthly. For moderate use of 10 to 50 sheets daily, oil every 1 to 2 weeks. For heavy use over 50 sheets daily, oil every 15 to 20 minutes of runtime. Always use proper shredder oil, never cooking oil or WD-40.
What causes the “Bin Full” light to stay on when the bin is empty?
Paper dust likely blocks the optical sensor. Clean the sensor with canned air or a soft brush. Ensure the bin is fully seated and clicking into place. If using a plastic liner, check that it’s not covering the sensor. Unplug the unit for 1 to 2 minutes to reset the control board.
Can I repair stripped gears in my OM02750 shredder?
Yes, but it requires opening the casing. Stripped gears produce a high-pitched whining noise without blade movement. Inspect the gear assembly for missing or worn teeth. Replace with exact model matching parts. Generic gears won’t mesh correctly with the blade mechanism.





