

Nothing disrupts your workflow like an Ideal shredder that won’t start, jams repeatedly, or suddenly stops mid-job. Whether you’re cleaning up sensitive documents in a home office or managing high-volume shredding in a corporate environment, a malfunctioning shredder can compromise both productivity and data security. The good news? Most problems with Ideal paper shredders are preventable or easily fixed with the right knowledge.
This guide delivers step-by-step Ideal shredder troubleshooting for the most common issues, from paper jams and overheating to unresponsive controls and dull blades. Drawing directly from official Ideal manuals and technical specifications, we’ll show you how to diagnose problems quickly, perform essential maintenance, and keep your shredder running at peak performance. You’ll learn not just how to fix issues but why they happen and how to avoid them in the future.
Diagnose Power and Startup Failures

When your Ideal shredder won’t turn on, the cause is usually simple but critical to address immediately. Start here before assuming motor failure or internal damage.
Check Power Source and Outlet
First, verify the basics:
– Ensure the power cord is fully inserted into both the shredder and the wall outlet.
– Test the outlet with another device (like a lamp) to confirm it’s live.
– Avoid using extension cords or power strips, especially for high-capacity models like the Ideal 2400 or 3105, as they may not deliver sufficient current.
⚠️ Pro Tip: Some Ideal models have a thermal fuse that cuts power during overheating. If the unit was running for an extended period, wait 30 to 60 minutes before retrying.
Inspect Safety Sensors and Door Switch
Most Ideal shredders have a safety interlock switch that disables operation if the waste bin isn’t properly seated or the door is open.
Look for:
– A flashing “Door Open” or “Bin Full” LED on the control panel.
– Misaligned bin placement, especially on models with transparent bins (e.g., Ideal 2445 CC, 4606 CC).
– Debris blocking the sensor near the bin insertion point.
Fix: Remove the bin, wipe the sensor area with a dry cloth, and reseat firmly until it clicks.
Test Auto-Start vs Manual Mode
Many Ideal shredders use infrared auto-start sensors instead of physical switches.
To test:
1. Plug in the unit.
2. Place a small strip of paper over the feed opening.
3. If nothing happens, try holding the paper steady for 2 seconds.
If auto-start fails but manual reverse works via button, the sensor may be dirty or obstructed.
Solution: Clean the sensor window with a cotton swab and isopropyl alcohol. Avoid spraying liquid directly onto the unit.
Clear Paper Jams Quickly and Safely
Paper jams are the number one issue across all Ideal shredder models, even those with jam-proof technology. Knowing how to clear them without damaging the cutters is essential.
Recognize Jam Warning Signs
Common indicators include:
– Grinding or stalling noise
– Reverse function activating automatically
– “Jam” or “Overload” LED illuminated
– Paper stuck halfway through
✅ Note: Models like the Ideal Shredcat 8283 CC and 2465 CC feature auto-reverse to prevent jams, but frequent reversals signal improper usage or lack of oiling.
Use Reverse Function First
Never pull paper forward. Always:
1. Press and hold the Reverse button.
2. Let the machine eject the paper gradually.
3. Once cleared, switch to Auto or Forward mode.
If reverse doesn’t engage:
– The motor may be overheated, so wait 30 minutes.
– The bin may be full or improperly installed, so check alignment.
Manually Remove Stubborn Jams
If reverse fails:
1. Unplug the shredder.
2. Open the top feed slot and inspect visible paper.
3. Use tweezers or needle-nose pliers to gently pull paper in the reverse direction.
4. Avoid using fingers due to risk of cuts or sensor activation.
❌ Never use scissors or sharp tools inside the cutting head because you can permanently damage hardened steel blades.
Prevent Future Jams
Jam frequency drops dramatically with proper habits:
– Don’t overload: Stick to the rated sheet capacity (e.g., 10 sheets for cross-cut models).
– Feed slowly: Allow each batch to fully enter before adding more.
– Shred only approved materials: No staples, paper clips, or thick cardboard unless specified.
– Oil regularly, which is non-negotiable (see next section).
Maintain Blades with Proper Oiling

Neglecting oiling is the fastest way to ruin an Ideal shredder’s cutting assembly. Even jam-proof models depend on lubrication to function correctly.
Why Oiling Matters
Oiling:
– Reduces friction between precision-cut steel blades
– Prevents overheating and motor strain
– Extends blade life and maintains cutting sharpness
– Keeps paper dust from forming abrasive paste
⚠️ Warning: Running a dry shredder repeatedly can void the warranty on models like the Ideal 2600 and 4108 CC.
Choose the Right Oil
Use shredder-specific oil only. Common options:
– Liquid shredder oil (e.g., Fellowes, Amazon Basics)
– Oil sheets (pre-treated paper strips)
Avoid household oils like WD-40 or vegetable oil, as they gum up blades.
Step-by-Step Oiling Procedure
- Empty the bin (ideal time to oil).
- Plug in the shredder.
- Set to Reverse mode.
- Apply 2 to 3 drops of oil across the entire width of the feed slot.
- Run in Forward for 5 seconds to distribute oil.
- Repeat monthly or after every 30 minutes of continuous use.
✅ Pro Tip: For heavy-use environments like law firms or accounting offices, oil weekly.
Handle Overheating and Cool-Down Cycles
Ideal shredders have built-in thermal protection. When the motor gets too hot, it shuts down automatically.
Identify Overheat Symptoms
- Unit stops mid-shred
- “Overheat” LED lit
- Burning smell (rare but serious)
- No response to power or sensor
Allow Proper Cool-Down Time
- Unplug the unit.
- Wait 30 to 60 minutes before restarting.
- Do not force operation, as this risks permanent motor damage.
📊 Rule of Thumb: Most desktop models (e.g., Ideal 2350, 2240) are rated for 5 to 10 minutes of continuous use, followed by a 20 to 30 minute rest.
Industrial models like the Ideal 2400 can run longer but still require periodic breaks under heavy load.
Improve Ventilation
Ensure:
– Air vents on sides or back are unobstructed.
– Shredder isn’t placed in a cabinet or enclosed space.
– Dust isn’t clogging cooling fans, especially in older Shredcat models.
Troubleshoot Shredding Media Issues
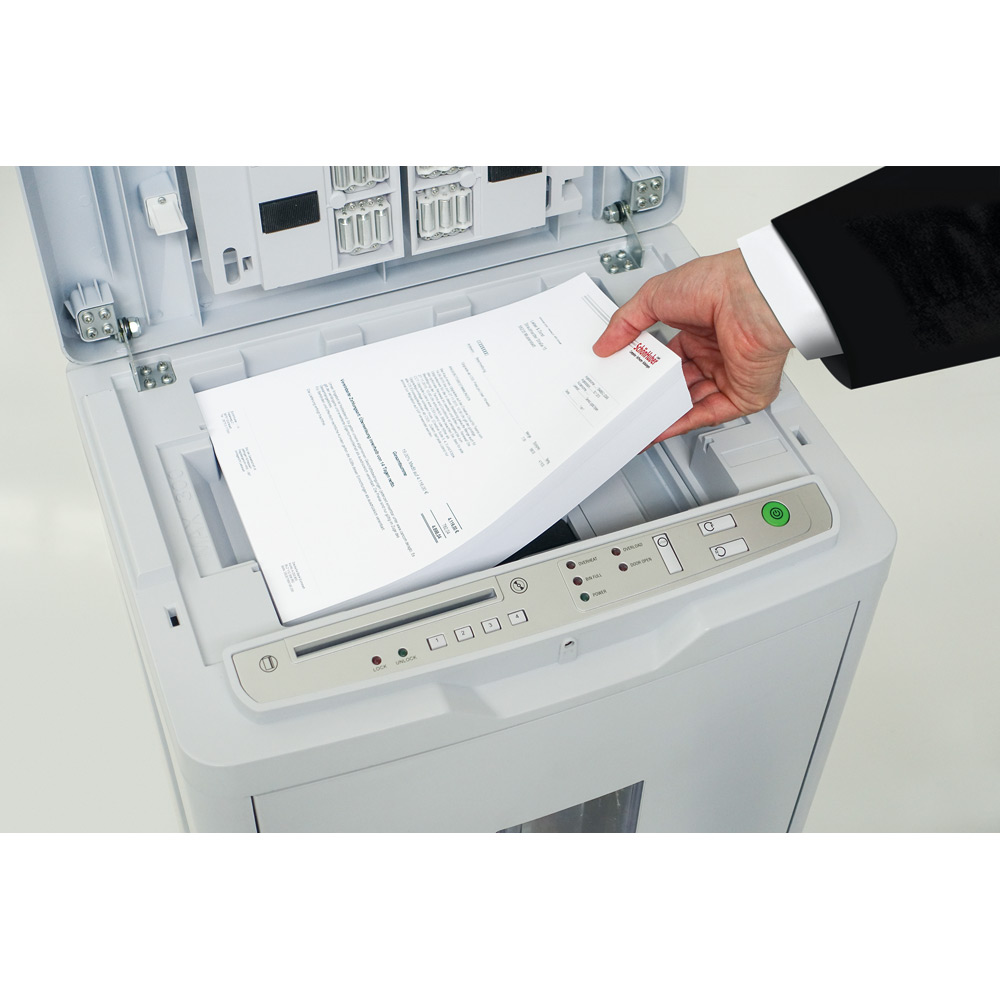
Ideal shredders can handle more than paper, but only under strict guidelines.
CDs, DVDs, and Credit Cards: What’s Safe?
Approved for shredding on compatible models:
– CDs/DVDs: One at a time, center-fed.
– Credit cards: Single card, fed straight.
Not supported:
– Blu-ray discs (too dense)
– Laminated cards with metal strips
– Multiple cards or discs at once
⚠️ Critical: Models like the Ideal 4004 or 2350 may not support media shredding at all. Check your manual.
Why Media Shredding Causes Jams
Optical discs create plastic shavings that:
– Accumulate faster than paper dust
– Can clog sensors and cutting heads
– Require more motor torque
After shredding a CD/DVD:
1. Run 2 to 3 sheets of plain paper through.
2. Oil immediately to clear plastic residue.
Resolve Bin Full and Sensor Errors
Even when the bin looks empty, sensor errors can disable operation.
Clean the Bin Full Sensor
Located near the top of the waste chamber, this infrared sensor detects fill level.
To fix false “Bin Full” alerts:
1. Remove the bin.
2. Wipe the sensor window (usually a small lens or hole) with a dry microfiber cloth.
3. Check for stray paper scraps or shredded particles blocking the beam.
4. Reinsert bin until it clicks securely.
✅ Models with transparent bins (e.g., Ideal 2445 SMC, 4605) make visual inspection easier.
Empty and Reset Correctly
Always:
– Empty bin when it reaches ¾ full.
– Never force extra shreds in after the alert.
– Some models require a manual reset after bin replacement, so press the “Reset” or “Auto” button once reassembled.
Address Unusual Noises and Performance Drops
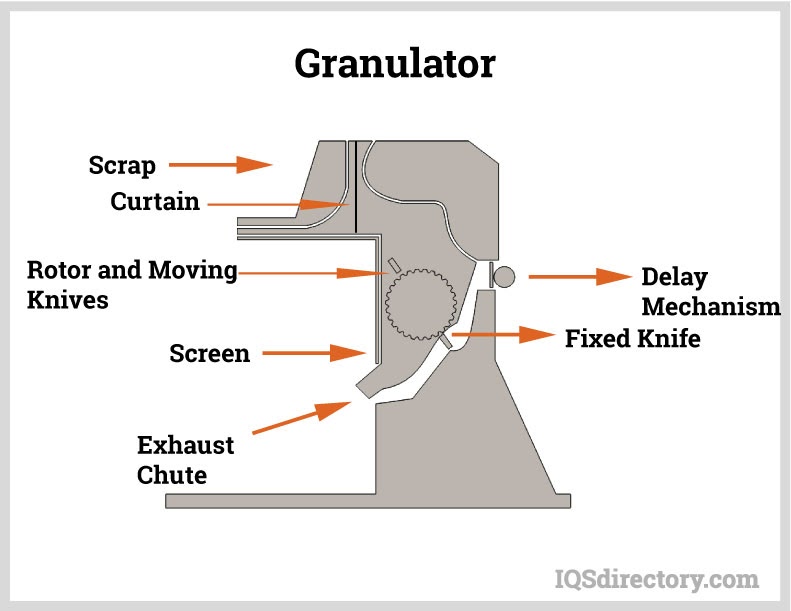
Strange sounds often signal maintenance needs rather than imminent failure.
Common Noises and Causes
| Sound | Likely Cause | Solution |
|---|---|---|
| Grinding | Dull blades, no oil | Oil immediately; inspect for foreign objects |
| Whining | Motor strain | Reduce batch size; allow cool-down |
| Clicking | Jam detection cycle | Check for partial jams; run in reverse |
| Silence with no start | Power or sensor fault | Test outlet, check bin alignment |
Restore Cutting Performance
If paper strips are uneven or larger than usual:
– Blades are dull due to lack of oiling.
– The unit may be past its service life, especially after 3 or more years of heavy use.
For micro-cut models (e.g., Ideal 2400): Poor cut quality compromises security, so replace blades or consider professional servicing.
Prevent Problems with Routine Maintenance
Prevention beats repair every time. Follow this quick checklist monthly.
Weekly Actions
- Empty bin before it overflows
- Run 2 to 3 oil sheets or apply liquid oil
- Wipe down feed slot and control panel
Monthly Deep Clean
- Unplug shredder.
- Remove bin and empty completely.
- Use a small brush or compressed air to clean dust from cutting head and sensor areas.
- Inspect rollers for wear or debris.
- Test all buttons and auto-start function.
🛠️ Pro Tip: Keep your model-specific manual on file. With manuals ranging from 11 pages (Ideal 2350) to 192 pages (Ideal 2400), details matter.
When to Contact Ideal Support
Some issues go beyond DIY fixes. Reach out to Ideal service if:
– Motor doesn’t respond after cooling and power checks
– Smoke or burning smell persists
– Cutting blades are visibly damaged
– Warranty claim needed (e.g., premature motor failure)
Support Channels:
– Official website: Use the Contact or Service form
– Authorized dealers: Some offer repair or replacement
– Retain proof of purchase, as warranty terms vary by region
📅 Note: The latest manual update was September 7, 2021 (Ideal 4108 CC). Check the official site for current firmware or service bulletins.
Frequently Asked Questions About Ideal Shredder Troubleshooting
Why does my Ideal shredder keep jamming even with jam-proof technology?
Jam-proof technology detects overload before a jam occurs, but it cannot compensate for poor maintenance. Dull blades, lack of oiling, and exceeding sheet capacity are the most common causes of repeated jams. Oil regularly and stay within rated capacities.
How often should I oil my Ideal shredder?
Oil your shredder whenever you empty the bin or after extended continuous use. For heavy-use environments like law firms or accounting offices, oil weekly. Light home office use may only require monthly oiling.
Can I use WD-40 or vegetable oil on my Ideal shredder?
No. Only use shredder-specific oil, either liquid or oil sheets. Household oils like WD-40 or vegetable oil can gum up the blades and cause permanent damage to the cutting mechanism.
What should I do if my Ideal shredder won’t turn on at all?
First, check the power source and outlet. Then inspect the safety interlock switch and bin alignment. If the unit was running for an extended period, it may have triggered a thermal fuse, requiring a 30 to 60 minute cool-down before retrying.
Which Ideal models can shred CDs and credit cards?
The Shredcat series (e.g., 8283 CC, 8280 CC) is specifically designed for optical media destruction. Many cross-cut and micro-cut models can handle single CDs, DVDs, or credit cards, but always check your model’s manual first. Models like the Ideal 4004 or 2350 may not support media shredding at all.
How long should an Ideal shredder last with proper maintenance?
With regular oiling, proper usage, and routine cleaning, an Ideal shredder can last for years of reliable service. Neglecting maintenance, especially oiling, significantly shortens lifespan and can void the warranty on models like the Ideal 2600 and 4108 CC.
Key Takeaways for Ideal Shredder Troubleshooting
Most Ideal shredder problems trace back to three root causes: lack of oiling, overloading, and ignoring duty cycles. By addressing these habits, you’ll resolve the vast majority of issues before they start.
Your next step is simple: locate your model’s manual, check the oil level, and run a maintenance cycle this week. If problems persist after following these troubleshooting steps, contact Ideal support through their official website with your model number and proof of purchase ready.





