
A dull paper guillotine blade turns clean cuts into ragged messes. If your once-precise paper cutter now tears instead of slicing, the blade has likely lost its edge. Over time, repeated use, heavy materials like cardstock, or accidental contact with staples can degrade performance and damage your projects. With the right tools and proper technique, you can restore your guillotine blade without paying for professional service every time. This guide walks you through every step: how to assess blade wear, sharpen safely and effectively, and maintain your cutter for long-term reliability.
Spot the Warning Signs of a Dull Blade

Ragged Cuts Signal Blade Wear
If paper fibers tear instead of cutting cleanly, the blade has lost its edge. A sharp guillotine blade should slice through stacks effortlessly. When resistance increases or edges appear frayed, sharpening is due. This is especially common after cutting coated paper, laminated sheets, or thick cardstock regularly.
Check for Visible Nicks and Burrs
Inspect the blade under bright light. Run a finger along the side (never the edge) to feel for rough spots. Look for:
• Small chips or notches along the cutting edge
• A rounded, dull appearance instead of a mirror-like sharp edge
• Uneven wear patterns from off-center cutting
Any visible damage means the blade needs attention, either sharpening or replacement.
Test Cutting Resistance
Make a test cut on scrap paper. A sharp blade drops smoothly through the stack with minimal pressure. If you have to force the handle or hear a tearing sound, the blade is no longer performing optimally. This increased effort also strains the machine’s hinge mechanism over time.
Gather Your Sharpening Tools
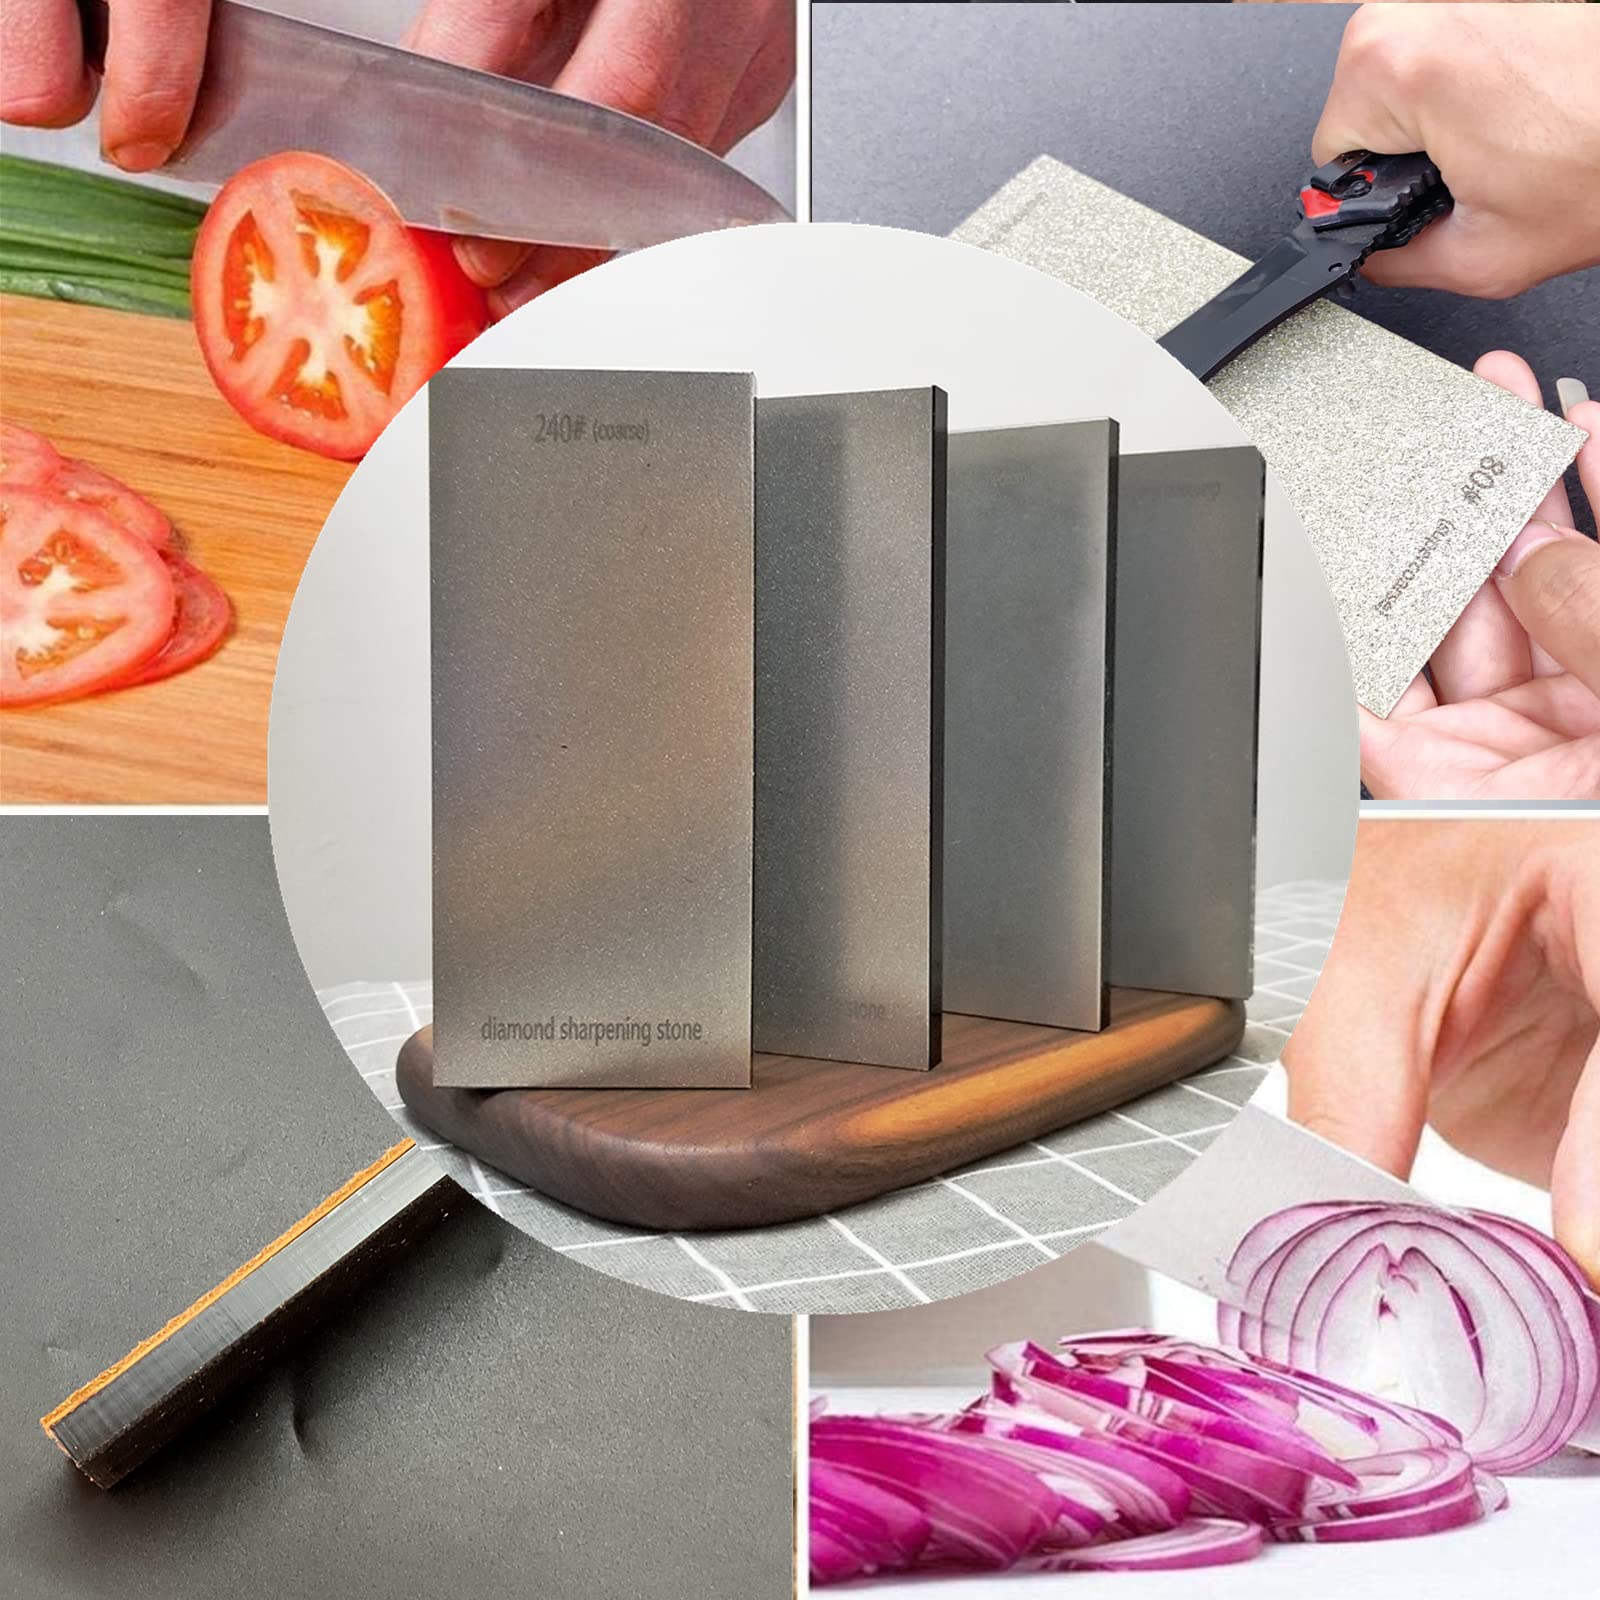
Choose a Diamond Sharpening Stone
A 600 to 1200 grit diamond stone works best for paper cutter blades. It stays flat, lasts a long time, and works with water or oil. Soak water stones for 10 to 15 minutes before use, or apply a few drops of cutting oil to oil stones. Dry stones can be used as-is but must remain free of debris.
Prepare Safety and Support Gear
Always wear cut-resistant gloves and safety goggles. Blades are extremely sharp, even when dull, and metal fragments can break off during sharpening. Work on a stable, well-lit surface with a microfiber cloth nearby to wipe the blade and check progress.
Consider a Honing Guide and Strop
A honing guide ensures a consistent 20 to 25 degree angle, which is critical for even sharpening. A leather strop with polishing compound removes burrs and refines the edge after sharpening. These tools are optional but improve results, especially for beginners.
Secure the Guillotine Safely
Lock the Blade in Raised Position
Turn off and unplug the machine if it’s electric. Manually raise the blade and engage the safety lock to prevent accidental drops during maintenance. Never work on a blade that isn’t securely fixed.
Confirm Blade Removal Feasibility
Check your user manual before starting. Some models allow full blade removal for easier access, while others require in-place sharpening. If the blade is removable, follow manufacturer instructions precisely for disassembly. Label screws and parts to avoid reassembly errors.
Clean the Blade Before Sharpening
Wipe the blade with a dry cloth to remove paper dust and adhesive residue. Avoid solvents unless specified by the manufacturer, as some can damage blade coatings. A clean surface lets you see wear patterns and sharpen more effectively.
Sharpen at the Correct Blade Angle
Maintain a 20 to 25 Degree Angle
Most guillotine blades use a 20 to 25 degree bevel. Use a honing guide to lock in the angle, or practice freehand on scrap metal first. Too steep an angle thickens the edge, while too shallow risks chipping.
Apply Consistent Pressure and Motion
Hold the stone firmly and draw it along the blade’s length using smooth, even strokes. Use 5 to 10 passes per section, maintaining contact from heel to tip. Keep the stone flat against the bevel and avoid rocking it. Flip the blade if double-beveled, or repeat on the opposite side.
Monitor Edge Development
After every few strokes, wipe the blade and inspect the edge. A successful pass creates a slight burr along the back edge, indicating metal removal. If no burr forms, adjust the angle or pressure. Avoid over-sharpening, which removes excess material and shortens blade life.
Strop the Edge for a Polished Finish
Polish with a Leather Strop
After sharpening, run the blade across a leather strop 5 to 10 times per side. This removes burrs and smooths micro-tears in the edge. Apply a small amount of honing compound to the strop for better refinement.
Test for Smoothness
Run a fingernail across the edge carefully. It should catch slightly but not drag. A polished blade cuts cleaner and resists dulling longer. Skip stropping only if immediate use is required.
Reassemble and Test Your Cutter

Reinstall the Blade Properly
If removed, reattach the blade following the manual’s torque specifications. Misalignment causes uneven wear and poor cuts. Ensure all bolts are tight but not over-tightened, which can warp the blade.
Make a Test Cut
Use scrap paper, preferably the same thickness you typically cut. Drop the blade smoothly; it should slice through without resistance. Examine the edge for a clean, straight cut free of fraying.
Repeat If Necessary
If cuts remain rough, repeat sharpening with additional strokes. If no improvement occurs after two sessions, the blade may be too far gone and need replacement.
Maintain Your Blade for Long-Term Performance
Avoid Cutting Contaminants
Never cut paper with staples, tape, or glue spots. These materials instantly damage the edge. Pre-sort stacks to remove foreign objects, since even small bits of plastic or adhesive film accelerate wear.
Clean After Each Use
Wipe the blade and cutting bed with a dry microfiber cloth after every session. Paper dust builds up and acts as an abrasive. For sticky residue, use a manufacturer-approved cleaner instead of household solvents.
Store with the Blade Lowered
When not in use, lower the blade gently onto the backstop or a soft block. This relieves tension on the spring or hydraulic system and protects the tip from accidental impacts.
Know When Replacement Beats Sharpening
Deep Nicks Require Replacement
If the blade has large chips or cracks, sharpening won’t restore performance. Attempting to sharpen severely damaged edges removes too much metal and weakens the blade. Replace it instead.
No Improvement After Sharpening
If test cuts still tear paper after proper sharpening, the blade has likely exceeded its service life. Some blades have a limited number of sharpenings before replacement becomes necessary.
Use Manufacturer-Approved Blades
Always replace with OEM or compatible blades specified for your model. Generic blades may fit but often lack the correct steel hardness or angle, leading to poor performance and safety risks.
Follow Safety Best Practices
Handle Blades by the Spine
Never touch the cutting edge. Always grip the blade along its back or use gloves. Even a dull blade can cause serious injury if mishandled.
Work in a Clutter-Free Zone
Keep tools, cloths, and debris clear of the work area. A slipping stone or dropped blade can lead to accidents. Ensure lighting highlights the edge clearly for inspection.
Keep Children and Pets Away
Blades and sharpening tools are hazardous. Perform maintenance in a secure area where interruptions are unlikely.
Decide Between DIY and Professional Sharpening
DIY Works for Routine Maintenance
For occasional touch-ups, DIY sharpening saves time and money. With a diamond stone and practice, most users can maintain blade quality between professional services.
Professional Service Suits Heavy Use
Commercial environments or high-precision shops benefit from professional sharpening. Technicians use precision grinders that maintain exact angles and restore factory edges, making them ideal for expensive or heavily used machines.
Consider Blade Value and Availability
If replacement blades are costly or hard to find, professional sharpening extends their life. For inexpensive cutters, replacement may be more economical than repeated sharpening.
Respect Warranty and Model Limits
Check Warranty Terms First
Some manufacturers void warranties if DIY blade work is performed. Always consult your user manual or contact support before sharpening. If under warranty, use authorized service centers.
Follow Model-Specific Guidelines
Fixed-blade models require in-place sharpening using small stones or files designed for tight spaces. Removable blades allow full access but must be reinstalled perfectly. Replaceable insert models often don’t need sharpening, just swap the cutting edge.
Contact Manufacturer for Uncertainty
When in doubt, reach out to customer support. They can confirm whether your model supports user sharpening and recommend approved tools or services.
Frequently Asked Questions About Sharpening Paper Guillotine Blades
Can I sharpen a guillotine blade without removing it?
Yes, many models allow in-place sharpening. Use a small diamond stone or file designed for tight spaces. Check your user manual for guidance on accessing the blade while it’s still mounted.
What grit sharpening stone is best for guillotine blades?
A diamond stone in the 600 to 1200 grit range works best. This range removes enough material to restore the edge while producing a fine finish suitable for clean paper cuts.
How do I know if my blade needs sharpening or replacement?
If the blade has small nicks or just feels dull, sharpening usually helps. If you see deep chips, cracks, or if sharpening doesn’t improve cut quality after two attempts, replacement is the better option.
How often should I sharpen my paper guillotine blade?
Sharpening frequency depends on use. Light home users may sharpen once a year, while commercial operations might need monthly touch-ups. Watch for ragged cuts as your primary indicator.
Will sharpening void my warranty?
It depends on the manufacturer. Some warranties are voided by DIY maintenance, while others permit it. Always check your warranty terms or contact the manufacturer before sharpening.
Can I use a regular kitchen knife sharpener on a guillotine blade?
No. Kitchen knife sharpeners use different angles and mechanisms not suited to guillotine blades. Use a diamond stone with proper angle control to avoid damaging the blade.
Key Takeaways for Sharpening Your Paper Guillotine Blade
Regular sharpening keeps your paper guillotine cutting cleanly and safely. By recognizing early signs of dullness, using the right tools, and maintaining proper angles, you extend blade life and protect your investment. Always prioritize safety, follow manufacturer guidance, and know when replacement beats repair.
Start by inspecting your blade today. Check for nicks, test cut quality, and assess whether sharpening is needed. With the routine outlined here, your guillotine stays sharp, reliable, and ready for precision work.





