

You’ve loaded your document, adjusted the settings, and pressed down, only to find the binding machine didn’t punch a single hole. It’s frustrating, especially when you’re on a deadline. A binding machine not punching holes is one of the most common issues users face, but the good news is that most problems have simple fixes you can handle in minutes.
Whether you’re using a manual comb binder, a wire binding punch, or an electric system, this guide walks you through step-by-step solutions to get your machine working again. From clearing jams to adjusting alignment and preventing future issues, you’ll learn how to diagnose and resolve the top causes of failed punching.
Clear Paper Jams Blocking the Punch Mechanism
A jammed punching mechanism is the leading cause of binding machine failure. Excess paper scraps, misfed sheets, or overloading the machine can block the punch pins and stop your project in its tracks.
Remove Debris from Punch Channels
Turn off and unplug the machine if it’s electric. Open the punch die area and inspect each hole carefully. Use tweezers or compressed air to remove stuck paper fragments. Avoid sharp tools that could damage the metal pins.
Pro Tip: Run a test with a single sheet after clearing debris to confirm the punch is fully clear.
Stop Overloading the Machine
Exceeding the machine’s sheet capacity strains the punch mechanism. Always refer to the manufacturer’s recommended page limit before starting a job. If you notice stiff lever resistance, reduce your stack size and punch in smaller batches.
Verify Proper Paper Alignment Before Punching
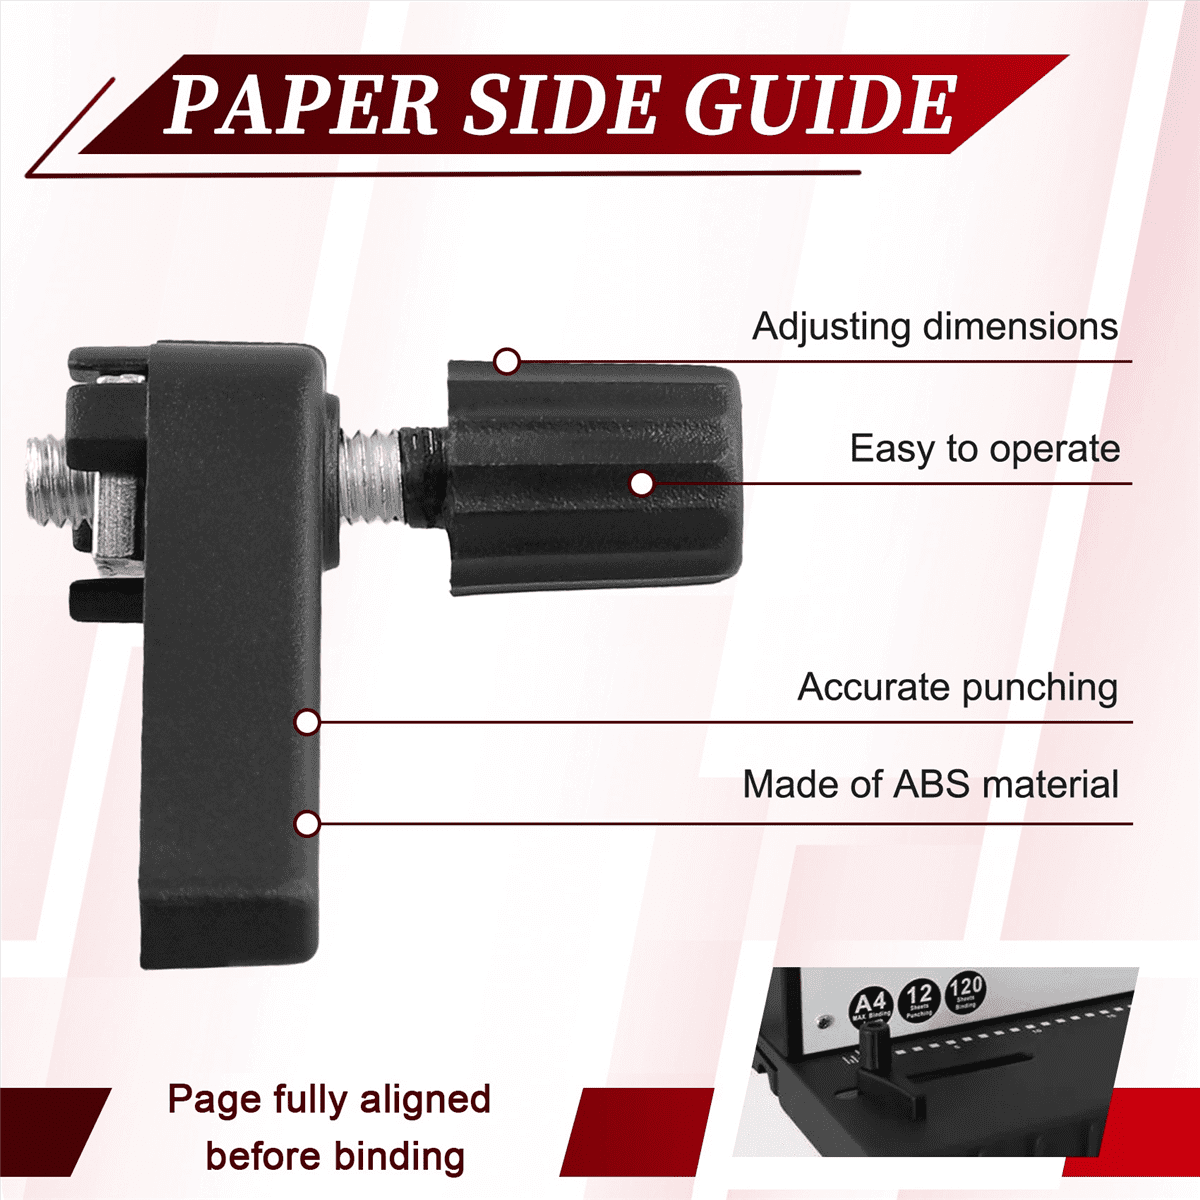
Misaligned paper leads to uneven punching or complete punch failure. Even a slight shift can cause the pins to hit the paper edge or miss the sheet entirely. Proper alignment is one of the simplest binding machine troubleshooting steps you can take.
Center Paper in the Guide Correctly
Slide the paper fully into the backstop and side guide before punching. Hold the stack flat to prevent shifting. For consistent results, tap the stack on a hard surface to even the edges before loading.
Adjust Side and Back Margins
Many binding machines have adjustable margin controls that affect hole placement. Ensure your paper size matches the selected punch pattern for letter, legal, or custom formats. Misalignment between paper and die plate causes skipped or partial holes.
Warning: Forcing the lever with misaligned paper can bend punch pins and create costly damage.
Inspect Punch Pin Condition for Wear or Damage
Worn, bent, or dull punch pins won’t penetrate paper cleanly. Regular inspection of these components prevents sudden breakdowns during important projects.
Look for Bent or Damaged Pins
Examine each pin for visible bends or flattening. A single damaged pin can disrupt the entire row of holes. If pins are bent, the machine may require professional realignment or replacement parts to restore proper function.
Test Punch Quality with a Sample Sheet
Run a test sheet and check whether all holes are fully punched. Look for fraying or incomplete perforation around the edges. If holes appear ragged or partial, the pins may be dull and in need of replacement.
Adjust Machine Settings for Your Paper and Binding Type
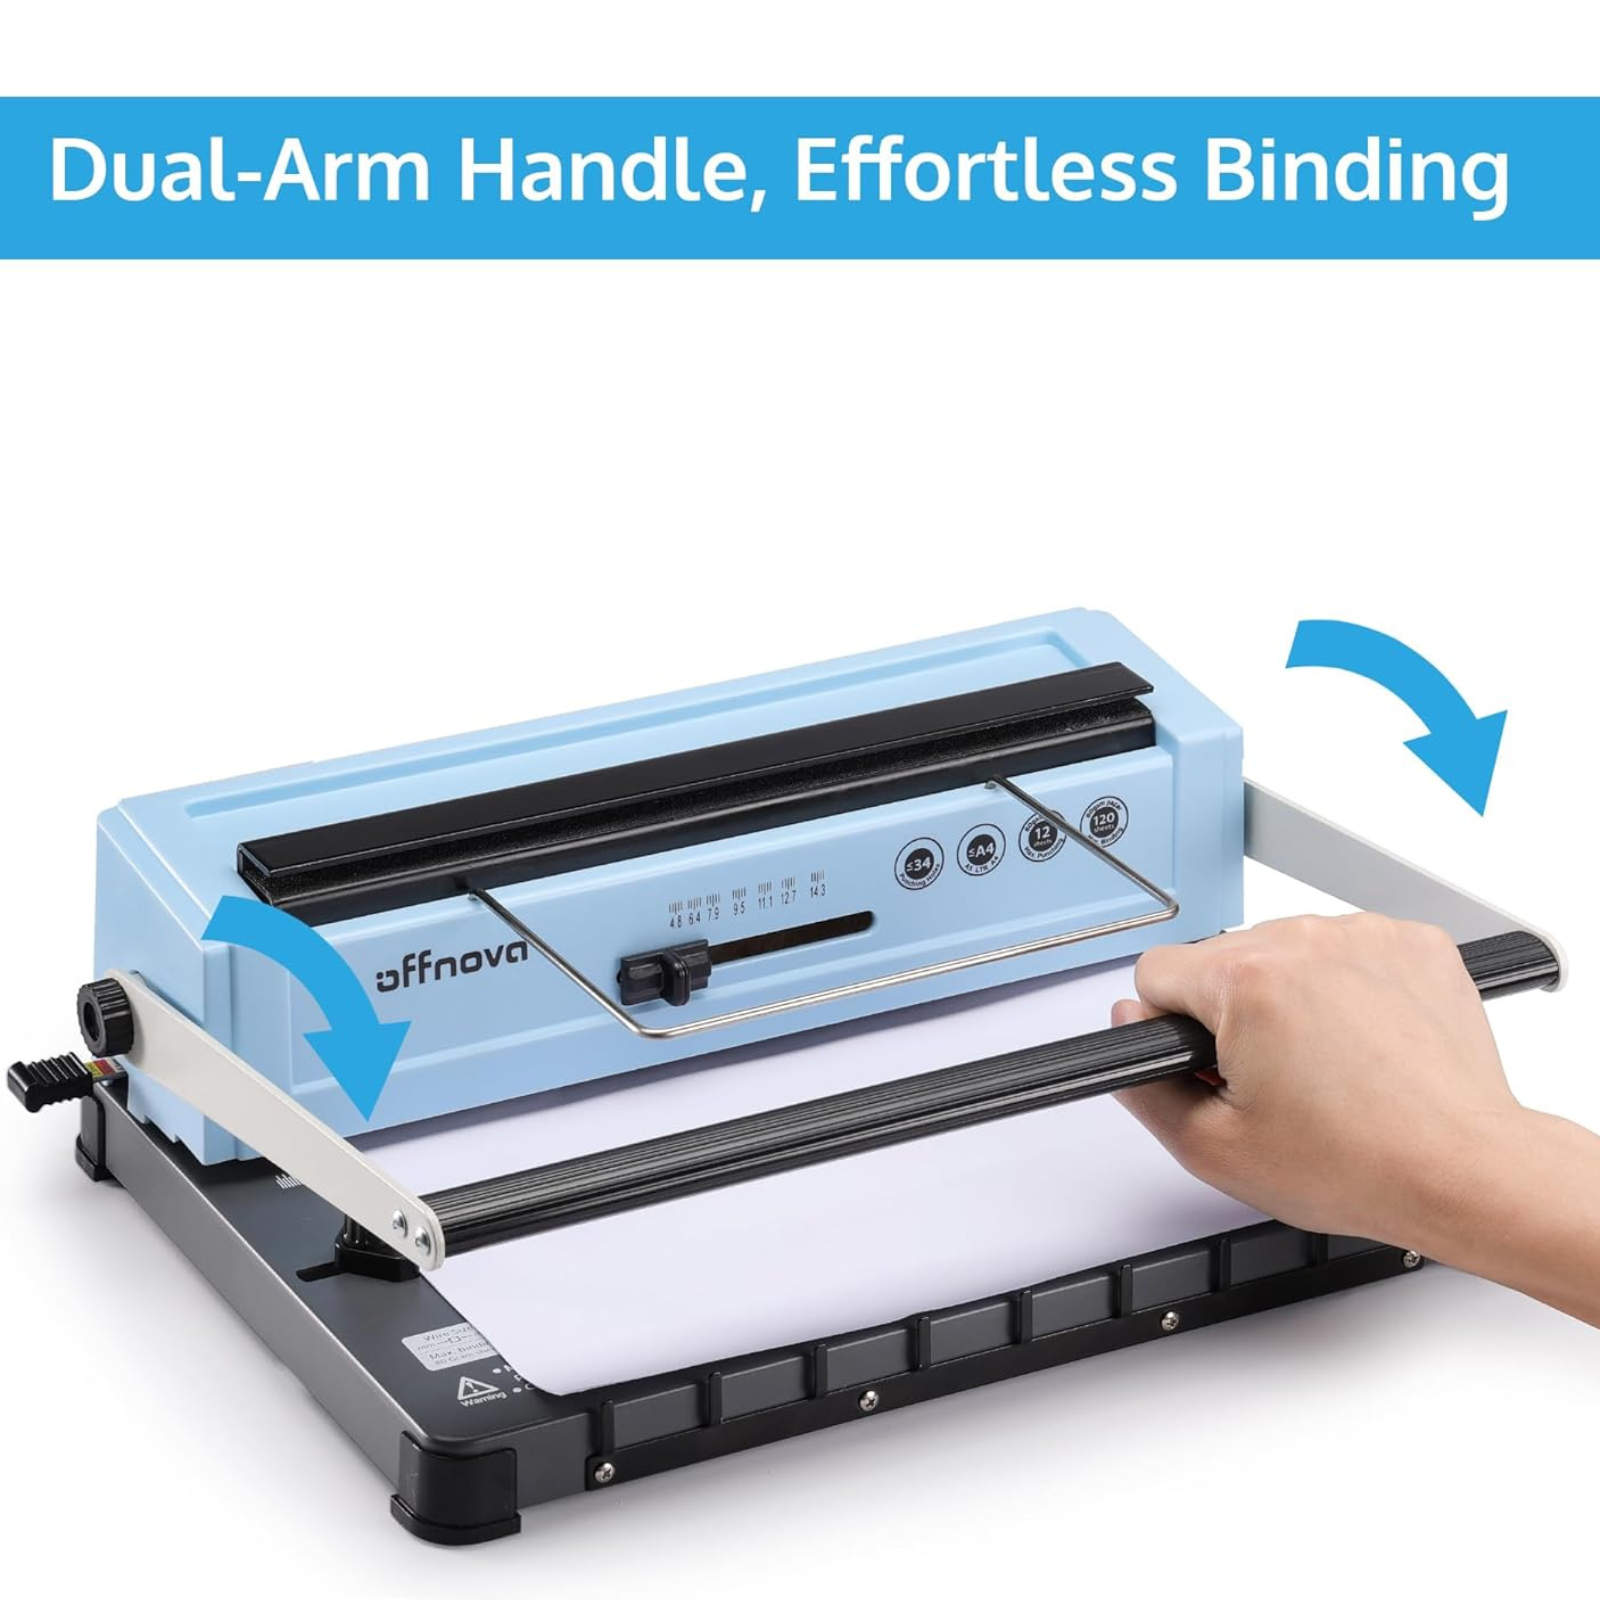
Incorrect settings are often mistaken for mechanical failure. Many users overlook simple adjustments that restore full function to their equipment.
Match Paper Size to Punch Pattern
Use the size selector dial if your machine has one to align with your paper dimensions. Switching between paper sizes like A4 and Letter changes the margin spacing and hole position.
Set the Correct Binding Type
Comb, wire, and coil bindings use different hole patterns. Confirm the machine is set for your binding style before punching. Using a wire binding template for comb binding causes misfires and unusable documents.
Lubricate the Punch Mechanism for Smooth Operation
Dry or stiff components reduce punching efficiency over time. Regular lubrication keeps the mechanism moving smoothly and extends machine life.
Apply Machine Oil Monthly
Use a few drops of lightweight machine oil on pivot points and punch rods. Work the lever several times to distribute the oil evenly. Wipe away excess to prevent paper staining during your next job.
Avoid: Household oils like WD-40, because they attract dust and gum up mechanisms over time.
Test with Standard Paper Weight for Best Results
Using paper that’s too thick or too thin affects punch performance. Most machines are calibrated for standard 20–24 lb (75–90 gsm) paper weights.
Avoid Specialty Materials That Cause Problems
Cardstock, laminated sheets, or carbonless paper may exceed punching capacity. If you must bind thick stock, reduce sheet count by 50%, pre-punch a test sheet, and use a heavy-duty machine rated for thick media.
Check Safety Interlocks on Electric Binding Models
Many electric binding machines have safety sensors that disable punching if guards are open or paper is misloaded. These features protect users but can halt production unexpectedly.
Ensure All Guards Are Closed Properly
Verify the safety shield is fully latched before operating. Some models won’t activate unless the paper tray is properly seated in position.
Reset the Machine to Clear Electronic Faults
Turn off the machine and unplug it for 30 seconds, then restart. This simple step clears temporary electronic faults and often restores normal operation.
Perform Routine Maintenance to Prevent Breakdowns
Preventive care reduces breakdowns and extends machine life significantly. A few minutes of maintenance after each use saves hours of troubleshooting later.
Clean After Every Use
Wipe down the punch area with a dry cloth to remove paper dust. Empty the waste tray regularly to prevent clogs from building up in the mechanism.
Schedule Monthly Inspections
- Check for loose screws or bolts
- Tighten side guides
- Verify die plate alignment
Know When to Seek Professional Repair Help
Some issues go beyond DIY fixes and require expert attention. Recognizing these signs early prevents further damage to your equipment.
Signs of Mechanical Failure
Complete lever immobility, grinding or clunking sounds, and visible damage to gears or frame all indicate internal wear. These symptoms require professional service to address safely.
Decide Whether to Replace or Repair
If your machine is over 5 years old, out of warranty, or frequently malfunctioning, consider upgrading to a newer model. Modern machines offer better durability and manufacturer support for long-term use.
Frequently Asked Questions About Binding Machine Troubleshooting
Why is my binding machine not punching holes at all?
A jam caused by excess paper or debris obstructing the punching mechanism is the most common reason. Check the punch area for stuck paper fragments and clear them with tweezers or compressed air before testing again.
How do I know if my binding machine is overloaded?
Stiff lever resistance, partial punching, or misaligned holes are clear signs of overloading. Reduce your stack size and punch in smaller batches that match the manufacturer’s recommended capacity.
Can I use WD-40 to lubricate my binding machine?
No, avoid household oils like WD-40 because they attract dust and gum up mechanisms. Use lightweight machine oil on pivot points and punch rods instead for proper lubrication.
What paper weight is best for binding machines?
Most binding machines work best with standard 20–24 lb (75–90 gsm) paper. Cardstock, laminated sheets, or carbonless paper may exceed your machine’s punching capacity and cause failures.
How do I fix a jammed electric binding machine?
Ensure all safety guards are fully closed and latched, then unplug the machine for 30 seconds before restarting. This resets the electronics and often resolves temporary faults blocking operation.
When should I replace my binding machine instead of repairing it?
Consider replacement if your machine is over 5 years old, out of warranty, or frequently malfunctioning. Newer models offer improved durability and better manufacturer support for ongoing projects.
Key Takeaways for Binding Machine Troubleshooting Success
Most binding machine troubleshooting starts with simple checks for jams, alignment, and settings. By following the steps in this guide, you can resolve the majority of punching issues quickly and keep your binding projects on track. Regular maintenance after each use prevents future problems and ensures clean, professional results every time.
For persistent issues that don’t respond to these solutions, consult your manufacturer’s manual or contact technical support for model-specific guidance. Keeping your machine in good condition saves time, money, and frustration on every project.





