

You need to finish a report, presentation, or training packet, but no binding machine is available. No comb binder, no coil inserter, no thermal sealer in sight. This is a common situation in offices, schools, and especially field settings, yet it leaves many people stuck. The good news is that professional-looking, durable document binding is absolutely possible with tools you already own.
This guide walks you through practical, machine-free ways to bind documents without a binding machine. You will learn which methods work best for different page counts, how to execute each technique step by step, and how to fix common issues like torn pages and loose spines. Whether you need an editable training manual, a permanent report, or a quick field-ready booklet, there is a no-machine solution that fits.
Ring Binder Binding: The Default No-Machine Solution
The ring binder is the most accessible and versatile method for binding documents without a machine. It requires only a standard 3-hole punch and a binder, both of which are inexpensive and available in nearly every office supply store.
Why Ring Binders Stand Out
- Highest page capacity of any machine-free option (hundreds of pages)
- Fully editable: add, remove, or rearrange pages anytime
- Professional appearance with printed cover inserts
- No training required for assembly
- Ideal for reports, manuals, training materials, and reference documents
How to Assemble a Ring Binder
-
Punch your pages
Use a standard 3-hole punch. Align each sheet with the punch guide and press down firmly. Most documents are punched 1 inch from the left edge, with holes spaced at 2.75″ and 4.25″. -
Organize your document
Stack pages in order, including front and back covers. Add clear page protectors or dividers for a polished look. -
Open the binder rings
Pull the ring lever or press the rings apart gently at the spine mechanism until they separate. -
Load pages onto rings
Align the punched holes and feed pages over the open rings from the bottom up. -
Close the rings
Press the rings together until they snap shut. Flip through the document to confirm smooth operation. -
Insert a cover sheet (optional)
Slide a printed title page into the front binder cover for a custom, branded appearance.
Quick Fix: Prevent Page Tearing
Pages tear at the holes when paper is too thin, holes are punched too close to the edge, or the document sees heavy handling. The fastest fix is to apply reinforced hole punch guards, available at most office suppliers. For high-use documents that need permanent durability, consider outsourced VeloBind, which eliminates the flex point at ring holes.
Saddle Stapling: Fast Booklets for Thin Documents
For handouts, newsletters, pamphlets, or school projects under 48 pages, saddle stapling is the quickest no-machine method. It creates a folded booklet by stapling through the spine fold. Standard long-reach staplers handle 25 to 30 sheets per booklet.
Tools You Need
- Long-reach stapler
- Flat surface or bone folder for crisp folds
How to Saddle Staple a Booklet
-
Fold pages in half
Stack all pages and fold them evenly along the center. Use a ruler edge or bone folder for a sharp crease. -
Align the spine
Flatten the booklet so the folded edge is straight and even. -
Staple through the fold
Place two staples near the top and bottom of the spine, ensuring they fully penetrate all pages. -
Press staples flat (optional)
Use a stapler anvil or pliers to flatten the staple legs inside the booklet for a cleaner finish.
What to Do When Staples Won’t Close
If staples fail to penetrate, the document is too thick for the stapler. Reduce the page count, split the content into two booklets, or switch to a ring binder or outsourced binding service.
DIY Spiral Binding: Professional Results by Hand
You can achieve spiral-bound notebook quality at home using a hole punch, spiral wire, and basic hand tools. This method takes more time than machine binding but produces an equivalent visual result.
Materials Checklist
- Hole punch (handheld or desk model)
- Spiral binding wire (plastic or metal, sized to your document)
- Wire cutters or sharp scissors
- Pliers for twisting wire ends
- Ruler for alignment
Step-by-Step Hand-Threaded Spiral Binding
-
Prepare and align pages
Stack pages neatly with edges flush. Place the cover on the outside if desired. -
Punch holes along the left edge
Create 3 to 5 evenly spaced holes about 1 inch apart. For standard letter-size paper, 3 holes are usually sufficient. Use a ruler or template to keep holes straight. -
Measure and cut the spiral wire
Measure document height, then add 1 inch to allow for looping. Cut the wire to size. File or cap sharp ends before handling. -
Thread the wire
Start at the bottom hole, inserting the wire from the inside out. Pull through and continue upward, keeping the wire on the outside of the document. Work slowly to maintain even tension. -
Close the spiral
At the top, bend both ends inward and twist them tightly together with pliers. If your kit includes end caps, snap them on for a clean, snag-free finish. -
Trim excess wire
Cut off extra length, leaving enough twist to hold securely.
Pro Tips for a Polished Finish
- Choose colored or decorative wire for visual appeal
- Test the binding by gently opening and closing the document
- Ensure the wire rotates smoothly without snagging
Adhesive Binding Strips: Book-Like Spine, No Holes
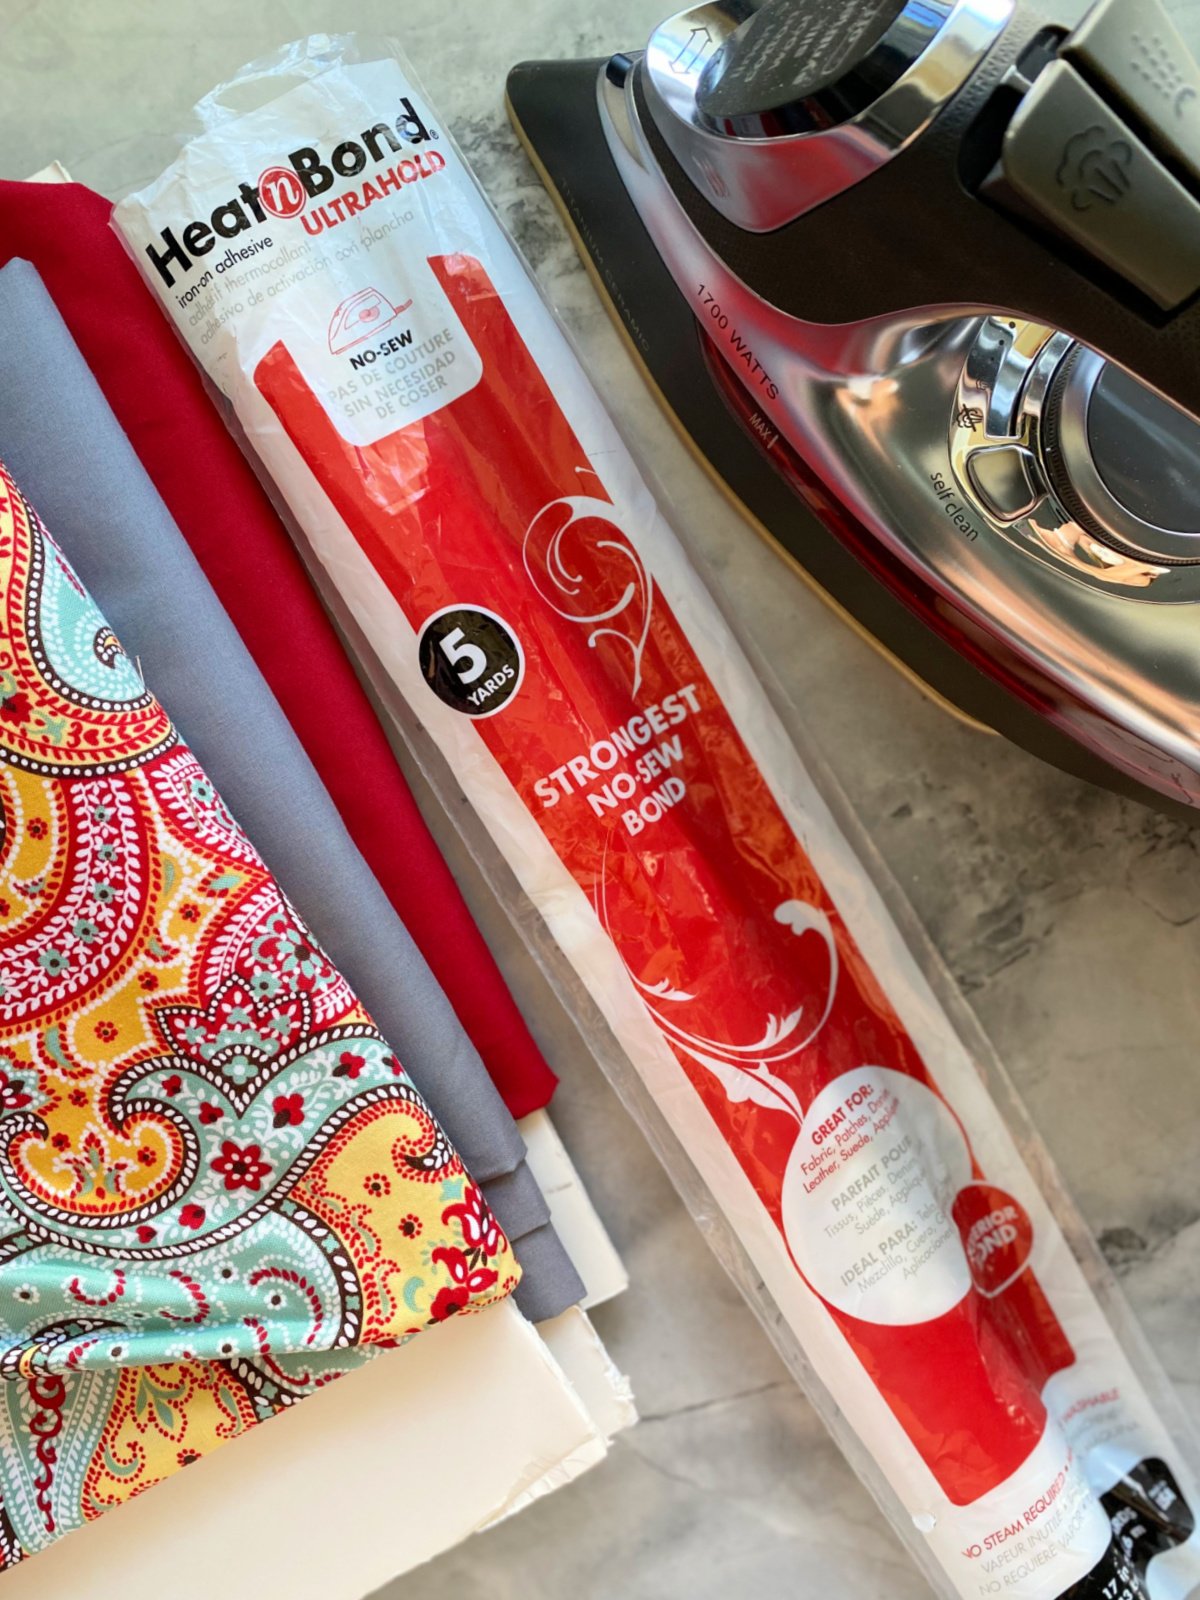
For a clean, flat-spine appearance similar to perfect-bound books, use adhesive binding strips. These come in two types: heat-activated (iron-on) strips applied with a household iron, and pressure-sensitive strips that bond on contact. No hole punching or folding required.
Best Applications
- Reports and journals
- Projects requiring a flat spine
- Documents that must lie fully open
- Moderate page counts needing permanent binding
How to Apply Iron-On Adhesive Strips
-
Stack and align pages
Ensure all edges are flush. Use a clamp or heavy book to hold pages tight. -
Position the strip
Place the adhesive strip along the spine edge of the page stack. -
Iron the strip
Set a household iron to medium heat with no steam. Press firmly over the strip for 30 to 60 seconds, applying even pressure from top to bottom. -
Cool and test
Let the document cool for 2 to 3 minutes. Gently flex the spine to confirm a strong bond.
Expert Tips for a Strong Bond
- Use thicker paper for better spine structure
- Clamp the document while cooling to reinforce adhesion
- Avoid overheating, which can melt or warp the strip
GBC ProClick: Editable, Machine-Free Coil Look
GBC ProClick binding offers a professional coil-like appearance with full editability, all without a binding machine. The plastic spine opens and closes by hand using a simple push-pin tool included with the product.
Why ProClick Is Unique
- Fully editable: add or remove pages anytime
- Reusable spine
- No dedicated machine needed
- Clean, modern appearance
How to Use GBC ProClick
- Punch pages with a standard 3-hole punch
- Open the spine by inserting the push-pin tool and sliding it along the spine
- Load pages onto the open rings
- Close the spine by pressing the rings back together
Ideal Use Cases
- Training manuals that get updated regularly
- Sales proposals and field documentation
- Reference guides needing page swaps
Methods That Require No Hole Punching
If you want to avoid punching holes entirely, three methods work well:
- Thermal adhesive strips: Applied with an iron for a permanent, book-like spine
- Saddle stapling: Folding and stapling through the crease (no punching)
- Pressure-sensitive spine products: Peel-and-stick strips that bond on contact
When Outsourcing Makes More Sense
For high-stakes documents like client proposals, board presentations, or printed books, outsourcing to a print shop delivers professional machine-quality results. The trade-off is turnaround time and transportation, but per-unit costs are reasonable and there is no learning curve.
Manual comb binding machines (available for under $200) offer an affordable middle path for organizations ready to invest slightly more for faster, more consistent results at scale.
Field and Remote Binding: Portable Solutions
Service technicians, field engineers, on-site educators, and event staff often need to bind documents without power or equipment. The most practical options fit in a briefcase and require no training:
- Ring binders + portable 3-hole punch: Assemble on-site in minutes
- Adhesive spine strips: Iron-on or pressure-sensitive, no tools beyond a flat surface
- Self-sealing laminating pouches: Seal and bind thin stacks instantly
Pro Strategy: Pre-print documents in final order, bring pre-sized covers, and use printed cover inserts. Staff can assemble binders on-site in under 2 minutes with no training required.
Choosing the Right Method: Quick Reference
| Document Type | Best Binding Method |
|---|---|
| Handouts, pamphlets | Saddle stapling |
| Reports, manuals | Ring binder |
| Proposals, presentations | GBC ProClick or outsourcing |
| Journals, custom books | DIY spiral or adhesive strip |
| Field documents | Ring binder or adhesive strip |
| School projects | Spiral binding or stapling |
Frequently Asked Questions About Binding Without a Machine
What is the simplest way to bind documents without a machine?
A ring binder with a standard 3-hole punch is the simplest, most universally available machine-free option. It requires no special supplies beyond the binder and a basic 3-hole punch.
Can I get professional-looking results without a machine?
Yes. Ring binders with premium covers, DIY spiral binding, and adhesive spine strips all produce professional results. The main limitation is time; machine-free methods take more manual effort per document.
Is there a way to bind more than 50 pages without a machine?
Yes. Ring binders handle hundreds of pages with no machine required. For permanent binding of moderate page counts, adhesive spine strips applied with a household iron work well.
Can I bind documents without punching holes?
Yes. Thermal adhesive strips, saddle stapling, and pressure-sensitive spine products all bind documents without hole punching. Thermal strips need heat, saddle stapling needs folding, and pressure-sensitive strips bond directly to the spine edge.
What is GBC ProClick binding?
GBC ProClick uses special plastic spines that open and reclose by hand using a simple push-pin tool. It delivers a professional coil-like appearance with full editability and no machine required beyond the hand tool.
How do I fix pages tearing in a ring binder?
Pages tear when holes are punched too close to the edge, the paper is too thin, or the document is heavily handled. Apply reinforced hole punch guards or switch to outsourced VeloBind for permanent, high-durability binding.
Key Takeaways for Binding Documents Without a Machine
You do not need a binding machine to create professional, durable documents. A ring binder remains the most versatile, highest-capacity option for editable documents. Saddle stapling handles thin booklets in seconds. DIY spiral binding and adhesive strips deliver permanent, book-quality results with hand tools. GBC ProClick offers editable coil-style binding using only a push-pin tool.
For occasional high-end jobs, outsourcing to a print shop provides machine-quality results without equipment investment. For field teams, portable no-machine methods keep documents organized anywhere, with no power source required.
Next step: Identify your document type and page count, then choose the method that matches your durability needs and available tools. Start with a ring binder for editable reports, or try adhesive strips for permanent, professional spines.





