
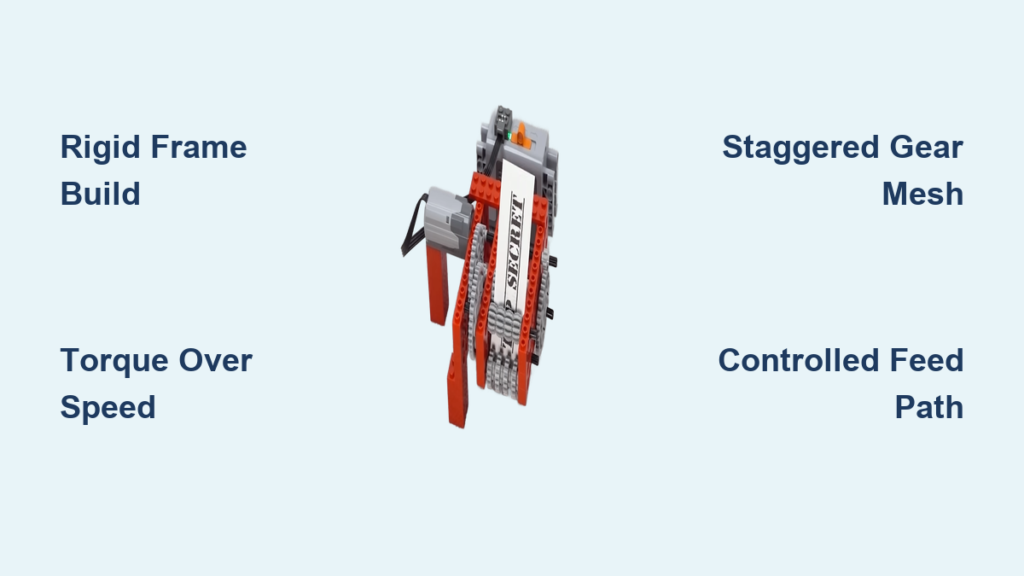
Feeding a secret message into a tiny machine made of LEGO bricks and watching it vanish into confetti-like scraps sounds like pure fantasy. Yet with the right configuration of gears, motors, and structural reinforcements, your bricks can become a surprisingly effective paper shredder. This isn’t about replicating office equipment. It’s about rethinking LEGO as a functional tool that grips, tears, and fragments real material.
This guide walks you through constructing a working LEGO shredder using only Technic components. You’ll learn how to avoid common pitfalls like crumpling, jamming, and motor stalling while maximizing torque, alignment, and shear force. By the end, you’ll have a compact, motorized machine capable of processing narrow strips of standard printer paper into unreadable fragments.
Lock Down a Rigid Frame Before Adding Gears

A stable base is non-negotiable. Any flex in the chassis causes gear misalignment, leading to jams or broken parts under load. Build your foundation first, then test it before installing any moving components.
Anchor Both Shredding Shafts with 5×7 Frames
Use LEGO Technic 5×7 frames to hold your two shredding shafts in place. These frames provide precise spacing and resist lateral movement. Install axle holders at both ends of each frame to secure rotation points firmly. The distance between shafts must remain constant, even under high resistance.
Reinforce with Triangle Bracing
Add diagonal liftarms to form triangular supports across corners and vertical posts. This prevents racking (side-to-side deformation) when paper resists. For extra rigidity:
– Use double-thick walls with connector pegs
– Cross-brace upper and lower sections
– Anchor motor mounts directly to the frame
Verify Structural Integrity Before Proceeding
Test the frame by applying hand pressure to the shaft positions. No visible bending should occur. If the frame wobbles, reinforce with additional beams or layer frames. A rigid structure ensures consistent gear meshing, which is critical for clean shredding.
Pack Gear Shafts for Maximum Contact

The heart of your shredder lies in two counter-rotating shafts packed with interlocking gears that grip and tear paper fibers. Density and alignment matter more than gear size.
Fill the Working Width with Meshing Spur Gears
Install multiple 8-tooth or 12-tooth spur gears along both axles. Fill the entire working width (typically 4 to 6 cm) to maximize contact with the paper. Ensure gears on opposing shafts mesh tightly but spin freely with no binding.
Stagger Gears for a Scissor-Like Shear Effect
Offset neighboring gears slightly so teeth don’t align perfectly. This creates microscopic pinch points that trap paper and apply lateral shear force, tearing fibers instead of just compressing them. Think of it like scissors with micro-teeth.
Upgrade to Bevel Gears for Cleaner Cuts
Replace some spur gears with 12-tooth bevel gears. Their angled teeth introduce a slicing motion that dramatically improves fragmentation. Bevel gears act like pseudo-blades, turning strips into tiny, confetti-like pieces.
Prioritize Torque Over Speed
Speed kills performance. To shred paper without stalling, you need slow, powerful rotation achieved through proper gearing.
Apply 3:1 to 9:1 Gear Reduction
Build a gear train that reduces motor speed while increasing torque. A 3:1 minimum is essential; up to 9:1 works better for thicker loads. Example setup:
– Motor outputs to small gear (e.g., 8-tooth)
– Drives large gear (e.g., 24-tooth) = 3:1 reduction per stage
– Stack multiple stages if needed
Choose High-Torque Motors
Use XL motors or dual M motors for reliable power. Standard motors may stall unless heavily geared down. For Mindstorms compatibility, ensure ports match your control system (EV3 or SPIKE Prime).
Test Rotation Before Adding Paper
Spin the shafts with no material loaded. Motion should be smooth and resistant to finger braking. If the motor struggles, increase reduction or check for friction points in the gear train.
Control the Feed Path to Prevent Jams

Without guidance, paper buckles instead of feeding, causing jams or the accordion effect where paper bunches up before entering the gears.
Create a Narrow Entry Slot
Build vertical guides above and below the gear entry point. The gap should be just wide enough for a single sheet of paper (approximately 0.1 mm clearance). This forces the paper straight into the mesh zone.
Angle the Slot Downward for Gravity Assist
Tilt the feed slot slightly downward so gravity helps pull paper through. Add smooth inner surfaces using flat tiles to reduce friction. Never leave the entry exposed; uncontrolled deflection ruins engagement.
Feed Paper Slowly by Hand
Rapid feeding overwhelms the shredder. Insert strips at a steady, controlled pace. For automation, consider a low-speed conveyor feed module in a later iteration.
Test Systematically and Iterate
Success isn’t instant. Test in stages and refine based on real performance.
Test 1: Single Strip Shred
Insert a 1 to 2 cm wide strip of standard printer paper (around 90 g/m²). Observe what happens:
– Success: Paper pulls in smoothly and exits fragmented
– Failure: Paper crumples → increase torque or tighten gear mesh
Test 2: Adjust Gear Offset
If paper slips through without tearing, re-stagger the gears. Even a half-tooth offset enhances grip. Try mixing gear types (spur plus bevel) for more aggressive biting action.
Test 3: Full Torque Stress Test
Feed a slightly thicker stack (2 to 3 layers). If the motor stalls:
– Check for frame flex
– Increase gear reduction
– Verify axle locking
Troubleshoot Common Failures
Even well-built models fail. Diagnose issues quickly using these targeted fixes.
Paper Crumples Instead of Shreds
This means insufficient grip or shear force. Increase gear density on shafts, add bevel gears, and tighten meshing tension slightly.
Motor Stalls Immediately
Too much resistance and not enough torque. Add another gear reduction stage, switch to an XL motor, or temporarily reduce the number of gears on shafts.
Gears Skip or Jam
Frame flex is altering axle spacing. Reinforce with triangle bracing, lock axles at both ends, and use thicker beams through double-layer construction.
Accordion Effect at Entry
No feed guidance is installed. Add side guides forming a tunnel, narrow the entry gap, or pre-fold the paper strip for added stiffness.
Build the MOC-151770 Reference Model
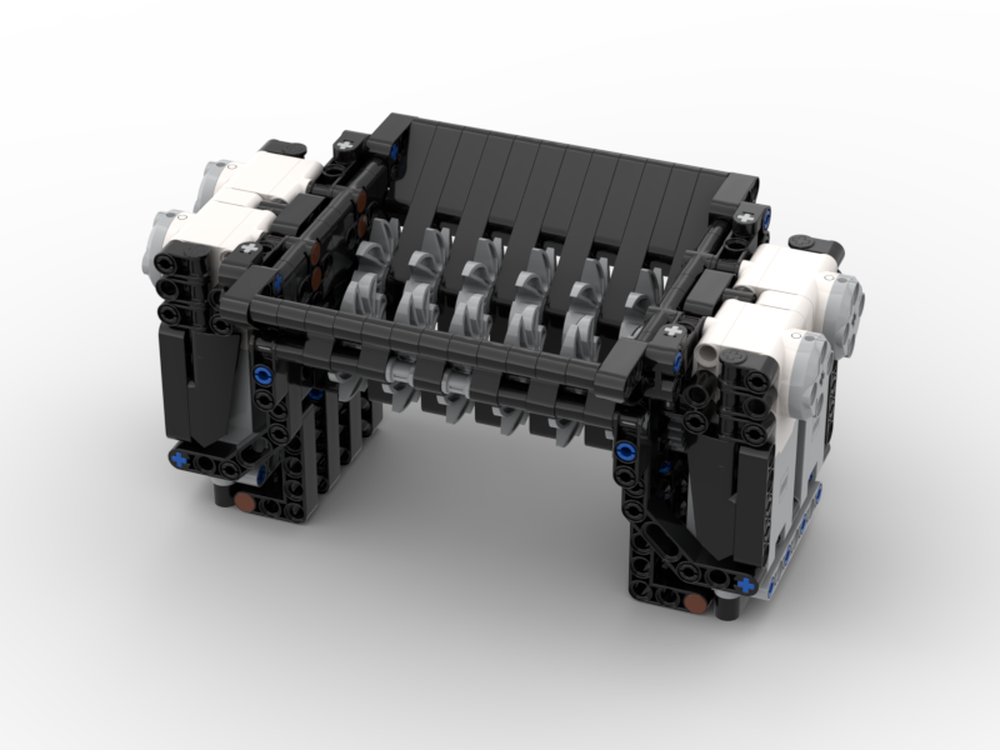
One of the most reliable community designs is MOC-151770 “Shredder” by BD Technic, verified on Rebrickable with 264 pieces.
Follow Verified Instructions
Access building guides in LMS (LEGO Mindstorms Software) or PDF format. The model is designed for motorization and proven to work.
Source Required Parts
Critical components include:
– Multiple 8-tooth and 12-tooth gears
– Bevel gears (if included)
– 5×7 frames
– Axle joiners and connectors
Check Rebrickable or BrickLink to source missing parts. Many are available in LEGO Technic sets like 42140 or 42055.
Assemble in the Correct Sequence
Follow the official build order:
1. Build base and frame
2. Install drive shafts
3. Add gear train and motor coupling
4. Mount feed guides
5. Test and adjust
This model serves as a benchmark. Modify it later with bevel gears or higher reduction for improved performance.
Frequently Asked Questions About LEGO Paper Shredders
Can a LEGO shredder handle full A4 paper?
No. Successful LEGO shredders are generally limited to narrow strips, typically 1 to 2 cm wide. Attempting full-width sheets often causes jamming or uneven tearing because the mechanism lacks the torque and grip to pull an entire sheet edge-to-edge.
What paper weight works best?
Standard printer paper around 90 g/m² works best. Heavier cardstock or multiple layers may exceed the torque limits of standard LEGO motors and cause stalling.
Why does my paper crumple instead of shred?
Crumpling means the gears are compressing rather than cutting. Increase gear density on the shafts, stagger the teeth more aggressively, or add bevel gears to introduce a slicing motion instead of pure compression.
Which motor should I use?
Use XL motors or dual M motors for reliable torque. Standard motors may stall under load unless paired with heavy gear reduction (at least 3:1, ideally higher).
How do I stop the motor from stalling?
Increase gear reduction to slow the shafts and boost torque. Check for frame flex that might be misaligning gears, and verify that axles are locked securely at both ends to prevent spreading under load.
Where can I find instructions for a proven design?
The MOC-151770 “Shredder” by BD Technic is available on Rebrickable in both LMS and PDF formats. It uses 264 pieces and is Mindstorms compatible, making it a solid starting point for beginners.
Key Takeaways for Your LEGO Paper Shredder Build
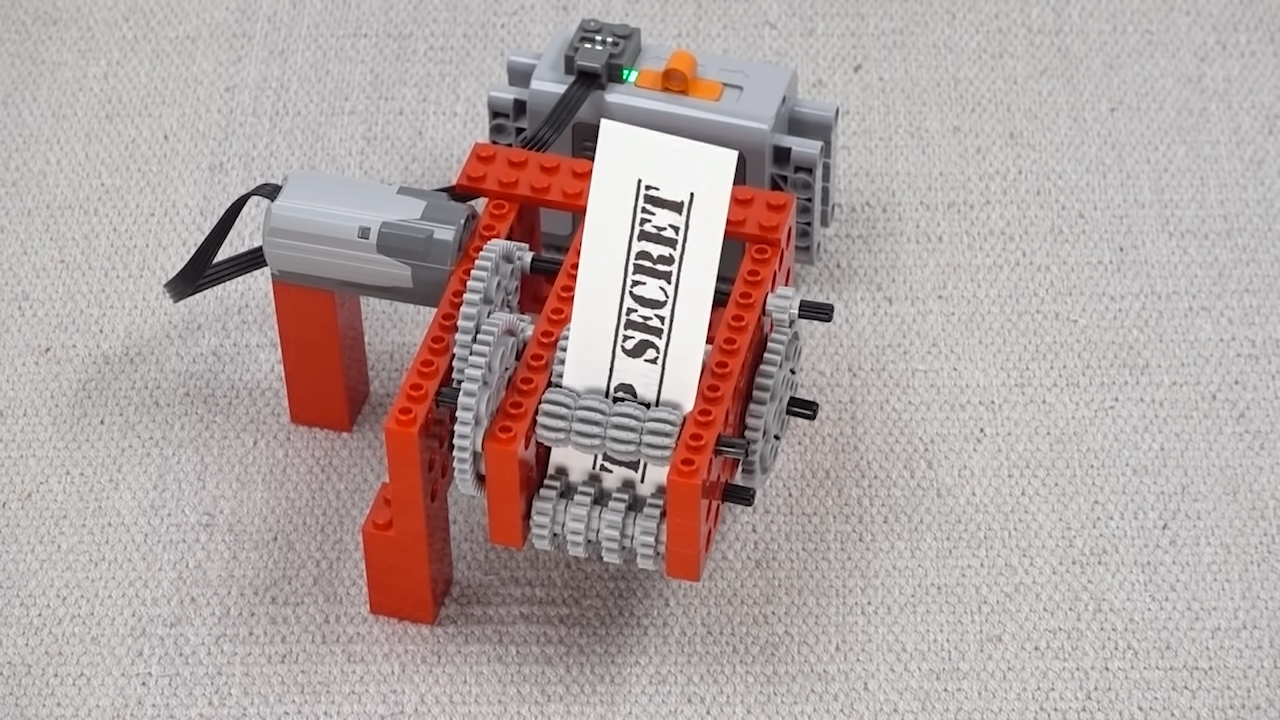
Building a functional LEGO paper shredder comes down to three core principles: rigid framing, torque-first gearing, and shear-based gear design. Start with a proven model like MOC-151770, then iterate based on real test results. Focus on staggering your gears, maintaining a 3:1 to 9:1 gear reduction, and upgrading to bevel gears when you need cleaner fragmentation.
Your first attempt will likely produce crumpled paper rather than confetti. That’s normal. Each failure reveals where torque, alignment, or grip needs improvement. Adjust one variable at a time, test again, and document what changes produce better results. With patience and iteration, your LEGO creation won’t just spin gears; it’ll actually destroy documents.





