
You’ve got a stack of paper to cut, maybe for crafts, school projects, or homemade cards, but no paper trimmer in sight. Running to the store isn’t ideal, and scissors leave jagged edges. The good news? You can make a DIY paper cutter easily at home using common household items. No special tools or advanced skills required. In minutes, you’ll build a functional, straight-edge cutting solution that outperforms scissors and saves time.
This guide walks you through simple, step-by-step methods to create your own paper cutter using materials like rulers, cardboard, and box cutters. Whether you’re a teacher, parent, crafter, or student, this project is affordable, customizable, and perfect for quick precision cuts. You’ll learn how to assemble, stabilize, and safely use your homemade paper cutter, plus tips to improve accuracy and durability over time.
Essential Materials You’ll Need
To make a DIY paper cutter easily at home, gather basic supplies most households already have. The key is using rigid, straight-edged materials for accurate cuts.
Basic Supplies List
- Ruler or metal straightedge (12-inch or longer, preferably metal for safety)
- Box cutter or utility knife (sharp blade recommended)
- Cutting surface (old magazine, cardboard, or self-healing mat)
- Pencil or marker
- Duct tape or strong adhesive
- Sturdy base (thick cardboard, foam board, or wooden board)
- Paper clamp or binder clip (optional, for stability)
Choose a ruler with cork backing or anti-slip material if possible. If not, tape the bottom to prevent sliding during use.
Safety First: Protect Yourself
Always cut away from your body and keep fingers clear of the blade path. Work on a stable, flat surface. Replace dull blades quickly. Dull cutters require more pressure and increase slip risk. Keep the tool out of reach of children.
Build a Simple Ruler-and-Knife Cutter
This is the fastest way to make a DIY paper cutter easily at home. It mimics professional trimmers using minimal components.
Attach Ruler to Base Securely
Place your ruler along the edge of a sturdy board where you want the cut line. Use duct tape to firmly secure both ends and the center. Ensure the ruler doesn’t wobble. For better grip, place small rubber pads (cut from an old mouse pad) under the ruler before taping.
Align and Clamp Your Paper
Stack the paper neatly and position it against the ruler’s edge. Use a binder clip or paper clamp to hold it down just above the cut line. This prevents shifting during cutting.
Make the Cut in One Smooth Motion
Using the box cutter, start at the far end and pull the blade toward you in a single, firm stroke. Let the blade glide along the ruler’s edge. Don’t press too hard. Let the sharpness do the work. Replace the blade if resistance increases.
Upgrade with a Hinged Blade Design

For repeated use, build a more advanced DIY paper cutter easily at home using a pivoting blade, like a guillotine-style trimmer.
Create a Stable Base Platform
Use a piece of scrap wood, thick foam board, or corrugated plastic as the foundation. It should be at least 2 inches wider than the longest paper you plan to cut. This provides overhang for safe blade movement.
Install a Pivot Point for the Blade
Take a long metal ruler or a flat piece of aluminum (from an old laptop heat sink or photo frame). Drill a small hole near one end. Attach it to the base using a screw or bolt, allowing the ruler to swing like a hinge. Leave the blade end free to move up and down.
Guide the Cut with a Fixed Backstop
Tape or glue a straight block (like a wooden paint stirrer) perpendicular to the cutting line at the back of the base. This creates a backstop to align paper consistently. Press the paper firmly against it before each cut.
Use a Cardboard Frame Cutter

This method turns a cardboard box into a safe, reusable paper cutter, ideal for kids or classrooms.
Cut Guide Slits in Cardboard
Take a large cardboard flap and fold it in half. Place a ruler across the crease and mark a straight line. Use a box cutter to make shallow guide slits at both ends and the center of the line. These slits will direct the blade’s path.
Insert and Slide the Blade
Slide the box cutter into the slits and move it from one end to the other. The cardboard walls keep the blade aligned. Replace the cardboard when it becomes too frayed.
Stack and Cut Multiple Sheets
Align up to 5 sheets of paper and place them over the cut line. Hold them flat with one hand while cutting slowly with the other. This version isn’t for thick stacks but works well for craft paper and printer sheets.
Improve Accuracy and Safety
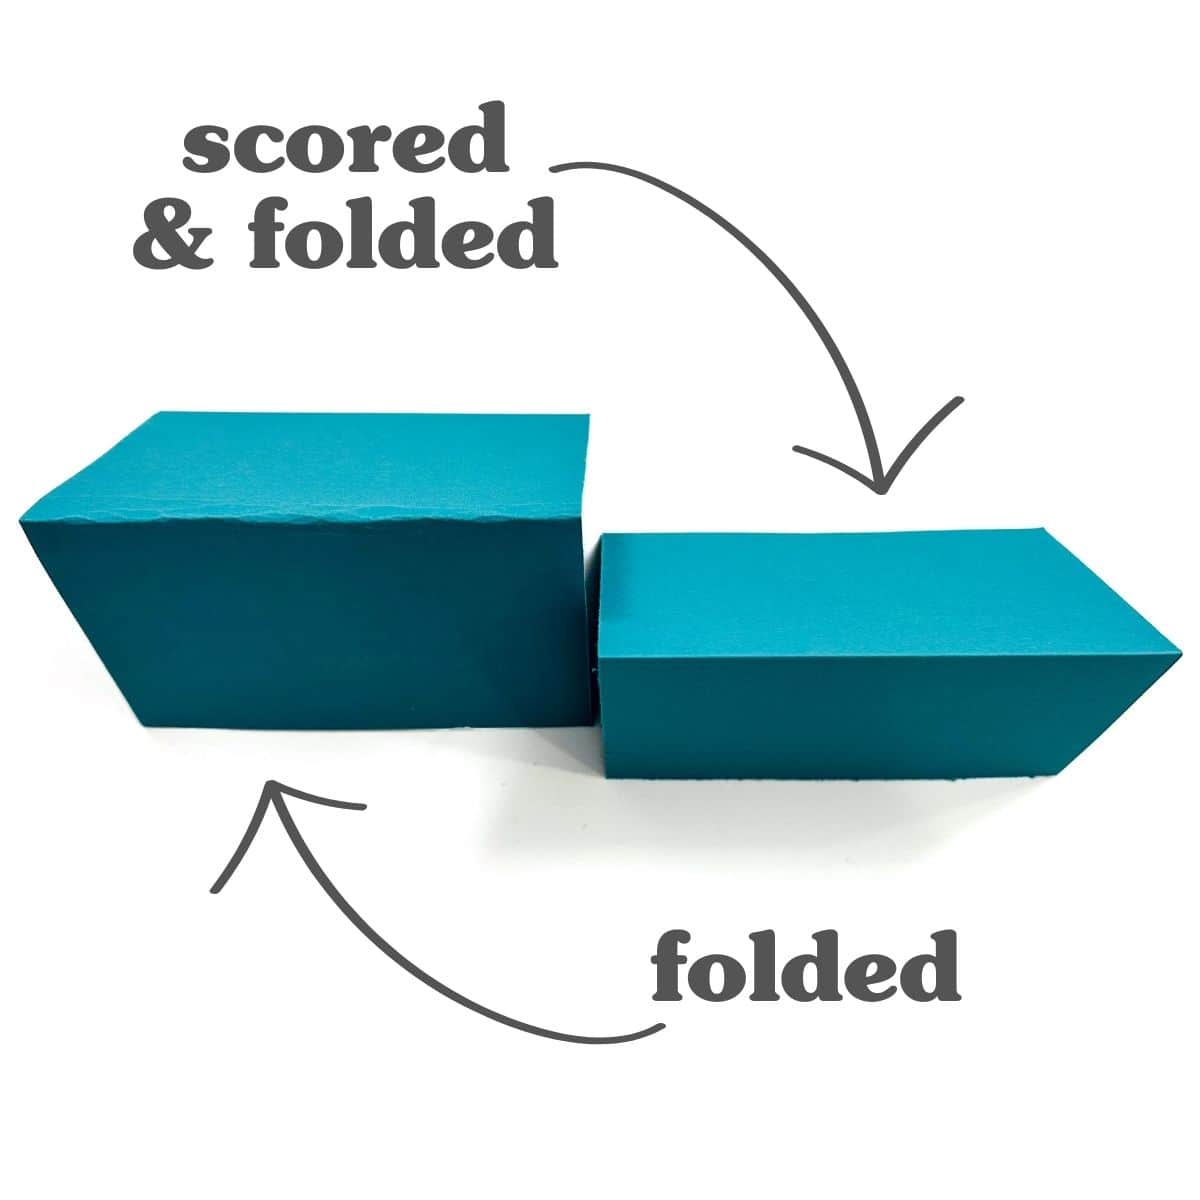
Even simple DIY tools can deliver clean results with a few smart tweaks.
Prevent Tearing with Score-and-Cut Method
For delicate paper, lightly score the surface first using minimal pressure. Then make a second, deeper pass. This reduces fiber tearing and ensures a crisp edge.
Use Masking Tape as Blade Guide
Apply a strip of masking tape along the ruler’s edge where the blade rides. It reduces metal-on-metal friction and protects the ruler from nicks. Replace the tape when worn.
Mark Common Cut Sizes
Label your base with frequent cut dimensions (like 4×6 inches for photo cards). Use a pencil or permanent marker. This speeds up repetitive projects.
Maintain Your DIY Paper Cutter
A well-maintained homemade cutter lasts longer and performs better.
Check for Loose Parts Regularly
Re-tighten screws and re-tape components weekly or after heavy use. A wobbly ruler leads to crooked cuts.
Replace Worn Bases Promptly
Cardboard and foam bases degrade quickly. Keep spare pieces on hand. For long-term use, switch to a wooden base sealed with varnish.
Store Blade Safely
Always remove the blade when not in use or cover it with a plastic cap. Label the tool as “sharp” if stored in shared spaces.
When to Upgrade to a Store-Bought Trimmer
Your DIY paper cutter easily handles occasional tasks, but consider a commercial model if:
- You cut more than 20 sheets daily
- You need exact 90-degree angles
- You work with thick cardstock or photo paper
- You require grid lines or angle guides
Even then, your homemade version makes a great backup or practice tool.
Frequently Asked Questions About DIY Paper Cutters
What is the easiest way to make a paper cutter at home?
The simplest method involves taping a metal ruler to a sturdy base, placing paper against the ruler, and cutting with a box cutter in one smooth motion. This setup takes about 5 minutes to build.
Can I use scissors instead of a box cutter?
Scissors can work for thin paper, but they tend to create uneven or jagged edges. A box cutter paired with a ruler gives you straighter, cleaner cuts, especially for larger sheets.
How do I keep the ruler from slipping while cutting?
Tape the ruler firmly to the base with duct tape at both ends and the center. You can also place rubber pads (from an old mouse pad) underneath for extra grip.
Is it safe for kids to use a homemade paper cutter?
Only with adult supervision. For younger children, build the cardboard frame version with guide slits. It keeps the blade enclosed and reduces direct contact with the cutting edge.
What materials work best for the base?
Thick cardboard works for light use. For more stability, choose foam board, corrugated plastic, or scrap wood. A heavier base prevents sliding and improves cut accuracy.
Final Thoughts on Building Your Own Paper Cutter
Making a DIY paper cutter easily at home is a practical, low-cost solution for clean, straight paper cuts. With just a ruler, blade, and some tape, you can build a working tool in under 10 minutes. Start with the simple ruler-and-knife version, then upgrade over time by adding hinges, clamps, or a cardboard frame for better control.
Always prioritize safety by cutting away from your body, using sharp blades, and keeping your work surface stable. With proper care, your homemade paper cutter will handle everyday cutting tasks reliably, giving you the satisfaction of crafting with a device you built yourself.





