

You’ve got a stack of paper that needs trimming, but your scissors are slow and uneven. A guillotine paper cutter slices cleanly through sheets with precision, yet buying one can be expensive. What if you could build your own? With basic materials and simple tools, making a guillotine paper cutter at home is not only possible but practical for crafters, small printers, or DIY enthusiasts who need straight, repeatable cuts.
This guide walks you through constructing a functional, hand-operated guillotine paper cutter from scratch. While not a commercial-grade machine, this homemade version delivers accurate results for personal use. You’ll learn how to assemble a stable base, attach a pivoting blade arm, and ensure safe operation, all without complex machinery. By the end, you’ll have a working paper cutter that rivals store-bought models for a fraction of the cost.
Build a Sturdy Base Frame

The foundation of any guillotine paper cutter is its base. It must be rigid, flat, and heavy enough to prevent movement during cutting.
Choose the Right Material
Use a dense, smooth-surfaced board like plywood, MDF, or hardwood. Size it at least 12 inches wide by 18 inches long to support standard letter-sized paper. Thicker material (¾ inch) resists warping and adds stability.
Mark the centerline along the length to guide blade alignment. Sand the surface smooth so paper slides easily. Attach non-slip pads to the bottom corners to keep the cutter from shifting during use.
Add a Backstop Ruler
Install a straight metal or wooden edge at the back of the base to act as a paper stop. This ensures consistent cuts. Use a metal ruler or aluminum angle stock for durability.
Secure it perpendicular to the cutting line using screws and wood glue. Check alignment with a square to avoid crooked cuts. For added precision, mark measurement increments along the edge.
Construct the Blade Assembly
The cutting blade is the heart of the guillotine. It must be sharp, balanced, and securely mounted to pivot smoothly.
Select a Suitable Blade
Use a high-carbon steel ruler, utility knife blade, or repurpose a straight-edge paper trimmer blade. A 12-inch metal ruler with a beveled edge works well and is easy to replace.
Attach the blade to a rigid arm made from wood or aluminum. The arm should extend past the blade to act as a handle. Mount the blade at a slight angle (about 5–10 degrees) so it contacts the base progressively from one side to the other, just like commercial cutters.
Pivot the Blade Arm
Drill two holes near the rear end of the arm to serve as a hinge point. Use a threaded rod, bolt, or metal dowel as the pivot axle. Secure it to vertical supports mounted on the base.
Position the pivot so the blade clears the paper when raised and makes full contact when lowered. Add washers between the arm and supports to reduce friction and allow smooth motion.
Install a Spring Return Mechanism

To make cutting easier, add springs that lift the blade arm back up after each cut.
Use Extension Springs
Attach small extension springs between the blade arm and base. When the arm is pushed down, the springs compress; when released, they pull the arm upward automatically.
Position the springs behind the pivot point. Hook one end to a screw on the arm and the other to a base anchor. Adjust tension so the arm returns reliably but doesn’t snap up too hard.
Test the Motion
Raise and lower the arm several times. It should move freely without binding. If it sticks, check alignment and ensure the pivot rod is straight and well-lubricated.
The blade should descend smoothly and slice paper with moderate hand pressure. If too stiff, reduce spring tension or sand pivot points.
Add a Blade Guard for Safety
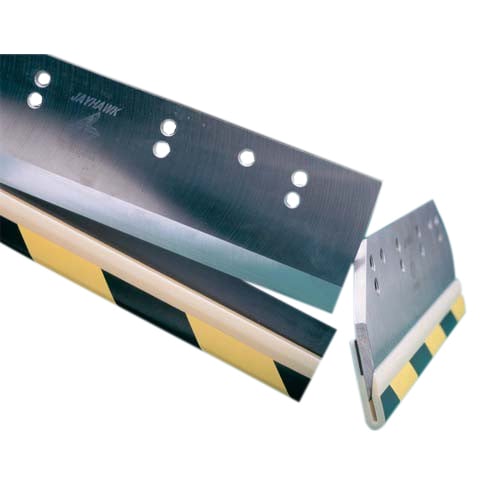
Never leave a sharp blade exposed. A guard protects fingers during operation and storage.
Build a Hinged Cover
Create a lightweight cover from plastic, thin wood, or metal that fits over the blade. Hinge it to the arm or base so it opens and closes with the blade.
When the arm lowers, the guard lifts slightly off the paper just before the blade engages. When raised, it covers the sharp edge completely.
Secure with a Latch
Add a simple latch or magnet to hold the guard closed when not in use. This prevents accidental contact and keeps dust off the blade.
Label the guard with a warning like “Sharp Blade” to remind users of the hazard.
Set Up a Paper Clamp
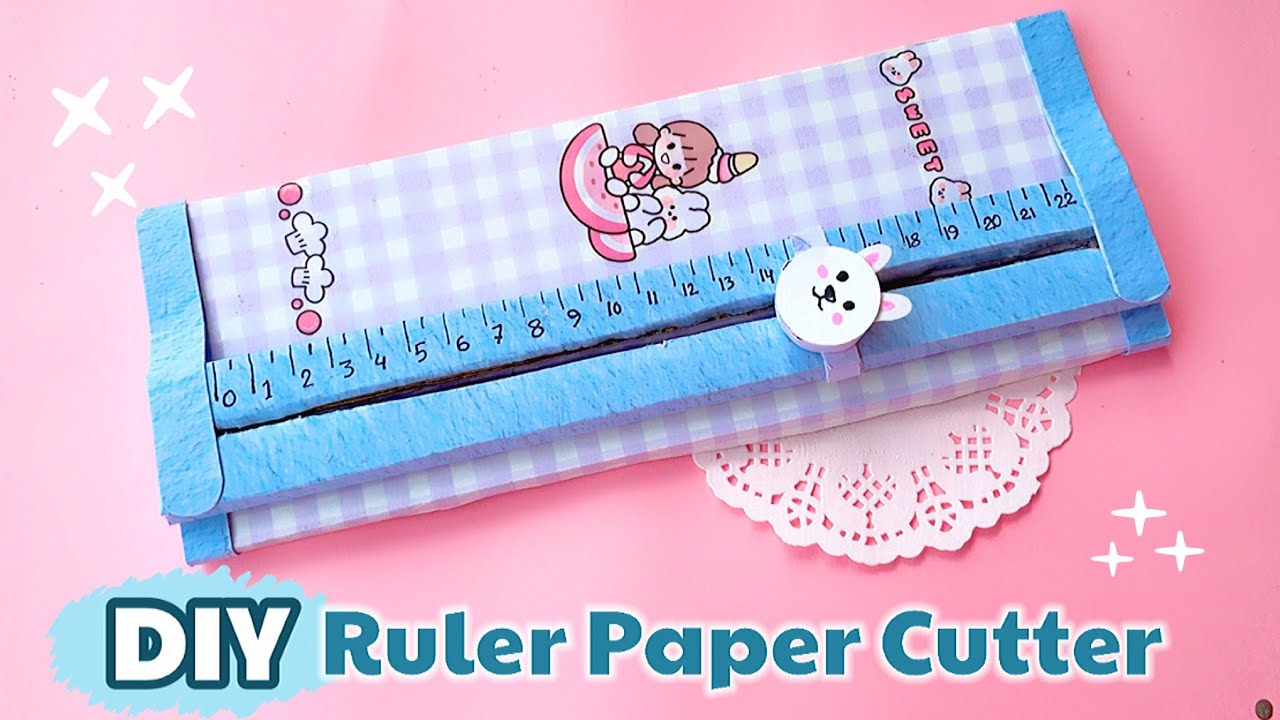
Without a clamp, paper can shift during cutting, causing misalignment.
Make a Pressure Bar
Attach a short wooden or plastic bar to the blade arm so it presses down on the paper just before the blade cuts. This holds the stack flat.
Position it about ½ inch ahead of the blade. Use soft rubber feet on the bar to avoid scratching the base.
Adjust for Stack Height
If cutting thick stacks, ensure the clamp still applies pressure without straining the pivot. For variable thicknesses, consider an adjustable clamp with a spring-loaded arm.
Test with a few sheets: the paper should not move when the blade starts to cut.
Align and Calibrate the Cutter
Even small misalignments cause crooked cuts. Take time to fine-tune the setup.
Check Blade-to-Base Clearance
With the arm lowered, slide a sheet of paper under the blade. It should glide smoothly without catching. If too tight, adjust the pivot height or add thin shims.
There should be no gap when the blade is fully down. This ensures a clean cut.
Verify Straightness
Cut a stack of paper and check the edge. If it’s angled, realign the blade arm or backstop ruler. Use a precision square to confirm 90-degree alignment.
Re-test after any adjustment until cuts are perfectly straight.
Test With Scrap Paper
Before using your new cutter on important projects, run several test cuts.
Start With Thin Stacks
Begin with 5–10 sheets of scrap paper. Lower the arm slowly and observe how the blade engages. Listen for tearing or resistance.
A clean cut should feel smooth and quiet. If paper frays, sharpen or realign the blade.
Increase Stack Thickness Gradually
Once thin stacks cut cleanly, try thicker bundles (up to 20 sheets, depending on blade strength). Do not overload, as this can bend the blade or damage the pivot.
If the cutter struggles, reduce stack size or upgrade to a sturdier blade.
Maintain Your Homemade Cutter
Like any tool, your guillotine paper cutter needs care to stay sharp and safe.
Clean the Base and Blade
Wipe the cutting surface after each use to remove paper dust. Clean the blade with a dry or slightly oiled cloth to prevent rust.
Avoid water exposure, especially if using steel components.
Sharpen or Replace the Blade
Over time, the edge will dull. Resharpen with a honing stone or replace the blade entirely. Keep a spare on hand for quick swaps.
Inspect the pivot and springs regularly. Tighten loose screws and lubricate moving parts with dry lubricant.
Store Safely
Keep the cutter in a dry place. Always close the blade guard. If children are present, store it out of reach or in a locked cabinet.
Consider adding a padlock hole to the guard for extra security.
Frequently Asked Questions About Making a Guillotine Paper Cutter
What materials do I need to make a guillotine paper cutter?
You need plywood or MDF for the base, a metal ruler or utility blade for cutting, wood or aluminum for the blade arm, screws, bolts, springs, and non-slip pads. Basic tools include a drill, saw, screwdriver, and sandpaper.
How much paper can a homemade guillotine cutter handle?
Most homemade versions handle 10–20 sheets of standard paper per cut. Capacity depends on blade sharpness, arm strength, and pivot quality. Avoid exceeding your cutter’s tested limit to prevent damage.
Is a DIY guillotine paper cutter safe to use?
Yes, when built with a blade guard, paper clamp, and proper alignment. Always keep fingers clear of the cutting path, engage the guard when not in use, and supervise children around the tool.
Can I use a utility knife blade instead of a specialized cutter blade?
Yes. A heavy-duty utility knife blade or a sharp metal ruler edge works well for light to medium cutting tasks. Replace blades frequently to maintain clean cuts.
How do I keep the blade sharp on a homemade cutter?
Wipe the blade after each use to remove paper residue and moisture. Resharpen with a honing stone when cuts become rough, or swap in a new blade to restore performance.
Where should I store my homemade paper cutter?
Store it in a dry location with the blade guard closed and latched. Keep it out of reach of children, ideally in a locked cabinet or on a high shelf for added safety.
Key Takeaways for Building Your Own Guillotine Paper Cutter
Building a guillotine paper cutter at home is a smart DIY solution for anyone needing precise paper trimming on a budget. Focus on a solid, stable base and a properly pivoting blade arm for the best results. Safety features like a blade guard and paper clamp are essential, not optional.
Once assembled, test your cutter gradually with scrap paper and calibrate alignment as needed. With regular cleaning, blade maintenance, and safe storage, your homemade cutter can deliver professional results for years.
Next step: Gather your materials and start building your base frame today. Within a few hours, you’ll have a fully functional paper cutter ready for your next project.





