

If your paper shredder suddenly stops working, jams repeatedly, or won’t power on, the solution might require opening the unit to inspect and clear internal blockages. While many users rely on reverse functions or lubrication, knowing how to open a paper shredder properly is essential for deep troubleshooting and long-term maintenance. This guide walks you through safe disassembly, jam removal, and reassembly without causing further damage. Whether you’re dealing with a stubborn paper wrap, a bent sensor lever, or a complete failure to start, opening the shredder gives you full access to the root cause.
Before you begin, understand that opening your shredder may void the warranty, especially if it involves removing screws hidden under void stickers. But for out-of-warranty units or cost-conscious repairs, this process can save you from premature replacement.
Disconnect Power and Prepare Your Workspace
The most critical step before opening any shredder is unplugging it from the power source. Even models with safety interlocks can activate unexpectedly if a switch is triggered during disassembly. A live motor near sharp steel blades poses a serious risk of injury. Never skip this step, regardless of how quick the repair seems.
Gather Essential Tools
You will need just a few basic tools to open most paper shredders. Having everything ready before you start prevents frustration mid-repair.
• Phillips head screwdriver (typically #1 or #2)
• Needle-nose pliers or tweezers
• Small flathead screwdriver for prying clips
• Cotton swabs and dry cloth for cleaning sensors
• Small container to hold removed screws
Avoid using metal tools near wiring unless they are insulated. Keep all screws in one place so they do not get lost during reassembly.
Locate and Remove All Fasteners

Most shredders are held together by four to six screws, usually located on the bottom or sides. Flip the unit over and examine all surfaces carefully. Look under rubber feet, manufacturer labels, and void stickers, as these often conceal hidden fasteners.
Find Hidden Screws
On AmazonBasics models specifically, one critical screw is often hidden under a void sticker. Removing this screw explicitly voids the warranty. Check the back panel near the cord entry as well, since some manufacturers place fasteners in unexpected locations.
Remove Screws Carefully
Use steady pressure with the screwdriver. Some screws are tight or have thread-locking compound applied. Do not force them, as stripped threads will cause problems during reassembly. Place each screw in your container noting its original position if possible.
Separate the Casing Safely
After removing all screws, gently pry apart the two plastic halves. Start at the seams along the sides and work your way around systematically. Use your fingers or a plastic pry tool, and never use a metal knife, which can damage clips or scratch components.
Watch for Internal Wiring
Many shredders have wires connecting the motor, sensors, or control panel to the base. These prevent full separation of the casing. Do not yank the halves apart forcefully. Instead, lift one side slightly and inspect for thin wire bundles, ribbon cables, or small sensor tabs that align with slots. Lay the open unit on its side so the wiring is not strained.
Inspect the Blade Assembly and Feed Path

The pinch point, where interlocking steel blades meet, is the most common jam location. Look for crumpled paper wedged between blades, torn fragments caught in grooves, or shiny marks indicating paper has slipped over the cutters.
Clear Debris from the Pinch Point
Use needle-nose pliers to pull out debris. Never touch the blades directly since they can sever fingers. If paper is wrapped tightly around feed rollers, forming dense coils, use one blade of scissors or a utility knife to cut through the coil in multiple places. This loosens tension so you can pull out all strips completely.
Warning: Cutting too aggressively can nick gears or belts. Work slowly and check your progress frequently.
Diagnose Sensor and Mechanical Failures
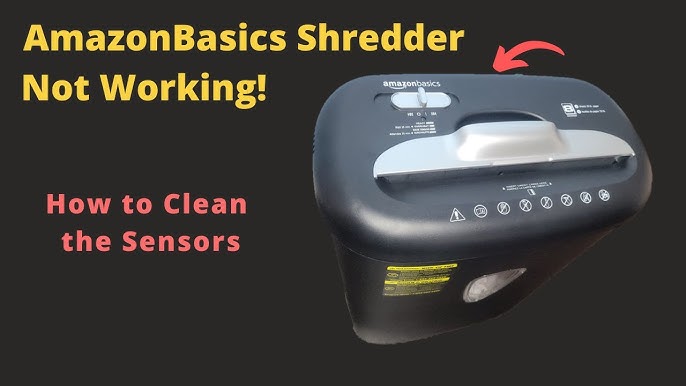
A small metal or plastic lever in the feed slot triggers the shredder when paper is inserted. Common issues include a bent lever that prevents activation, a floating lever that has dislodged from its pivot point, or a dust-clogged sensor that blocks the optical beam.
Fix the Activation Lever
Use a cotton swab to clean around the lever. If bent, gently realign it with pliers. Apply a tiny drop of WD-40 to the pivot for smooth movement, but avoid flooding the area. If the motor runs but the blades do not turn and you hear a high-pitched whine, the plastic gears have likely stripped. Unfortunately, gear replacement is complex and often not cost-effective.
Clear Severe Jams with Oil Soak
If automatic reverse does not clear the jam, try this method inside the opened unit. Drizzle two to three tablespoons of shredder oil or cooking oil directly onto the jammed area. Let it soak for 30 minutes to soften compacted paper. Attempt to run in reverse or use rigid cardstock like a file folder to push through.
Important: Do not use spray lubricants like WD-40 on paper jams, as they can cause fibers to swell and worsen the clog.
Clean and Lubricate Before Reassembly
Use a dry cloth or soft brush to clean the blade housing, feed rollers, sensor area, and interior casing. Avoid canned air, which can force debris deeper or damage delicate sensors.
Lubricate the Blades Properly
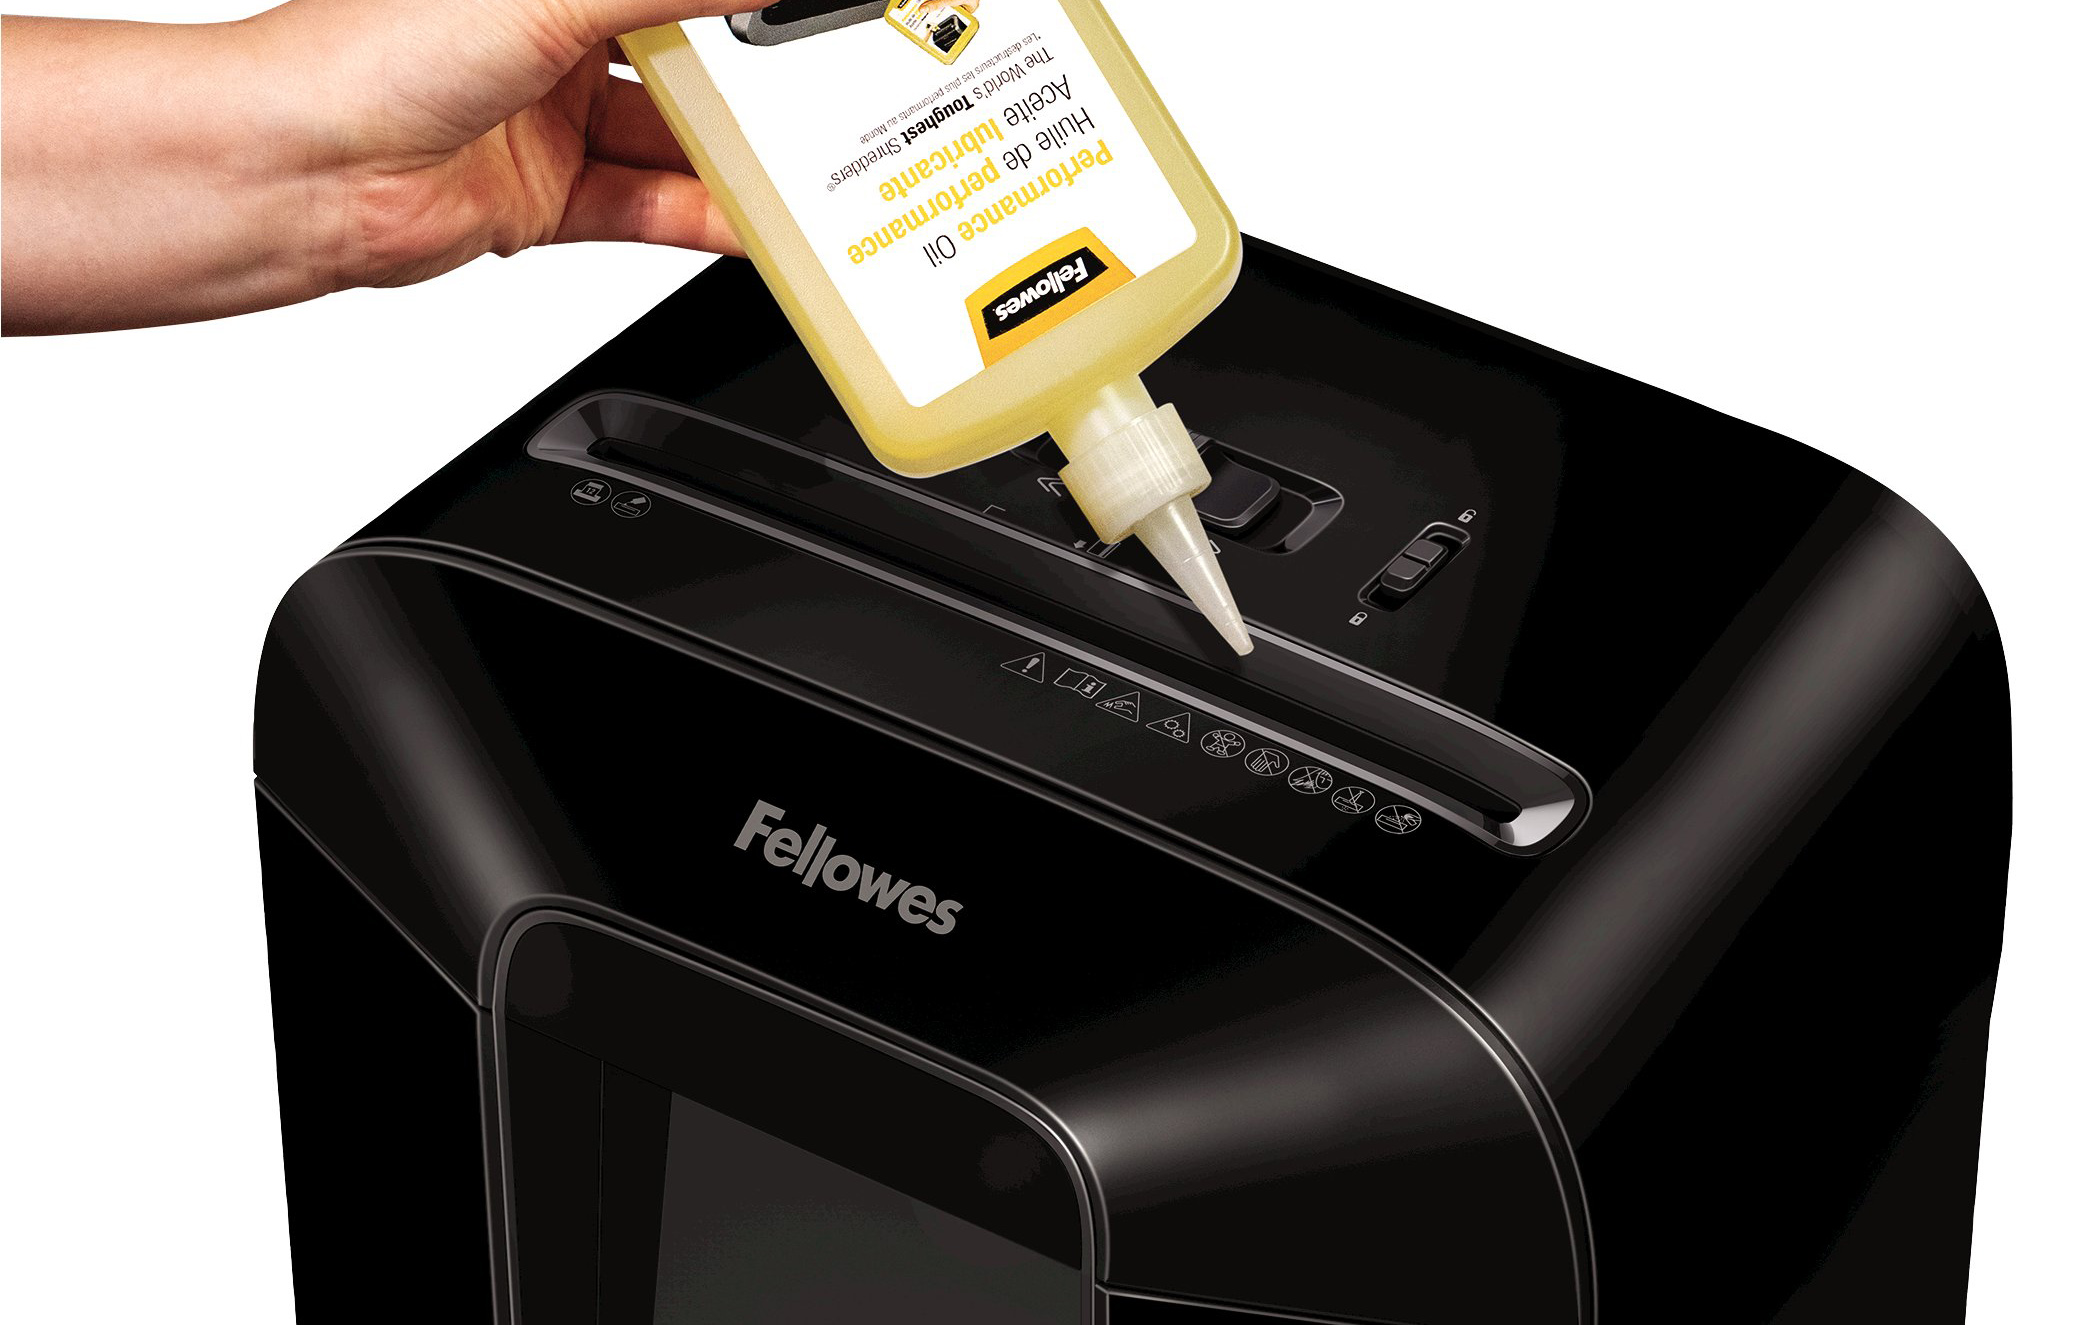
Proper lubrication prevents future jams. Options include shredder oil sheets (run one through after cleaning), liquid oil (lightly coat a sheet of paper and feed it through), or regular maintenance every 10 to 15 minutes of continuous use. Never over-lubricate, as excess oil attracts dust and forms gummy buildup.
Reassemble the Shredder Correctly
Before closing the casing, ensure no tools or debris are left inside. Verify that wiring is not pinched and that sensor tabs align with their slots, which is critical for safety interlock function.
Secure All Fasteners
Snap the two halves together evenly, pressing along the seams until all clips engage. Reinsert every screw, including the one under the warranty sticker if applicable. Tighten securely but do not over-torque, as plastic threads strip easily.
Final Check: Confirm the head unit sits flush on the bin. Misalignment can prevent power-on entirely.
Test the Shredder Safely
Plug in the unit and insert a single sheet of paper into the center of the slot. Watch for smooth feeding and clean cutting. Listen for unusual humming (indicates strain or partial jam), stalling (suggests residual blockage), or constant running (sensor still blocked).
If problems persist, open again and recheck for overlooked debris or misaligned levers.
Prevent Future Jams and Repairs
Follow best feeding practices to minimize future issues. Feed paper straight, not sideways. Stay under the stated sheet capacity. Fold wide documents in half to reduce width. Avoid fast-feeding, and let the machine pull paper at its own pace.
Remove Problematic Materials
Never shred staples, paper clips, adhesive labels, tape, windowed envelopes, laminated paper, transparencies, or plastic. These materials cause jams, dull blades, and sensor failures. Remove any problem items before feeding paper into the shredder.
Know When to Replace, Not Repair
Some failures are not worth fixing. Stripped gears are common in units under $50. A burnt motor smell indicates internal damage. Cracked housing or broken clips also signal the end of practical repair. If repair costs exceed 50% of a new unit, replacement is the smarter choice. Consider recycling your old shredder responsibly.
Frequently Asked Questions About Opening a Paper Shredder
Can I open my shredder without voiding the warranty?
It depends on the model. Many manufacturers place screws under void stickers, and removing these explicitly voids the warranty. Check your model-specific documentation before proceeding.
What tools do I need to open a basic paper shredder?
Most household shredders require only a Phillips head screwdriver (#1 or #2), needle-nose pliers, and a small flathead screwdriver for prying. No specialized equipment is needed.
How do I know if my shredder needs to be opened versus just using reverse mode?
If reverse mode fails to clear the jam after several attempts, or if the unit will not power on at all, opening the unit is necessary to inspect for internal blockages, dislodged sensors, or stripped gears.
Is it safe to open a shredder myself?
Yes, provided you unplug the unit first and avoid touching the blade edges. The cutting mechanisms can sever fingers, so use tools for extraction rather than your hands.
How often should I lubricate my shredder?
Lubricate after every 10 to 15 minutes of continuous use, or perform annual lubrication for light users. Over-lubrication causes dust buildup, so use only small amounts.
Key Takeaways for Opening Your Paper Shredder
Knowing how to open a paper shredder empowers you to fix common jams, extend device life, and reduce electronic waste. Always unplug before starting, and check for hidden screws under labels and rubber feet. Use needle-nose pliers to clear debris from the pinch point, and realign any bent sensor levers before reassembly. With basic tools, careful disassembly, and proper reassembly, most blockages can be cleared in under 30 minutes. Regular maintenance, correct usage, and timely lubrication will keep your shredder running smoothly for years.





