

Loose pages sliding around on a desk or coming out of a cheap folder can make even great content look unfinished. A comb binding machine solves that problem quickly, turning stacks of paper into clean, durable documents that open completely flat. Learning how to use a binder machine the right way helps you avoid torn holes, misaligned pages, and combs that refuse to stay closed.
This guide walks you through the full process, from setup to finishing touches. You’ll learn how to pick the correct comb size, punch pages cleanly, thread the spine without skipping a hole, and troubleshoot the most common mistakes. Whether you work in an office, classroom, or home office, these steps will help you produce polished results every time.
Set Up Your Comb Binding Machine Properly
Adjust the Paper Stop to Match Your Document
The paper stop controls exactly where holes get punched along the edge. For standard letter-size paper, set it to 8.5 inches. For legal, A4, or A5 documents, slide it into position and lock it down. A loose or misaligned stop is the number-one cause of crooked holes that ruin the final look.
Disengage Unused Punch Pins
Most machines have 19 or more punch pins across the die. When binding narrower paper, pull the outer pins out of engagement so only the pins matching your document width remain active. This keeps the machine cleaner, reduces chip buildup, and saves wear on parts you do not need.
Clear the Chip Tray and Test Punch
Empty the chip tray before any long run to prevent jams. Always do a test punch on scrap paper first. Check that holes are clean, rectangular, and centered along the edge. Torn or partial holes mean the batch is too thick or the pins are dull.
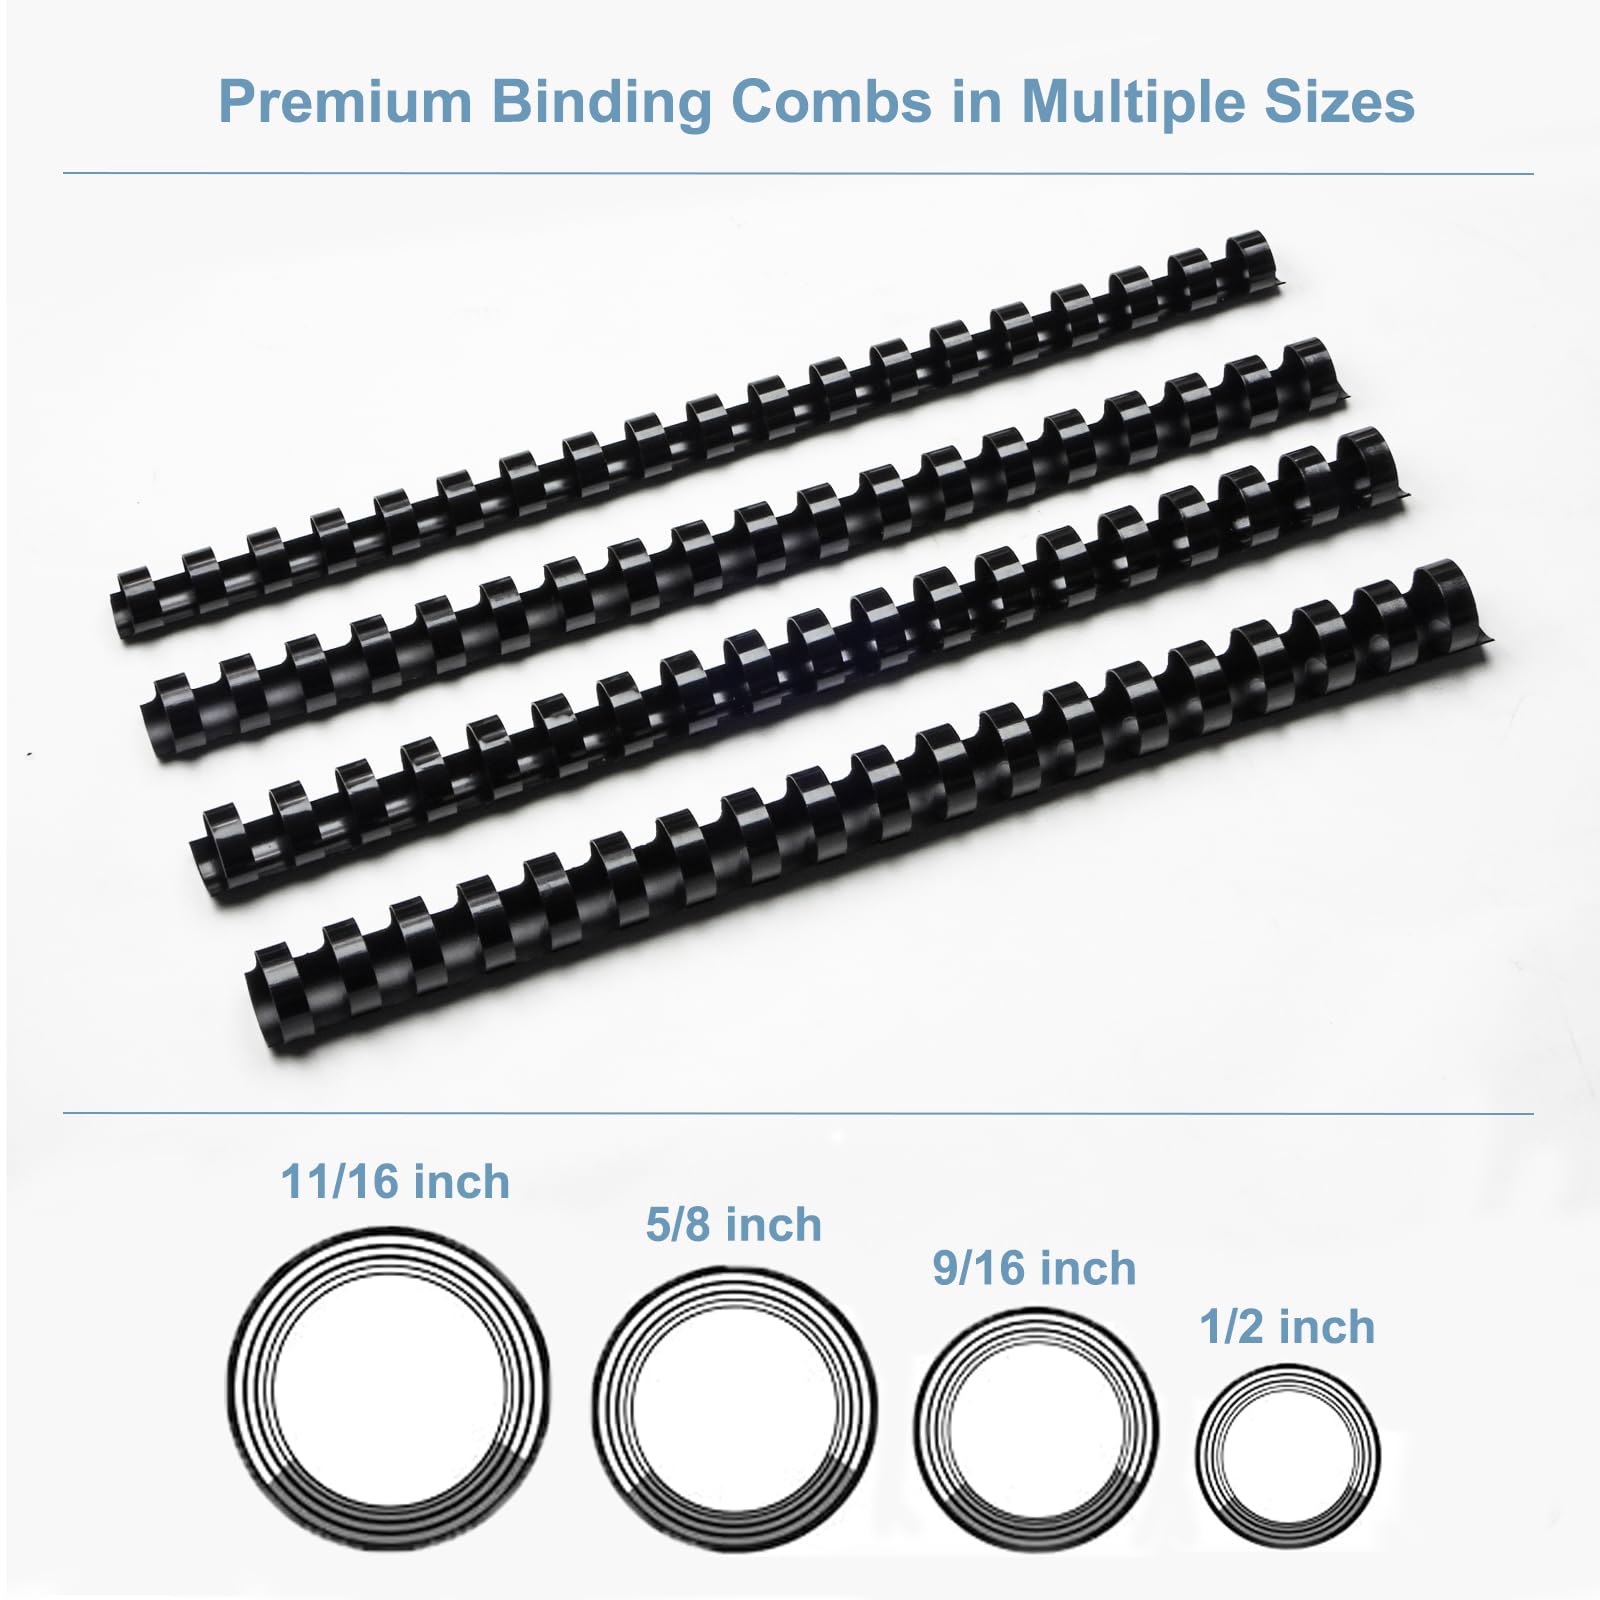
Choose the Right Plastic Comb Size
Match Comb Diameter to Page Count
A comb that is too small will not close. One that is too large looks bulky and feels loose. Use this reference for 20 lb paper:
| Comb Diameter | Page Capacity |
|---|---|
| 3/16″ | Up to 20 pages |
| 1/4″ | 21–40 pages |
| 3/8″ | 56–80 pages |
| 1/2″ | 81–120 pages |
| 3/4″ | 176–225 pages |
| 1″ | 226–300 pages |
| 2″ | Up to 425 pages |
When in doubt, always go one size larger. A slightly oversized comb is far easier to close than an overstuffed one.
Pick a Color and Size for Your Use Case
Plastic combs come in 19 or more standard colors, making them perfect for color-coding departments, class levels, or document versions. For proposals and reports, black or clear covers with a matching comb look sharp. For training manuals and reference books, pick a comb that allows the document to open fully flat on a desk.
Prepare Your Pages Before Punching
Collate Pages in Final Order
Stack everything in the exact sequence you want, with the front cover on top and the back cover on the bottom. Once the comb is closed, reordering pages means starting over.
Square the Stack with a Firm Jog
Place the stack on a flat table and tap all four edges firmly against the surface. This “jogging” step aligns every sheet perfectly. Even a small offset at this stage will multiply into noticeable misalignment after punching. For thicker stacks, a light clamp or alignment tray helps hold everything square.
Punch the Document in Consistent Batches
Stay Within Rated Capacity
Manual machines typically handle 10–20 sheets per stroke, while electric units often punch 30 or more. Exceeding that limit tears holes, weakens the paper, and strains the machine. Divide your document into equal batches and stick to that count from start to finish.
Use a Smooth, Single Motion
Slide each batch into the punch slot and press it firmly against the paper stop. Pull the handle down in one smooth stroke on a manual model, or press the foot pedal or button on an electric unit. Let the machine do the work — never force the punch.
Open the Comb Using the Machine Only
Place the Comb in the Opener
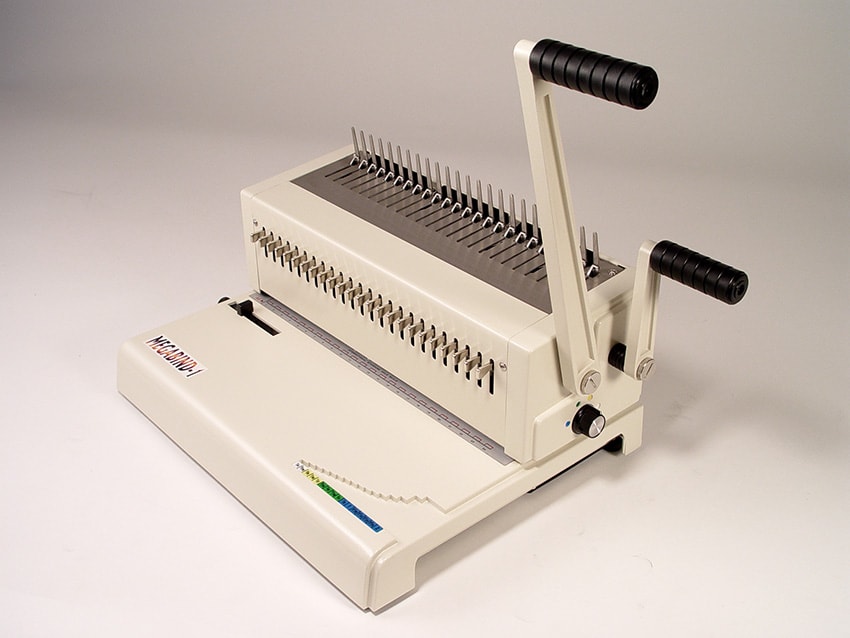
Set the plastic comb into the comb-opening section with the tines facing down into the slots. Activate the opener until the rings spread wide enough to accept your pages.
Warning: Never open a comb by hand. Forcing tines apart with your fingers stretches the plastic, weakens the spring, and leads to combs that pop open later. Always rely on the machine’s built-in opener.
Confirm Full Opening Before Threading
Look across the spine and check that every tine is evenly spread. Partially opened tines make threading frustrating and increase the chance of skipping a hole.
Thread the Pages and Close the Comb
Seat Every Hole on a Tine
Hold the punched stack over the open comb and slowly lower it onto the spread rings. Work from one end to the other, making sure each punched hole slides fully onto its matching tine. Take your time — misaligned pages cause bulging and weak closure.
Release the Opener and Check the Spine
Once every hole is seated, release the opener. The tines snap shut, locking the pages in place. Run your fingers along the full spine to confirm every tine has closed completely. Gently press any open ring shut with your thumbnail.
Troubleshoot Common Comb Binding Problems
Ragged or Torn Holes
This happens when batches exceed the rated punch capacity. Reduce sheet count, stay within machine limits, and clean the punch head regularly.
Comb Pops Open After Closing
The tines were likely over-stretched. Always use the machine opener and avoid opening the same comb more than necessary.
Pages Not Flush at the Top Edge
The paper stop was loose or the stack was not squared. Re-jog the pages, lock the stop in place, and re-punch affected batches.
Document Will Not Lie Flat
The comb is too small for the page count. Switch to the next larger size so the document can open a full 360 degrees.
Ring Misses a Punched Hole During Threading
Holes are likely misaligned. Re-punch the affected pages, double-check batch thickness, and confirm the paper stop is locked.
Add or Replace Pages Without Rebinding
One of the biggest advantages of comb binding is full editability. To update a finished document:
- Place the document back in the machine opener.
- Slide the pages off the comb.
- Insert new or revised pages in the correct order.
- Re-thread the stack and close the comb.
This process can be repeated dozens of times before the plastic loses spring tension. Avoid spreading the tines wider than needed to extend comb life, and store bound documents flat to prevent warping.
Frequently Asked Questions About Comb Binding Machines
How do I add pages to a finished comb-bound document?
Re-open the comb with the machine’s opener, slide the pages off, insert the new sheets in the right order, and re-thread the stack before closing. This editability is one of the main reasons people choose comb binding over other systems.
Can a comb binding machine also do wire binding?
No. Comb machines punch rectangular holes, while wire binding needs round holes at a different pitch. You would need a separate machine or a different punch die to switch systems.
What types of documents work best with comb binding?
Training manuals, proposals, price lists, school projects, cookbooks, and catalogs all benefit from comb binding. Any document that needs to lie flat when open and may be updated later is a good candidate.
How many times can one comb be opened and closed?
Most combs can be opened and closed dozens of times before the tines lose their spring tension. Avoid spreading the rings wider than necessary, since over-opening is the leading cause of premature wear.
What is the maximum number of pages I can bind?
A 2-inch comb holds up to about 425 sheets of standard 20 lb paper. For smaller documents, combs start at around 10 pages with a 3/16-inch diameter.
Key Takeaways for Using a Comb Binding Machine
Mastering how to use a binder machine comes down to three essentials: prepare your pages well, respect the machine’s capacity, and always use the built-in comb opener. Square stacks, matched comb sizes, and clean punching deliver professional results on every project.
Ready to put these steps into practice? Pull out your machine, pick the right comb from the size chart, and bind a short sample document before tackling your next big project. A few minutes of setup saves hours of frustration and produces a finished document you can be proud of.





