
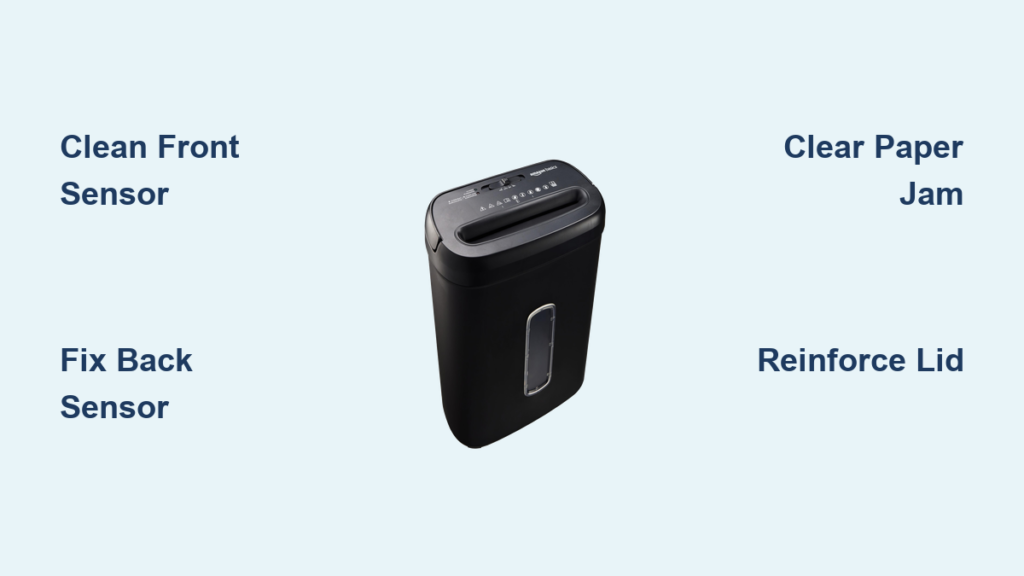
Is your AmazonBasics paper shredder not turning on, jamming immediately, or refusing to feed paper? These budget-friendly shredders are known for reliable performance when they work, but common issues like sensor blockages, paper jams, and loose lids can bring productivity to a halt. The good news: most problems are fixable with simple tools and a few minutes of effort. This guide covers the most frequent failures and provides step-by-step fixes to get your shredder running smoothly again.
Whether it is a complete power failure, a stubborn jam, or a lid that will not stay on, you will find actionable solutions here. We will walk you through front and back sensor cleaning, safe jam removal, lid repair, and preventative maintenance tips to extend your shredder is lifespan.
Front Sensor Cleaning Steps
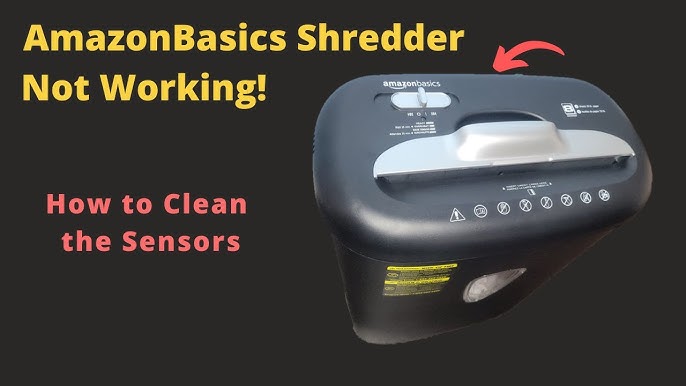
The front sensor is the number one culprit behind AmazonBasics shredders that power on but will not start when paper is inserted. Located in the center of the feed slot, this sensor detects incoming paper and triggers the motor. If blocked by dust, paper fragments, or grime, the shredder thinks no paper is present even when you are feeding it.
Why the Shredder Will Not Start When Paper Is Inserted
If your unit powers on but does not pull in paper, the front sensor is likely obstructed. Watch for these signs:
The shredder may experience paper jams instantly at the entry point. You might hear no motor sound during forward operation. Reverse mode often works fine while forward does not engage.
This issue often develops over time as paper dust accumulates in the recessed sensor area.
How to Clean the Feed Sensor Safely
Cleaning the front sensor is quick and requires no disassembly. Follow these steps:
Unplug the shredder for safety. Fold a paper towel lengthwise twice to create a stiff, narrow strip. Insert the folded edge into the center of the feed slot where the sensor sits. Move it up and down vigorously to dislodge dust and paper fragments. Repeat until no more debris comes out.
Never use cotton swabs. They are too thick and rigid, risking sensor damage or pushing debris deeper. Stick to soft paper products.
Alternative Methods for Stubborn Blockages
If visible paper is stuck in the sensor area, try these approaches:
Use needle-nose pliers to gently pull out large fragments. Slide a business card or stiff paper down the slot to push obstructions past the sensor. Apply a tiny drop of cooking oil to lubricate and loosen stuck fibers, using sparingly.
After cleaning, plug in and test with a single sheet. If the shredder still will not start, check the back sensor next.
Back Sensor Repair and Alignment
When your AmazonBasics shredder shows no power even with the cord plugged in, the back sensor is likely at fault. This safety switch ensures the shredder head is properly seated on the waste bin before allowing operation. If misaligned or loose, the circuit will not close and the unit remains dead.
No Power? Check the Bin Sensor
Symptoms of back sensor failure include no lights and no sound when plugged in. You may notice no click when closing the bin. The unit appears assembled but will not respond.
Unlike the front sensor, this one is mechanical and hidden beneath the housing. It engages when the bin is pushed in, activating a small tab that completes the electrical connection.
How to Fix a Loose or Disengaged Sensor
To access and repair the back sensor, follow this procedure:
Unplug the unit. Remove six Phillips screws from the top panel. One is under a void if removed sticker, so removing it voids the warranty. Gently lift the top cover, wiggling slightly to free any clips. Locate the small plastic or metal sensor tab on the base. It should protrude slightly.
If the tab is recessed or wobbly, insert a small piece of folded paper or tape into the housing to push it forward. This reinforcement ensures consistent contact and restores power. Reassemble carefully, ensuring the tab aligns with the actuator on the bin.
How to Test Sensor Function
After repair, test the sensor by listening for a click when closing the bin. Check the indicator light: on older models it turns green immediately, while on newer ones it activates when set to Auto mode. Test with paper once reassembled.
If the light still does not come on, verify the bin is fully seated and the internal wiring is not loose.
Clearing Paper Jams Quickly
Paper jams are the most common issue with AmazonBasics shredders, especially when overloading or shredding staples. If your shredder motor runs but will not pull paper, or paper is visibly stuck, act fast to prevent motor burnout.
Immediate Steps to Clear a Jam
When a jam occurs, follow this protocol:
Turn off and unplug the shredder immediately. Switch to reverse mode and press the button briefly to eject paper. Never force paper by hand while powered. Never use metal tools while plugged in.
If reverse fails, proceed to manual removal using safe tools.
Safe Tools for Removing Jammed Paper
Use only non-damaging tools for jam removal:
Tweezers work well for grabbing small fragments. Needle-nose pliers are ideal for deeper pulls. Compressed air blows out dust and tiny bits effectively.
Avoid screwdrivers or knives. They can scratch blades or plastic gears and cause more damage.
Lubricate Blades After a Jam
After clearing debris, apply shredder-specific lubricant to the blades. Do not use WD-40 or motor oil. They degrade plastic and attract dust. Cooking oil is acceptable in emergencies but not for long-term use.
Never oil a large wad of stuck paper. Remove bulk first, then lubricate. Shredder sharpening sheets clean but do not lubricate, so do not rely on them for jam prevention.
Internal Disassembly for Deep Jams

When paper is lodged deep in the blade assembly, internal access is required. This fix is more involved but often necessary for full recovery.
How to Open the Shredder Safely
Follow these steps for safe disassembly:
Unplug the unit. Remove all six Phillips screws from the top casing. One is under a warranty sticker, so removing it voids the warranty. Lift the top cover slowly. Do not force it. Expose the blade assembly mounted on the white base.
Take note of wire routing and sensor placement before proceeding to avoid reassembly issues.
Removing Paper from the Blade Assembly
Use needle-nose pliers to carefully pull out stuck paper. Work slowly to avoid bending blades or cracking plastic. Shine a flashlight to check for hidden fragments. Blow out dust with compressed air.
Ensure no paper residue remains. Partial jams can reoccur and cause repeated problems.
Reassembly Tips to Avoid New Issues
When reassembling, align the small sensor tab with its socket before closing. Reinstall all screws securely. Test with one sheet of paper before resuming normal use.
If the unit still will not run, check if the motor overheated and needs cooling time.
Fixing Loose or Broken Shredder Lids

A loose or detached top cover is a known design flaw in AmazonBasics shredders. Stress fractures around the screw holes can cause the lid to wobble or pop off, making operation unsafe.
Why the Top Cover Will Not Stay On
The lid is held by six screws and a small lip structure. Over time, plastic stress fractures form at the corners, especially if the unit is moved frequently or used heavily.
How to Reattach a Detached Lid
To reattach a detached lid safely:
Unplug the shredder. Inspect the base slots and ensure the mechanism is seated properly. Reinstall the small plastic sensor piece if displaced. It fits into the base with a tab facing outward. Align the lid with the side slots. Replace all six screws and tighten evenly.
Even without the rubber gasket, the unit can function, though stability may be reduced.
Long-Term Fixes for Lid Stability
If the lid remains loose after reattachment, consider these options:
Passive use involves accepting minor wobble for light tasks. Tape the lid using duct tape or packing tape around the edges to hold it in place during operation. Glue permanently by applying industrial epoxy around the perimeter.
Warning: Gluing disables the safety sensor. You will need to lift the entire unit to empty the bin.
Make a Duct Tape Handle for Easy Emptying
If the lid is glued or hard to lift, create a handle:
Loop duct tape through the front edge to create a pull tab. Leave a small gap to prevent paper clogging. This gives you leverage without touching shredded waste.
Preventing Future Problems
The best way to avoid downtime is regular maintenance. AmazonBasics shredders are durable when used correctly, but neglect leads to avoidable failures.
Never Exceed Sheet Capacity
Stick to your model is limit. Six-sheet models handle a maximum of six sheets. Twelve-sheet models handle a maximum of twelve sheets. Overloading is the top cause of jams and motor strain.
What Not to Shred
Avoid these materials to prevent damage:
Staples and paper clips gum up blades unless your model specifies otherwise. Sticky notes have adhesive that gums up blades. Cardstock or thick cardboard strains the motor. Wet or damp paper causes jams and blade damage.
Lubricate Every Fifteen to Twenty Minutes of Use
Blade lubrication is critical for smooth operation:
Use shredder-specific oil only. Apply directly to blades or feed a lubricating sheet. Frequency should be every fifteen to twenty minutes of continuous use.
Never use household oils long-term. They attract dust and degrade plastic components.
Let the Motor Cool Down
If the shredder stops mid-use, it is likely in thermal shutdown. Wait at least thirty minutes before restarting. This protects the motor from burnout.
When to Contact Amazon Support
If all troubleshooting fails, contact Amazon Support at 1-888-280-4331. Mention your issue and request warranty service if under one year.
Note: Removing the warranty-void screw invalidates coverage. If your unit is still under warranty, contact Amazon before disassembling.
Extending Your Shredder is Lifespan
With proper care, your AmazonBasics shredder can last for years:
Clean sensors monthly. Lubricate regularly. Reinforce the lid if loose. Avoid overloading. Allow cooling periods after heavy use.
Users who follow these steps report indefinite usability even on older models.
Frequently Asked Questions About AmazonBasics Paper Shredder Troubleshooting
Why Does My AmazonBasics Shredder Not Turn On Even When Plugged In?
The back sensor or bin alignment interlock is likely the cause. This safety switch ensures the shredder head is properly seated on the waste bin. If it is misaligned or the bin is not fully inserted, the circuit will not close and the unit remains dead. Try reseating the bin firmly or clean the back sensor area.
How Do I Fix a Paper Jam in My AmazonBasics Shredder?
First, turn off and unplug the shredder. Use the reverse function to eject paper if possible. If that fails, use tweezers or needle-nose pliers to gently pull out visible fragments. For deep jams, you may need to remove the top cover and access the blade assembly directly. Always unplug before attempting manual removal.
Why Does My Shredder Run in Reverse But Not Forward?
This is a classic sign of front sensor blockage. The front sensor in the feed slot detects paper and triggers the motor. When blocked by dust or debris, the shredder thinks no paper is present. Clean the sensor using a folded paper towel inserted into the feed slot and moved up and down vigorously.
Can I Use WD-40 to Lubricate My Paper Shredder?
No. WD-40 and other household oils degrade plastic components and attract dust. Use only shredder-specific lubricant designed for paper shredders. Apply every fifteen to twenty minutes of continuous use for optimal performance.
How Do I Fix a Loose Lid on My AmazonBasics Shredder?
Realign the lid with the side slots and replace all six screws. If it remains loose, apply duct tape around the perimeter as a temporary fix. For a permanent solution, use industrial epoxy around the edges, but note that this disables the safety sensor and requires lifting the entire unit to empty the bin.
What Should I Do If My Shredder Stops Mid-Use?
Your shredder has likely triggered thermal overload protection. Unplug the unit and allow it to cool for at least thirty minutes before restarting. This prevents motor burnout from excessive use.
Key Takeaways for Maintaining Your AmazonBasics Shredder

Most AmazonBasics shredder issues stem from three root causes: dirty sensors, paper jams, and loose lids. By cleaning the front and back sensors, clearing jams safely, and reinforcing the housing, you can restore full function in minutes.
Front sensor cleaning requires only a folded paper towel and takes seconds. Back sensor repair may require opening the unit and adding a small paper wedge for reinforcement. Paper jams should be addressed by reversing first, then using non-metal tools for manual removal.
Combine these fixes with proper lubrication using shredder-specific oil, adhering to capacity limits, and allowing cooling periods after heavy use. With this guide, you are equipped to troubleshoot like a pro and keep your shredder running reliably for years.





