
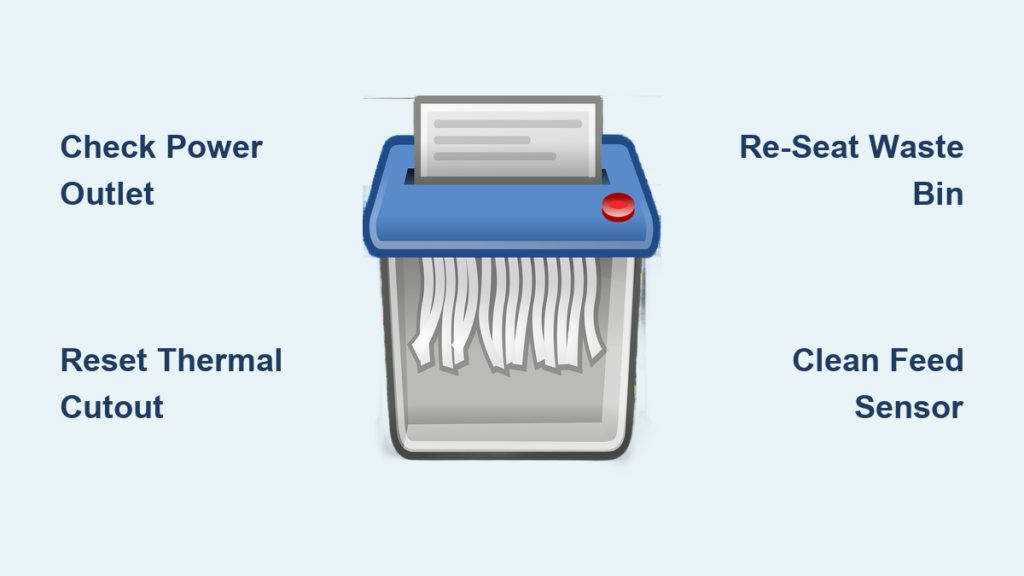
Your paper shredder won’t start. You press the button, but nothing happens. No hum, no lights, no movement. Or maybe it runs in reverse but ignores paper entirely. Frustrating? Absolutely. But before you toss it or buy a new one, know this: a non-working paper shredder is often an easy fix. Most issues stem from simple causes like power problems, paper jams, or safety sensors, not broken motors or dead electronics.
This guide will help you diagnose and repair your paper shredder not working problem in minutes using basic tools and household items. Whether it’s a jam, sensor fault, or thermal shutdown, we’ll walk you through step-by-step solutions that actually work.
Power Is On But Shredder Won’t Start

If your shredder shows no response, the issue isn’t necessarily electrical. Start here before assuming the worst.
Check Outlet and Power Cord
Plug another device into the same outlet to confirm power delivery. If the outlet works, inspect the shredder’s cord for cuts, kinks, or fraying. A damaged cord can interrupt current even if plugged in. Try a different outlet on a separate circuit, especially if the breaker might be tripped. Some shredders draw more power during startup and fail on weak circuits.
Reset Thermal Protection
Many users unplug a hot shredder immediately after use, but that’s the wrong move. Continuous operation triggers thermal cutout, a safety feature that shuts off the motor to prevent overheating. The internal fan needs power to cool the motor. If unplugged too soon, cooling stops and reset takes longer.
Fix: Leave the shredder plugged in and switched on for 30 to 60 minutes. This allows the fan to run and the unit to reset automatically. No tools, no disassembly required.
Verify Bin and Cover Position
Safety interlocks prevent operation if components aren’t seated correctly. Ensure the waste bin is fully pushed in. Look for alignment tabs or arrows that must match. Remove any plastic liner because bags can lift the bin slightly, breaking contact with the sensor. Close all covers completely. On models with ShredSafe or similar features, even a slightly lifted lid disables the motor.
Motor Humming But No Shredding

You hear the motor run, but paper doesn’t feed or blades don’t turn. This means power reaches the motor, but the drive system isn’t engaging.
Confirm Bin Sensor Engagement
Even a 1/8-inch gap between the head unit and bin can trigger a safety cutoff. Pull the bin out and reseat it firmly. Listen for a click. Make sure no oil, dust, or paper scraps block the sensor points where the bin connects to the shredder head.
Test for Stripped Gears
A high-pitched whine or spooling sound without blade movement indicates stripped gears. This usually happens after shredding too many sheets or hard materials like staples or cards.
Signs:
• Motor runs freely
• Blades stay still
• Whirring noise increases under load
Gear replacement is possible but often costs more than a new unit. For older models, check OEM parts first. Otherwise, consider replacement.
Inspect Drive Belt
On belt-driven models, a broken or slipped belt means the motor spins but rollers don’t move. This requires opening the casing (unplugged first!) to inspect.
Visual cue: If motor shaft turns but rollers don’t, the belt is faulty. Replace with manufacturer-specified part only.
Runs in Reverse But Not Forward
The shredder reverses fine but ignores paper in auto mode. This isolates the problem to the feed detection system, not the motor or blades.
Clean the Feed Sensor
Most auto-feed shredders use an optical sensor in the center of the entry slot. Dust, oil buildup, or paper fibers can block it.
How to clean:
1. Unplug the unit.
2. Shine a flashlight into the feed slot.
3. Locate the small black sensor, often near the center.
4. Wipe gently with a cotton swab or lint-free cloth.
5. Use compressed air to blow debris from crevices.
6. Avoid canned air sprays that leave residue. Use a bulb blower or low-pressure air instead.
Trigger the Sensor Manually
Insert a stiff index card or file folder straight down the center of the slot. Wiggle slightly to free a stuck sensor flag. Some sensors bind over time and need physical resetting.
Check for Relay Issues
If voltage reaches the sensor but the motor doesn’t engage, the relay may be failing. A faint tap on the housing might restore temporary function, a sign of loose contacts. This requires professional repair or control board replacement.
Clear a Paper Jam Safely
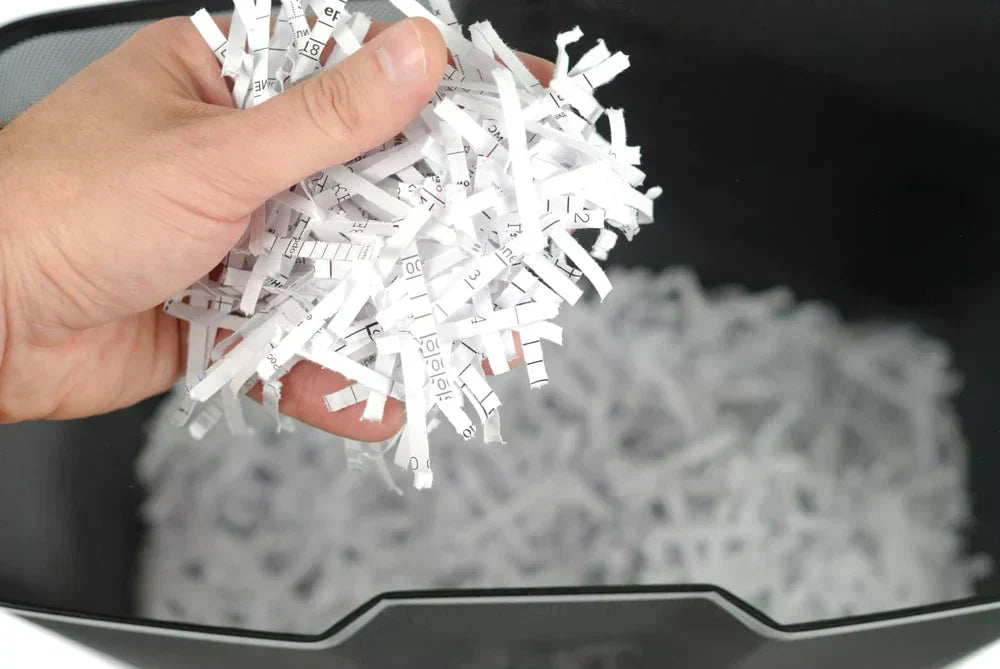
Jams are the number one reason for shredder failure. Clear them correctly to avoid damaging rollers or blades.
Use Reverse Mode First
As soon as paper stops feeding, switch to reverse for 3 to 5 seconds. Let go. Don’t hold the button because this strains the motor. Repeat 2 to 3 times if needed.
Alternate Forward and Reverse
If reverse alone fails, try this sequence: forward 1 second, then reverse 5 seconds. Repeat up to 3 times. This rocking motion often frees stuck paper.
Push With a Rigid Sheet
Cut a piece of cardboard from a cereal box or use an old file folder. Insert centered into the feed slot and push firmly. The stiffness helps dislodge compacted paper without scratching rollers.
Manual Removal (Unplugged Only)
Never reach inside while powered. Unplug the shredder first. Use tweezers or plastic tongs to pull out visible paper. Shine a light to see fragments behind rollers. Never use metal tools because they scratch rollers and damage blades.
Oil Soak for Stubborn Jams
For tightly packed jams, unplug the unit first. Drizzle 2 to 3 teaspoons of shredder oil, or cooking oil in a pinch, onto the jam. Wait 30 minutes. Plug in and use a rigid sheet to push material through.
Warning: Cooking oil is only for emergency unjamming, never for regular lubrication. It turns sticky and attracts dust.
Prevent Jams Before They Happen
Avoid future jams with smart loading habits.
Stick to Sheet Limits
Don’t guess. Count sheets. Cross-cut shredders typically handle 6 to 10 sheets at once. Micro-cut handles 4 to 6. Strip-cut handles up to 12. Overloading is the top cause of jams and gear damage.
Fan Paper Before Feeding
Pages stick together, especially in humid conditions. Fanning separates them, preventing double-feeds that jam mid-cycle.
Remove Staples and Clips
Even jam-proof models aren’t immune to metal. Staples wear down blades and strip gears. Always remove paper clips, staples, binder clips, and rubber bands.
Avoid Problematic Materials
Never shred laminated paper, CDs or DVDs unless rated, cardboard, plastic folders, wet or damp paper, or envelopes with windows. Moist paper increases friction and jams even at low sheet counts. Store documents in dry areas.
Maintain Sensors and Rollers
Clean sensors and rollers keep auto-feed working reliably.
Clean Feed Rollers Monthly
Rollers lose grip when coated in dust. Unplug the unit. Dampen a cloth with water, not soaking. Wipe rollers front and back. Let dry 10 minutes before use. If rollers are cracked or glazed, replacement is needed.
Keep Sensors Dust-Free
Paper dust blinds optical sensors. Clean every 2 to 3 weeks using a dry cotton swab. Blow out grooves with air. Test with a centered index card. A clean sensor ensures instant feed response.
Lubricate Blades the Right Way
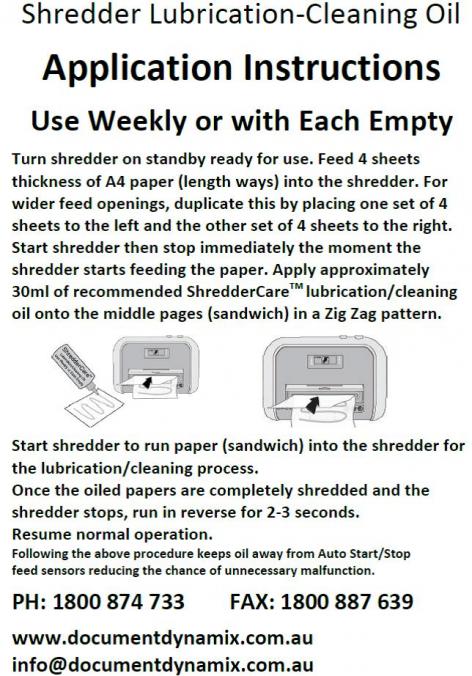
Lubrication prevents 70% of mechanical failures. Dry blades overheat and strain the motor.
Use Shredder-Specific Oil Only
Never use WD-40 because it dries out rubber and isn’t a lubricant. Never use vegetable oil because it goes rancid and creates sludge. Never use spray lubricants because they cause uneven distribution and fire hazards. Use shredder oil (bottle or pre-oiled sheets) or 100% biodegradable formulations.
Oil Frequency by Type
| Shredder Type | Oil Every |
|---|---|
| Personal Cross-Cut | Half bin or 30 min use |
| Micro-Cut | 15 to 20 min use |
| Strip-Cut | Full bin or 2 hours |
Heavy use requires more frequent oiling.
Apply Oil Correctly
Apply a thin line across the feed opening. Run in reverse for 5 seconds to distribute. Feed 1 to 2 test sheets in forward mode. Too much oil attracts dust, so use sparingly.
Stop Overheating Fast
Frequent shutdowns mean your shredder is overheating.
Understand Duty Cycle
Every shredder has a run-time limit. Consumer models run 5 to 10 minutes continuously. Office models run 10 to 15 minutes. High-capacity models run 20 minutes or more. After maximum runtime, cool down for equal time.
Cool Down Properly
When the motor cuts out, leave it plugged in and switched on. Let the internal fan run. Wait 20 to 45 minutes. Unplugging stops cooling and extends downtime.
Reduce Heat With Oil
Well-lubricated blades generate less friction. If overheating occurs often, increase oil frequency by 50%.
Replace Faulty Components
When basic fixes fail, check internal parts.
Diagnose Relay Failure
If the sensor detects paper (light blinks) but the motor doesn’t start, and tapping the relay restores function, the relay is failing. Replacement requires soldering skills or professional repair.
Assess Motor Health
If the unit is powered, the bin is seated, there’s no thermal lock, but there’s no hum at all, the motor or control board may be dead. Test voltage if skilled. Otherwise, replacement is usually cheaper than repair.
Handle Error Codes
Unlisted codes like E1 or F2 mean hardware failure: blade misalignment, sensor fault, or board malfunction. Consult the manual. If the code isn’t listed, contact support or replace the unit.
Follow Prohibited Item Rules
Feeding wrong materials causes most permanent damage.
Never Shred These Items
Staples and clips strip gears. Laminated paper melts and clogs blades. Plastic cards damage non-rated models. Wet paper increases friction. Cardboard is too thick and jams instantly. Tissue and newsprint wrap around rollers. When in doubt, leave it out.
Track Maintenance to Prevent Failure
Prevent future issues with a simple log.
Keep a Shredding Log
Record the date, total run time, oil applications, and jams or errors. Trend spotting helps: more jams despite oiling means clean sensors. Frequent overheating means reduce batch size. Rising noise means check for foreign objects.
Final Reset Trick
If nothing works, try this: unplug for 30 minutes. Remove the bin and wipe contacts. Reconnect and power on. This resets electronics like a reboot on a computer.
Frequently Asked Questions About Paper Shredder Not Working
Why does my shredder turn on but not shred?
This usually means the bin isn’t fully seated or the safety sensor is blocked. Check that the waste bin is pushed in completely and that no debris is touching the sensor points. Also verify the cover is fully closed.
How do I know if my shredder overheated?
The unit stops mid-operation with no jam indicator. There may be a burning smell. Leave the shredder plugged in and switched on for 30 to 60 minutes to allow the thermal cutout to reset automatically.
Can I use cooking oil to lubricate my shredder?
Cooking oil is only acceptable as an emergency soak for stubborn jams. Never use it for regular lubrication because it becomes rancid, turns sticky, and attracts dust that causes clogs.
Why does my shredder only work in reverse?
This indicates a problem with the feed detection system, not the motor. The sensor in the center of the feed slot is likely blocked by dust or debris. Clean the sensor with a cotton swab and compressed air.
How often should I oil my paper shredder?
It depends on the type. Personal cross-cut shredders need oil every 30 minutes or half a bin. Micro-cut shredders need oil every 15 to 20 minutes. Strip-cut shredders need oil every 2 hours or when the bin is full.
Is it worth repairing an old shredder?
If repairs cost more than half the price of a new model, replacement is smarter. Most paper shredder not working issues are fixable in under 15 minutes, but if gears are stripped or the motor is dead, upgrading to a model with a longer duty cycle and auto-oil system makes more sense.
Key Takeaways for Fixing a Paper Shredder Not Working
Most paper shredder not working issues are fixable in under 15 minutes. Start with power checks, then verify safety interlocks like bin seating and cover closure. Clear jams using reverse mode before attempting manual removal. Clean sensors and oil blades regularly to prevent 70% of mechanical failures. If your shredder overheats frequently, reduce batch size and increase lubrication frequency. Keep a maintenance log to track patterns and catch problems early. When repairs cost more than half a new unit, upgrade to a model with better durability. Save this guide because you’ll likely need it again.





