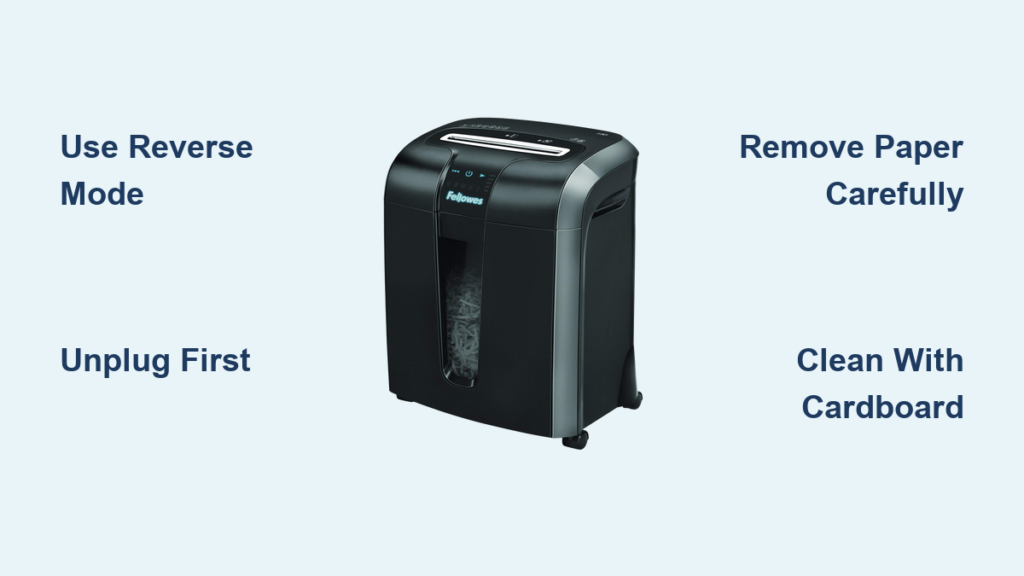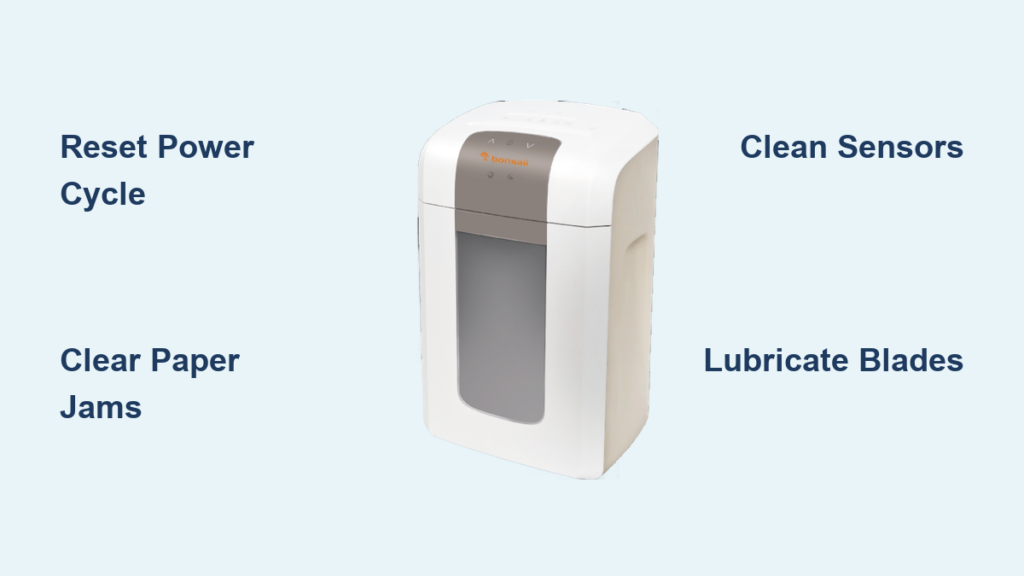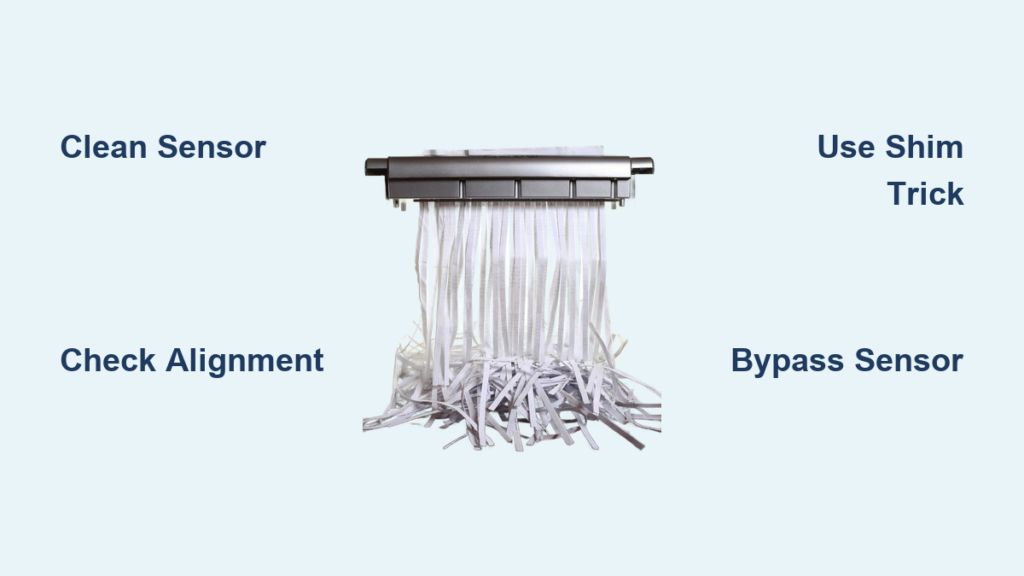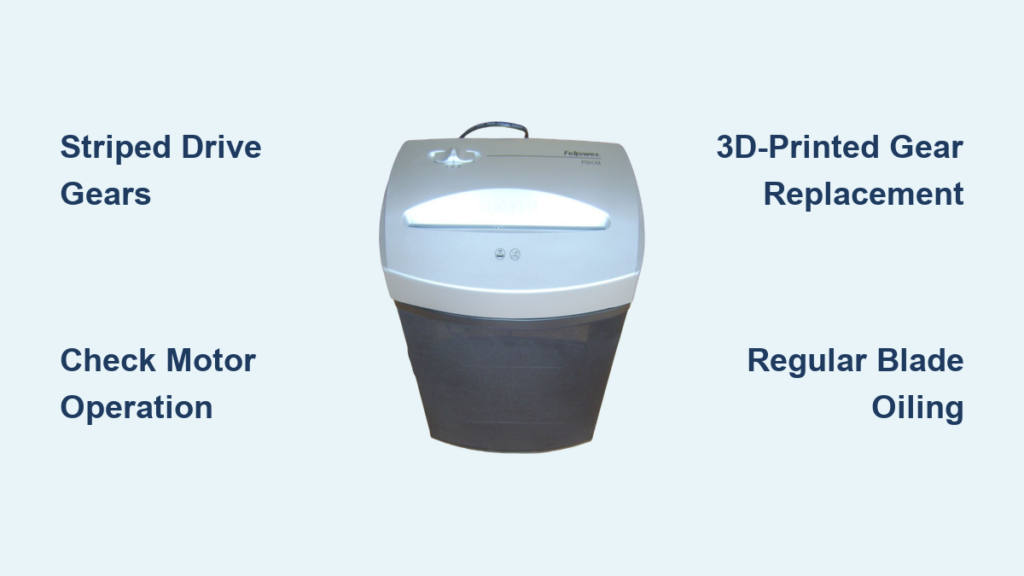

Your Pembrook shredder won’t turn on, no lights, no sound, nothing. You’re not alone. Thousands of users face this exact issue, and in most cases, it’s not a dead motor or permanent failure. More than 90% of no power problems stem from simple, fixable causes like safety interlocks, thermal overload, or sensor blockages. The good news? You can diagnose and resolve the issue in under an hour, often in minutes, without tools or technical skills.
This guide walks you through a proven, step-by-step troubleshooting process based on real repair data and engineering diagnostics. From checking the power outlet to resetting internal components, we cover every possible cause of a Pembrook shredder failing to start. You’ll learn how to safely reset the unit, clear sensor jams, and prevent future failures.
Check Power Source and Outlet
Before assuming internal damage, confirm the shredder is receiving power.
Test the Wall Outlet
Plug in another device like a lamp or phone charger to verify the outlet works. If nothing powers on, check your home’s circuit breaker panel for a tripped switch. Reset it if needed.
Inspect Dual-Slot Power Strip Reset
Many Pembrook models plug into dual-outlet power strips with a built-in safety breaker. Look for a small red or white reset button between the two slots. Press it firmly until it clicks. This often restores power instantly.
Confirm Cord Connection
Ensure the power cord is fully inserted into both the wall and the shredder. A loose connection breaks the circuit. Wiggle the plug gently. If the shredder flickers or starts, replace the cord or outlet.
Reset Thermal Overload Protection

Overheating is the number one reason a Pembrook shredder stops working.
Cool Down the Motor
If the unit was in use recently, the motor may have triggered thermal overload. Unplug it immediately and let it rest for 30 to 45 minutes. Do not attempt to restart it early. Forcing a hot motor can cause permanent damage.
Recognize Overheat Symptoms
The shredder feels warm or hot to the touch. It may have shut off mid-shred or refuse to start after heavy use. Some models emit a faint hum when overheated. This means the motor is trying to run but is blocked by the safety cutoff.
Prevent Future Overheating
Follow the duty cycle. Compact models need 10 to 15 minutes on followed by 30 minutes off. Heavy-duty models can run up to 30 minutes before cooling down. Oil the blades every half bin of paper to reduce friction and heat.
Realign the Waste Bin Correctly

A misaligned bin is a top cause of no power errors.
Seat the Bin Until It Clicks
The shredder head must lock securely onto the wastebasket. Locate the alignment tab, usually a raised strip on the back or side of the bin, and slide it into the matching slot on the shredder base. Push the bin all the way in until you hear a solid click.
Avoid Plastic Bag Interference
If using a liner, ensure it isn’t bunched up under the head unit. Excess plastic can lift the shredder slightly, breaking the safety interlock. Remove the bag and test without it.
Check Pull-Out Bin Position
For models with sliding baskets, ensure the bin is fully inserted. Even a half-inch gap disables power. The internal bracket must engage the switch completely.
Clean the Paper Sensor
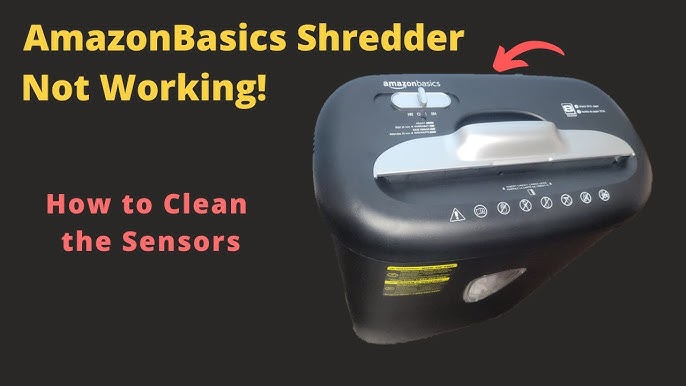
A dirty sensor stops the shredder from starting in Auto mode.
Locate the Sensor
Find the small lens or opening in the center of the feed slot. It may be front or rear facing, but it’s always near the paper entry point.
Wipe the Sensor Gently
Use a dry tissue or cotton swab to clean the sensor eye. Do not spray liquids or use canned air. Moisture and forced debris can damage internal electronics. A light wipe removes dust and paper fibers blocking detection.
Trigger the Sensor Manually
Insert a stiff piece of cardboard or an index card into the center of the slot. Push firmly. If the motor starts, the sensor was blocked. Feed paper from both left and right sides to test full coverage.
Clear Feed Slot Jams
Debris in the entry path can prevent startup or trigger safety shutdowns.
Force Through Minor Blockages
Slide a rigid sheet like a file folder or cereal box cardboard into the feed slot. Push straight down with even pressure to dislodge stuck paper.
Use Reverse Mode to Clear Jams
Switch to Reverse and hold for 3 to 5 seconds. If the jam remains, alternate between Forward for 1 second and Reverse for 5 seconds. Repeat until resistance eases.
Remove Obstructions with Tools
With the unit unplugged, use tweezers or needle-nose pliers to pull out visible scraps. Never insert metal tools while the shredder is powered.
Soak Severe Jams in Oil
For tightly packed paper, apply 2 to 3 tablespoons of shredder oil directly into the blade area. Let it soak for 30 minutes to soften fibers. Then try reverse mode or a cardboard pusher.
Reset the Control Panel

Electronic glitches can freeze the control board.
Find the Reset Button
Check the side, top, or front of the unit for a small recessed button labeled Reset. It may require a paperclip to press.
Hold for 10 Seconds
Press and hold the reset button for 10 full seconds, then release. Wait 5 seconds before pressing the power button. This clears temporary firmware errors.
Perform a Full Power Cycle
Unplug the shredder for 40 minutes. This drains capacitors and resets the internal electronics. Plug back in and test.
Inspect Internal Fuse and Capacitor
If external fixes fail, open the casing, but only after unplugging.
Locate and Test the Fuse
Open the base panel. Find the glass or ceramic fuse near the power inlet. A blown fuse shows a broken wire inside or dark discoloration. Replace only with an identical rating, voltage and amps must match exactly.
Check for Failed Capacitor
Look for cylindrical components near the motor. A bad capacitor will be bulging, leaking, or cracked. This common failure stops power delivery. Replacement requires soldering and matching specs exactly.
Realign Power Switch Contacts
Open the switch housing with a flathead screwdriver. Inside, two metal contacts must touch when pressed. If one is flipped or bent, realign it so both sit flush. Reassemble. The switch should now click firmly and restore power.
Diagnose Motor and Gear Issues

When the motor hums but blades do not turn, the problem is mechanical.
Listen for Motor Sounds
A humming sound means the motor runs but is blocked by a jam or stripped gear. A high-pitched whine indicates plastic gears are stripped. A grinding noise means a metal object like a staple or clip is in the blades. Stop immediately if you hear grinding.
Check for Stripped Gears
Open the gear housing. If plastic gears have smooth, worn teeth instead of jagged edges, they are stripped. Replace with OEM parts. This often results from overfeeding or shredding staples.
Verify Blade Engagement
Even with a running motor, blades will not spin if the bin interlock is open or the safety cover is misaligned. Re-seat all components firmly.
Prevent Future Power Failures
Avoid repeat issues with simple maintenance habits.
Oil Blades Regularly
Micro-cut models need oiling every 15 to 20 minutes of use. Strip-cut models need oiling every full bin. Use only shredder-specific oil. Never use vegetable oil or WD-40.
Clean Every Two Weeks
Use canned air to blow dust from the feed slot and sensor. Vacuum debris from the bin compartment monthly.
Follow Sheet Limits
Reduce feed by 30% for recycled or humid paper. Never exceed the rated capacity. Fan stacks before feeding.
Keep Area Clear
Allow 6 inches of space around the unit for ventilation. Overheating kills motors fast.
Avoid Common Mistakes
Steer clear of these damaging practices.
No Vegetable Oil or WD-40
These degrade plastic gears and attract dust. Use only approved shredder oil.
No Adhesives or Laminates
Stickers, tape, and laminated documents clog blades and trigger jams.
Don’t Force the Cover Open
Lifting the lid beyond its safety stop cuts power. Return it to the correct position to restore function.
Never Skip Cool-Down Periods
Restarting a hot motor shortens its life. Wait 30 or more minutes after heavy use.
Don’t Use Canned Air on Sensors
If the manual warns against it, use a dry swab instead. Pressurized air can push debris deeper.
When to Replace or Repair
Consider these final options if all else fails.
Replace Low-Cost Units
If your Pembrook shredder is below 70 dollars and gears are stripped, replacement is often cheaper than repair.
Contact Manufacturer Support
For error codes, recurring sensor faults, or blade failure, reach out to Pembrook customer service. Some issues require firmware updates or professional servicing.
Keep a Maintenance Log
Track oiling, run time, and jams. Patterns reveal wear early, like increasing jams signaling the need for gear inspection.
Frequently Asked Questions About Pembrook Shredder Not Turning On
Why does my Pembrook shredder suddenly have no power?
The most common causes are thermal overload from overheating, a misaligned waste bin breaking the safety interlock, or a dirty paper sensor. Start by checking the power outlet and ensuring the bin is seated properly.
How long should I wait to restart my shredder after it overheats?
Wait 30 to 45 minutes minimum. Allow the motor to cool completely before plugging it back in. Forcing an overheated motor to run can cause permanent damage.
Can a dirty sensor prevent my shredder from turning on?
Yes. The photoelectric sensor detects paper in the feed slot. If it’s covered in dust or paper fibers, the shredder may not start in Auto mode. Clean it gently with a dry cotton swab.
Do I need tools to fix a Pembrook shredder that won’t turn on?
Most issues resolve without tools. You may need a paperclip for the reset button or tweezers to clear jams. Internal repairs like fuse replacement require a screwdriver, but try all external fixes first.
Why does my shredder run in Reverse but not in Auto mode?
This indicates a blocked or dirty sensor. Clean the center sensor area and try inserting a stiff card to manually trigger it. If it works in Reverse, the sensor is the culprit.
Is it worth repairing an older Pembrook shredder?
It depends on the model price and issue. If the unit costs under 70 dollars and has stripped gears, replacement makes more sense. For minor electrical issues, repair is usually worth the effort.
Key Takeaways for Fixing Your Pembrook Shredder Not Turning On
A Pembrook shredder not turning on is almost always fixable. Start with power, bin alignment, and sensor cleaning. These three steps resolve 90% of cases. Use thermal reset, jam clearing, and electronic resets as your next troubleshooting steps. Save internal repairs like fuse or capacitor replacement for last.
With proper care, your shredder can last years. Oil the blades regularly, follow duty cycle limits, and keep the sensor clean. Prevent the problem before it starts by sticking to the maintenance schedule. Now that it’s running, monitor for early warning signs like unusual noises or frequent jams. Address these quickly to avoid complete power failure down the road.