
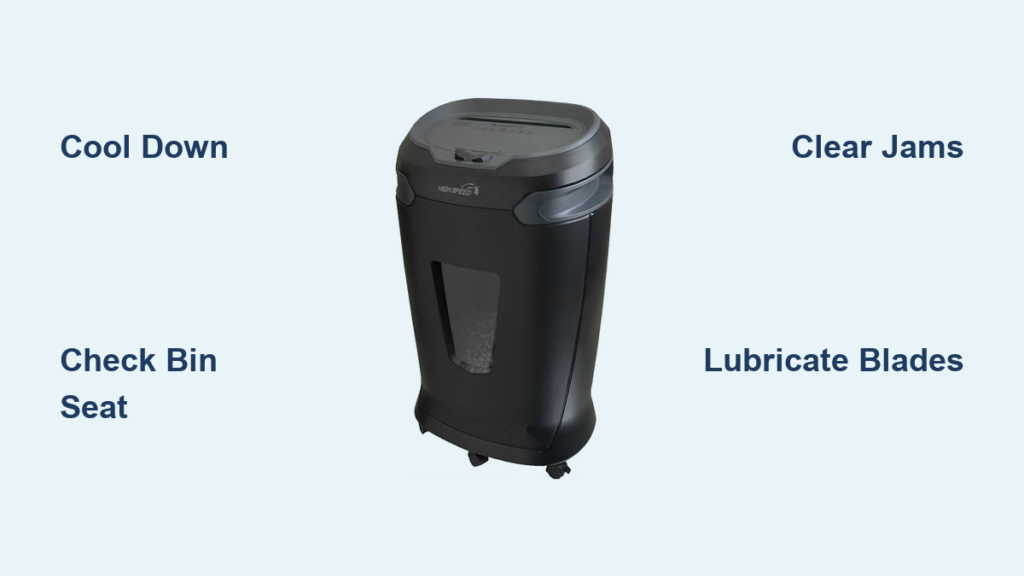
You’re ready to shred a stack of old documents—bills, expired forms, sensitive mail—and press the button. Nothing happens. No hum, no lights, no movement. Your Staples paper shredder not working is more than an annoyance; it halts productivity and delays security-sensitive tasks. You’re not alone. Thousands face this issue annually, especially with popular models like the SPL-TXC10A.
The good news? Most problems aren’t permanent failures. Over 80% stem from preventable or easily fixable causes: thermal overload, safety interlocks, paper jams, or lack of lubrication. This guide walks you through a step-by-step diagnostic process with no guesswork, just actionable fixes. You’ll learn how to revive your shredder, prevent future issues, and know when it’s time to replace it.
Cool Down After Overheating
Thermal Cutout Activation Signs
If your shredder suddenly stops mid-use with no lights or sound, thermal overload is likely the culprit. This safety feature prevents motor burnout when the shredder runs too long. It’s not broken; it’s protecting itself. Symptoms include abrupt shutdown, a faint burning smell from overheated blades or friction, and total unresponsiveness. This commonly happens after shredding more than 10 to 15 sheets at once or continuous use beyond the unit’s duty cycle.
Force a Safe Reset
Do not immediately unplug and restart. Instead, leave the shredder plugged in with the power switch ON for 30 to 60 minutes. Many models run a cooling fan in this state. Turning it off cuts power to the fan, prolonging downtime. Let it sit undisturbed. After cooling, the thermal fuse resets automatically. Test by inserting a single sheet. If it runs, you’ve solved the issue.
Prevent Future Overheating
Avoid back-to-back shredding sessions. Follow the manufacturer’s run-time ratio: for every 5 to 10 minutes of use, allow 10 to 20 minutes of cool-down. For personal use, limit batches to half the rated sheet capacity. Lubricate regularly because dry blades generate excess heat. If overheating persists despite breaks, the unit may be undersized for your needs.
Check Bin and Sensor Alignment
Bin Seating and Interlock Rules
Your shredder won’t start if the bin isn’t properly seated. The head unit must align with the basket’s tabs or rails. Lift the shredder head and reseat it firmly; listen for a click. Ensure the bin is fully pushed in, especially on pull-out models. Even a ½-inch gap disables operation. Never use a plastic liner inside the bin. It lifts the basket, blocking sensor contact. Remove all bags and clean the base regularly.
Clear the Feed Slot Sensor
Auto-start models use a sensor in the center of the feed opening. If it’s blocked by paper dust, oil, or debris, the shredder won’t activate. Insert an index card or stiff cardboard sheet into the center of the slot with firm pressure. This clears obstructions and resets the switch. If the machine runs constantly in “Auto” mode, the sensor is likely stuck on. Clean it with a dry cotton swab. Never use canned air, which forces debris deeper.
Verify ShredSafe Cover Position
Models with ShredSafe technology shut off if the top cover is opened beyond the first preset angle. Push it fully closed. If it still won’t start, check for resistance or misalignment. Do not force it. A damaged hinge or latch can disable the safety circuit.
Clear Paper and Mechanical Jams
Reverse to Release Minor Jams
If the shredder hums but won’t pull paper, a jam may be present. Unplug the unit first. Switch to “Reverse” mode and power on for 3 to 5 seconds. This often backs the paper out. If not, alternate: 1 second forward, 5 seconds reverse. Repeat up to three times. This loosens tightly bound paper. Never use reverse when shredding credit cards or CDs because this can damage gears.
Remove Jams Manually and Safely
After unplugging, open the head unit if accessible. Use needle-nose pliers or tweezers to pull out stuck paper. Cut large clumps into smaller pieces before extraction. Never use fingers near the blades. If paper curls tightly around rollers, snip it with small scissors. After removal, inspect blade gaps for compacted paper fibers.
Soak Stubborn Jams with Oil
For hardened jams, apply 2 to 3 tablespoons of shredder oil or cooking oil directly to the jam site. Let it soak 30 minutes to break down paper fibers. Return to “Auto/On” mode and test. If it doesn’t clear, forcefully insert a rigid cardboard sheet to push the softened material through. Follow with 2 to 3 sheets of plain paper to absorb excess oil.
Diagnose Motor and Gear Failure

Motor Runs, Blades Don’t Move
If you hear a hum but no cutting, check safety interlocks again. A full bin or misaligned cover can cause this. If those are correct, the issue may be stripped gears. Listen for a high-pitched whining or spooling sound; this means gears are spinning but not engaging blades. This often results from shredding prohibited items like staples, laminated paper, or CDs. Once gears strip, they rarely self-repair.
Identify Metal or Plastic Obstructions
Grinding noises signal a metal object, likely a staple or paper clip, caught in the blades. Power off immediately. Try reverse mode to eject it. If grinding continues, do not operate further. Metal can damage gear teeth. Remove the obstruction with pliers after unplugging. For plastic jams from credit cards, use a flathead screwdriver to gently pry out the blockage.
When to Replace Internal Parts
Stripped gears, blown fuses, or motor burnout require disassembly. Some models allow gear replacement via customer service parts. However, labor and parts often cost more than a new shredder. If the unit is under warranty or recently purchased, contact Staples support. Otherwise, replacement is usually the smarter choice.
Fix Auto-Feed and Roller Issues
Clean Paper Dust from Rollers
If the auto-feed tray fails to pull in documents, the friction rollers are likely coated with paper dust. Unplug the unit. Dampen a cloth slightly with water, not soaking, and wipe the rollers. Let them dry completely before use. Avoid alcohol or cleaners, which can degrade rubber. If cleaning doesn’t restore grip, the rollers may be worn and need replacement.
Reduce Load for Better Feeding
Even with clean rollers, overloading causes feed failure. Never exceed the auto-feed sheet limit. Fan stacks before loading to separate pages. For thick or recycled paper, reduce the load by 30%. If jams persist, store paper in a dry area because damp documents stick together and overload the feed mechanism.
Restore Performance with Lubrication
Follow Correct Oil Frequency
Dry blades cause 70% of sluggish performance and jams. Lubricate based on use:
- Cross-cut models: Every 30 minutes of use or every ½ bin
- Micro-cut models: Every 15 to 20 minutes (higher friction)
- Strip-cut models: Every 2 hours or full bin
Skipping oil shortens motor life and increases heat.
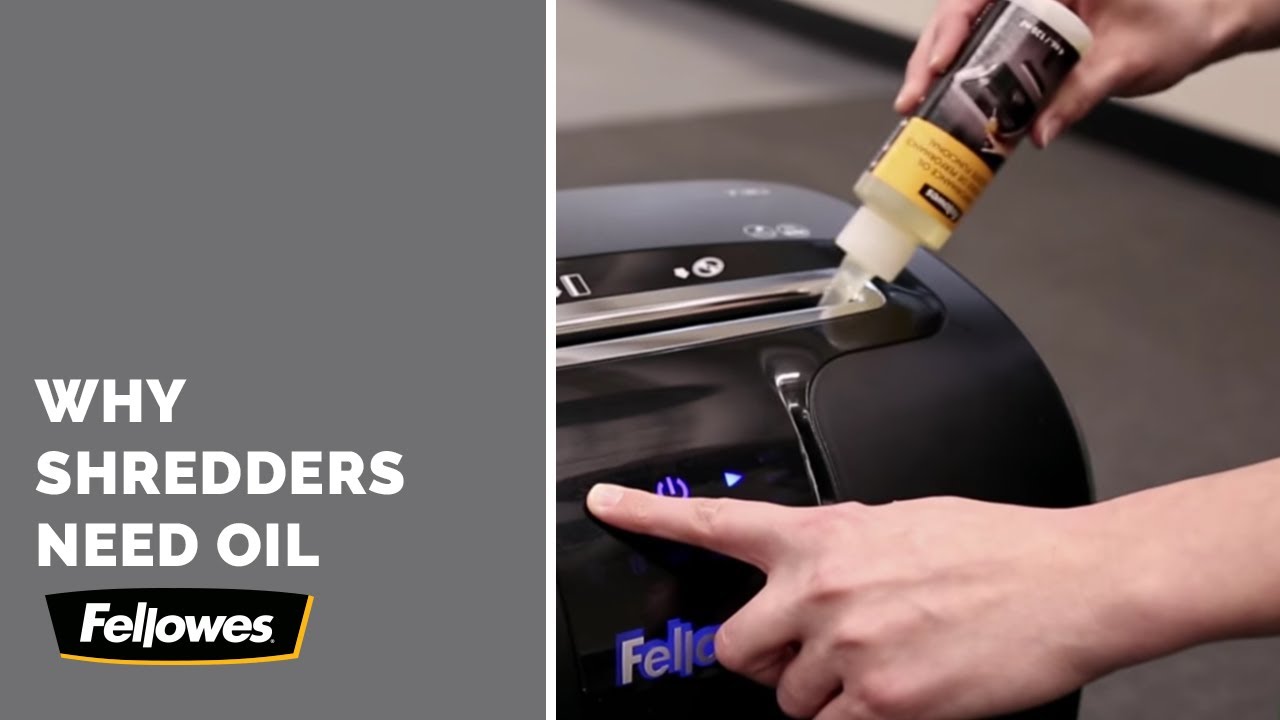
Use Proper Lubrication Methods
Option 1 – Oil Sheets: Feed a pre-oiled shredder sheet through. Follow with 2 to 3 plain sheets to absorb excess.
Option 2 – Bottled Oil: Apply a thin line of shredder oil across the feed opening. Run in reverse for 5 seconds to distribute. Feed plain paper to clean.
Avoid Damaging Lubricants
Never use WD-40, vegetable oil, or butter. WD-40 is a solvent, not a lubricant; it degrades plastic. Cooking oil turns rancid and gums up blades. Only use shredder-specific oil, designed for metal blade longevity.
Prevent Future Failures Proactively
Follow Material Compatibility Rules
Shredding the wrong items causes most mechanical failures. Refer to this quick guide:
| Safe | Caution | Never Shred |
|---|---|---|
| Standard paper | Envelopes (no windows) | Staples and paper clips |
| Receipts (thermal) | Credit cards (if rated) | Laminated paper |
| Greeting cards (no glitter) | CDs/DVDs (if rated) | Plastic transparencies |
| Thin cardboard (if rated) | Newsprint/tissue | |
| Fabric or cloth |
Even small staples can chip gear teeth over time. Remove them when possible.
Track Usage with a Maintenance Log
Record each use: date, time, oiling, and jams. Over time, you’ll spot patterns. Frequent jams despite oiling? You may need to lubricate more often. Regular overheating? You’re exceeding the duty cycle. Consider upgrading to a commercial-grade model.
Know When to Replace the Unit
Assess Repair vs. Replacement Cost
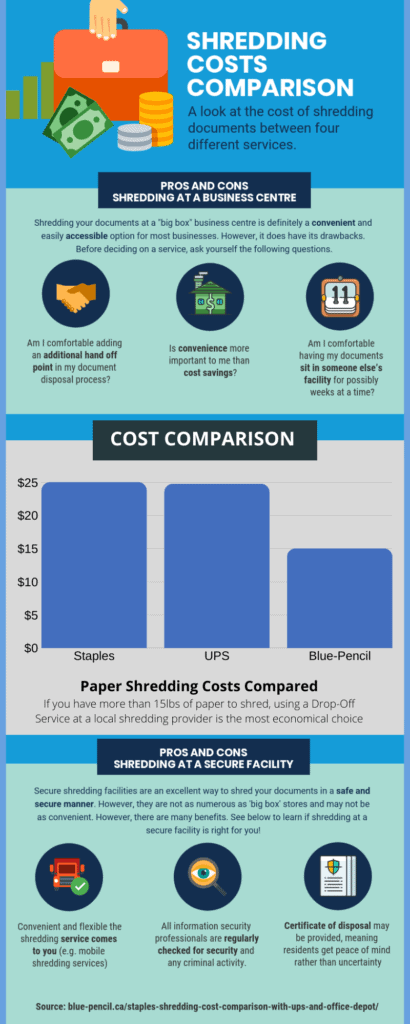
Internal electrical failures like blown fuses or dead motors are rarely cost-effective to repair. Parts and labor often exceed $50, while new Staples shredders start at $30. If your unit is over two years old and suffers gear or motor failure, replacement is usually the better option.
Check Warranty and Return Options
If the shredder is under one year old and fails mechanically (not due to misuse), contact Staples customer service. Many models are covered for motor and gear defects. If within the store return window, bring it back for a direct swap.
Frequently Asked Questions About Staples Paper Shredders
Why did my Staples shredder stop working suddenly with no lights?
This usually means the thermal cutout activated to protect the motor from overheating. Leave the unit plugged in with the power switch on for 30 to 60 minutes. Many models run a cooling fan in this state. Once cooled, the thermal fuse resets automatically.
Can I use cooking oil instead of shredder oil?
Cooking oil works for emergency jam soaking but should never be used for routine lubrication. It turns rancid and gums up blades over time. Use only shredder-specific oil designed for metal cutting blades.
How do I fix a shredder that hums but won’t shred?
First, verify the bin is fully seated and the cover is closed. If interlocks are correct, stripped gears are likely. A high-pitched spooling sound confirms this. Stripped gears require part replacement or unit replacement.
What should I never shred in a Staples shredder?
Avoid staples, paper clips, laminated paper, plastic transparencies, newsprint, tissue, fabric, and continuous forms. These items damage blades, strip gears, or create jams. Always check your model’s manual for rated materials.
How often should I oil my cross-cut shredder?
Oil cross-cut models every 30 minutes of use or every half bin of paper. Micro-cut models need oiling every 15 to 20 minutes due to higher friction. Strip-cut models can go 2 hours or a full bin between oilings.
Is it worth repairing an old Staples shredder?
For internal electrical failures or severe mechanical damage, repair usually costs more than replacement. If your unit is over two years old and has motor or gear failure, buying a new shredder is the smarter financial choice.
Final Thoughts on Fixing Your Staples Paper Shredder
A Staples paper shredder not working is usually a temporary setback, not a death sentence. Start with cooling, check bin alignment, clear jams, and lubricate. These steps resolve most issues without tools or service calls. If the motor hums but blades don’t turn, or grinding persists, internal damage is likely. In those cases, replacement is often smarter than repair.
Keep your shredder running smoothly by following load limits, using the right oil, and avoiding prohibited materials. With proper care, your shredder can last years, operating securely and efficiently. Start with the simplest fix first: let it cool, reseat the bin, and try again.





