
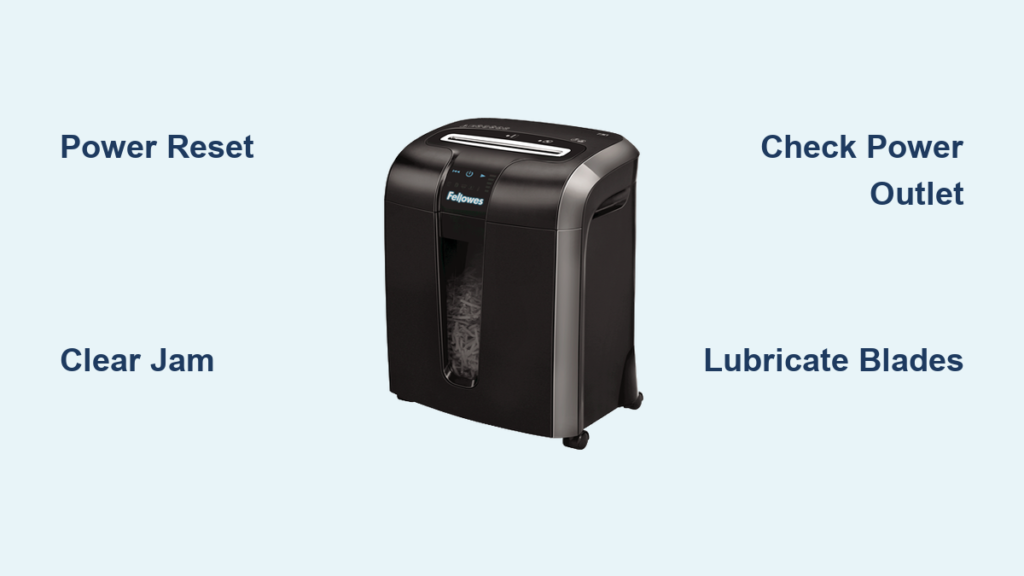
Your Fellowes shredder won’t shred, the motor doesn’t start, or it jams the moment paper enters. You’re not alone. “Fellowes shredder not shredding” is one of the most common office equipment complaints, but most issues are fixable in under 15 minutes with the right steps. Whether your unit shows no power, hums without cutting, or stops mid-shred, the cause usually traces to power lockouts, jams, safety interlocks, or thermal shutdowns.
You’ll learn how to reset hidden circuit locks, clear deep jams, verify power integrity, and identify mechanical failures without guessing. By the end, you’ll know exactly whether your shredder needs a quick reset, routine maintenance, or part replacement.
Perform a Full Power Reset
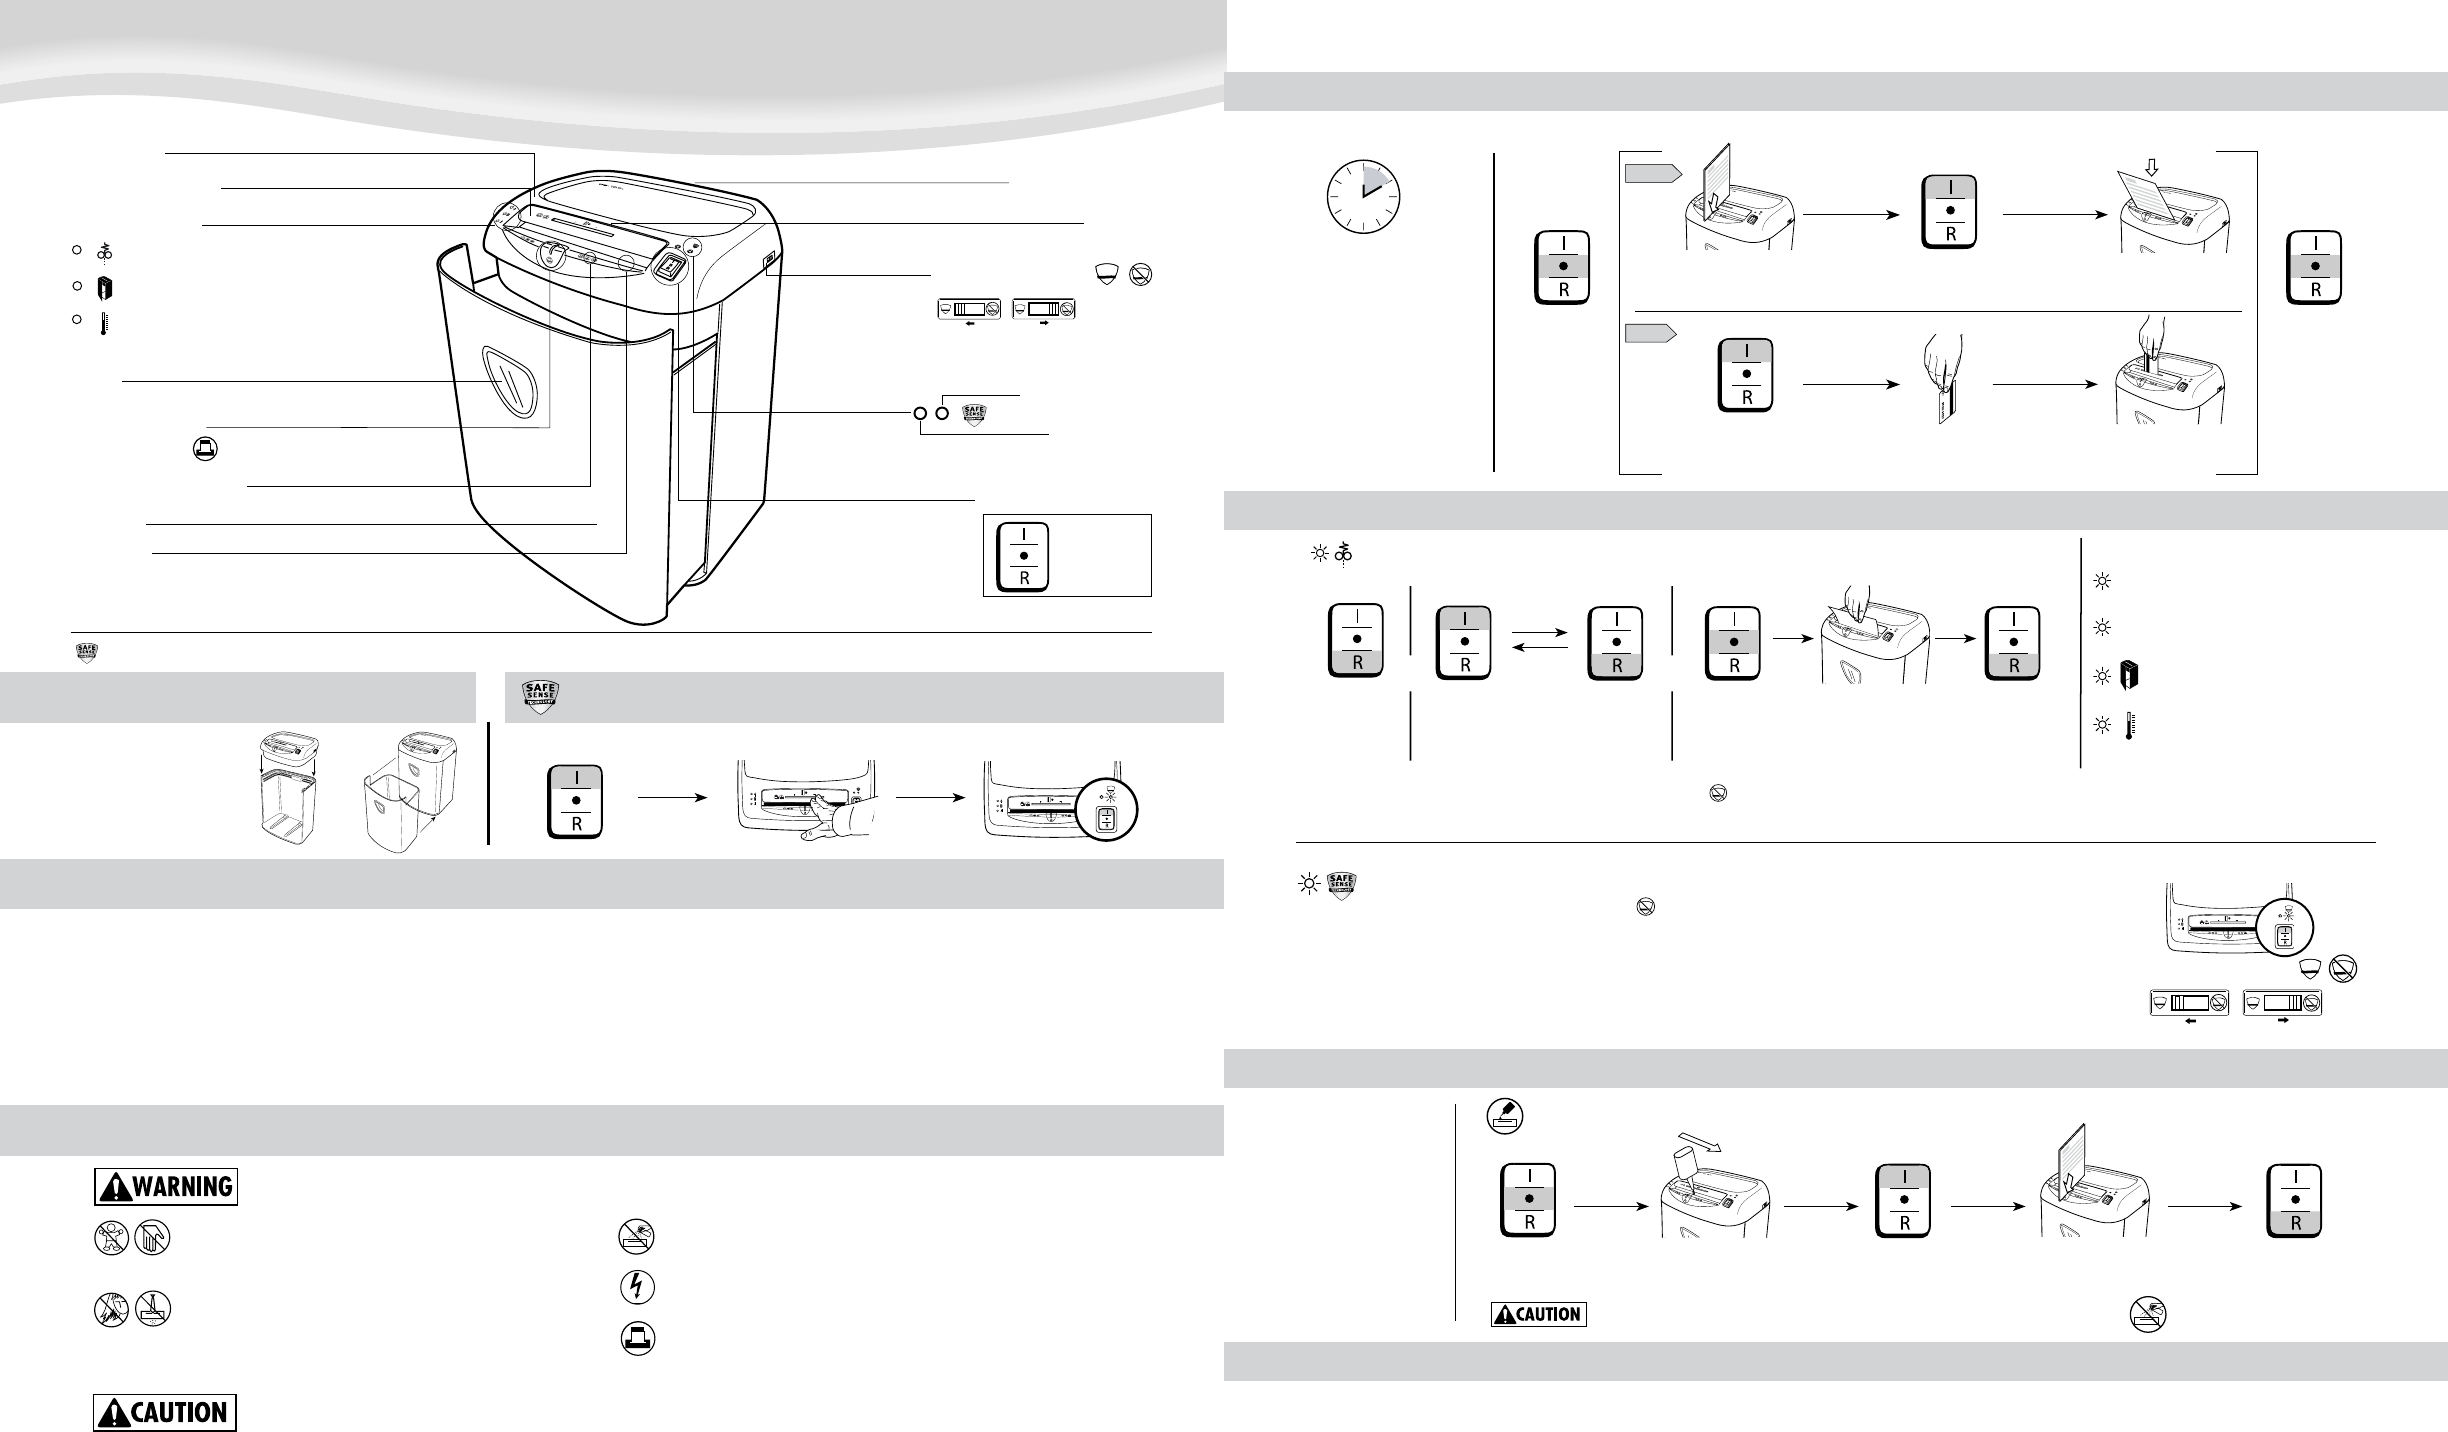
When your Fellowes shredder won’t respond, start with a complete power reset. Many units lock out after jams or overheating, halting operation even when plugged in.
Unplug for 10 Minutes Minimum
A 4 to 5 minute disconnection clears minor logic errors, but 10 minutes ensures full reset of internal safety circuits. Unplug from the wall, not just the switch. This cuts all power to the motor control board and resets thermal and jam sensors.
Reconnect and Test Immediately
After waiting, plug directly into a working outlet. Toggle the switch to “Auto” (I) and feed a single sheet. If the motor starts, the issue was a temporary lockout. If silent, move to power verification.
Recognize Reset Failure Signs
No response after reset suggests deeper issues: faulty switch, broken circuit, or power delivery failure. Proceed to check electrical integrity before disassembling.
Verify Power Supply and Outlet
Before assuming internal damage, confirm electricity reaches the shredder. Overlooked power issues account for a significant share of “dead” shredder reports.
Test the Wall Outlet First
Plug in a lamp or phone charger. If it doesn’t work, the outlet is dead. Try a different circuit. Never assume the outlet is functional.
Inspect Cord and Connection Points
Check for:
– Frayed or kinked wires near the plug or shredder base
– Loose fit where cord enters the unit
– Burn marks or melting at the connector
A damaged cord interrupts current. Replace if compromised.
Assess the Power Switch Mechanism
If the switch feels stiff, loose, or stuck, internal contacts may be broken. With the unit unplugged, open the casing only if comfortable. Look for:
– Disconnected wires at the switch
– Cracked solder joints on the motherboard
– Burnt or warped switch housing
Faulty switches require replacement of either the switch module or the full control board.
Clear Paper Jams Systematically
A jam is the top reason your Fellowes shredder won’t shred. Even tiny paper fragments can trigger sensor lockouts.
Run Reverse Mode First
Set the switch to “Reverse” (R). This ejects stuck paper. Hold for 5 to 10 seconds. If nothing moves, proceed to oscillation.
Use Auto-Reverse Oscillation
Toggle between “Auto” (I) and “Reverse” (R) every 5 seconds. Repeat 6 to 8 times. The shifting torque helps dislodge stubborn scraps caught between blades.
Pull Paper During Reverse Cycle
Grasp the visible paper edge and gently pull while the unit is reversing. This reduces strain on gears. Keep fingers clear of the cutting slot.
Clean Residual Debris After Clearance
After removing the jam:
– Run reverse 4 to 5 times with no paper
– Shine a flashlight into the cutting head
– Vacuum out paper fines using a small nozzle
Leftover particles cause immediate re-jams.
Check Basket Alignment and Safety Locks
Your shredder may refuse to run not because it’s broken, but because safety interlocks prevent operation.
Empty and Re-Seat the Waste Bin
An overfilled bin lifts the shredder head slightly, releasing the safety switch. Empty the bin completely. Then press the shredder down firmly until it clicks into place on all sides.
Confirm Bin Switch Engagement
The safety switch sits on the bottom of the shredder. It must be depressed by the bin’s rim. If the bin is cracked or misshapen, it won’t activate the switch. Test by pressing a pen tip into the switch location. The motor should engage when pressed.
Diagnose SafeSense® Lockouts
On models with SafeSense®, a red light means the touch sensor detected contact. If the light stays on after removing hands:
– Wipe the metal entry strip with a dry cloth
– Check for paper clips or foil stuck in the slot
– Ensure no moisture or toner is bridging the sensor
Clean and retry. Persistent lights indicate a faulty sensor board.
Address Overheating and Thermal Lockout

Shredders stop automatically when too hot. Rushing to restart causes permanent motor damage.
Identify Overheating Symptoms
Signs include:
– Sudden stop during use
– Warm or hot casing
– Burning smell (not just paper)
– Smoke (serious failure)
Most units need 5 to 10 minutes of cooldown. Severe cases may require 30 to 60 minutes before the unit will reset.
Respect Duty Cycle Limits
Consumer Fellowes models (like 7C, 8C, T7CM) have a 3-minute max run time. After that, allow 10 to 20 minutes of rest. Exceeding this leads to repeated thermal shutdowns.
Lubricate to Reduce Heat Buildup
Dry blades create excess friction. Lubricate every 15 to 30 minutes of use:
– Use shredder oil or pre-oiled sheets
– Apply oil across the full width of the slot
– Run in reverse to spread evenly
Lack of lubrication is a hidden cause of overheating.
Respond to Smoke Immediately
If smoke appears:
1. Unplug instantly
2. Wait 30 minutes
3. Inspect for burnt smell inside the motor
4. Test again
Persistent smoke means a shorted motor or wiring. Motor replacement is required.
Inspect for Mechanical Failures

If the motor runs but blades don’t turn, or you hear grinding, internal damage is likely.
Listen for Motor Hum with No Blade Movement
A humming sound means power reaches the motor, but drive components are broken. Likely causes:
– Stripped plastic gears
– Disconnected drive shaft
– Failed clutch mechanism
Disassembly is needed to inspect.
Identify Broken Gear Symptoms
Open the motor housing (unplugged) and check:
– Gear teeth stripped or cracked
– Gear shaft spinning freely without turning others
– Loud clicking during startup
Replace the entire gear assembly. Individual gears are rarely sold.
Detect Bent or Misaligned Shafts
A bent drive shaft causes:
– Grinding or shrieking noise
– Uneven blade gaps
– Jamming after a few sheets
Bent shafts can’t be repaired. Replace the shaft or motor unit.
Diagnose Feeding Sensor Failure
If the shredder won’t start when paper is inserted, the feeding mechanism may be broken.
Locate the White Plastic Trigger
Inside the paper slot, a white plastic wedge (sometimes blue or gray) moves when paper enters. This activates the motor.
Test for Stuck or Broken Trigger
With power off, use a flashlight to check:
– Is the wedge stuck in one position?
– Is the spring detached or broken?
– Does the wedge move freely when pressed?
Clean around it with compressed air. If broken, replace the trigger assembly.
Replace Faulty Sensor Assemblies
If cleaning doesn’t restore function, the internal switch linked to the trigger may be dead. Order a replacement feeding mechanism kit. Installation typically takes 10 minutes with a screwdriver.
Maintain to Prevent Future Failures
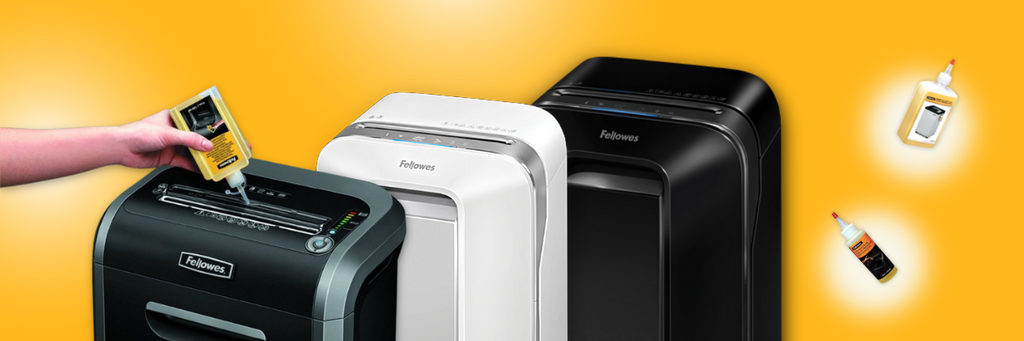
Most “not shredding” issues stem from poor maintenance. Follow these rules to keep your shredder running.
Oil Blades After Every Jam or Heavy Use
Lubrication prevents the majority of mechanical failures. Use only shredder-specific oil:
– Apply every 15 to 30 minutes of continuous use
– Never use WD-40 or spray lubricants (fire risk)
– Run in reverse to distribute oil
Keep the Bin Below Full Line
An overfilled bin pushes up against the shredder head, increasing resistance and triggering safety stops. Empty when ¾ full.
Place on a Level, Stable Surface
Uneven desks or carpeted floors tilt the unit, misaligning gears and switches. Always use on a hard, flat surface.
Frequently Asked Questions About Fellowes Shredder Not Shredding
Why does my Fellowes shredder run but not shred paper?
A humming motor with no blade movement usually indicates broken gears or a disconnected drive shaft. The power reaches the motor, but the mechanical link to the cutting blades has failed. Disassembly is required to confirm and replace the damaged components.
How long should I leave my Fellowes shredder unplugged to reset it?
Unplug for a minimum of 4 to 5 minutes to clear minor logic errors. For a complete reset of internal safety circuits and thermal sensors, wait 10 minutes before reconnecting and testing.
Can I use WD-40 to oil my Fellowes shredder?
No. WD-40 and aerosol sprays pose a fire hazard around paper dust. Use only shredder-specific oil or pre-lubricated shredder sheets to maintain the cutting blades safely.
Why does my shredder stop after a few minutes of use?
Most consumer Fellowes models have a 3-minute maximum continuous run time. Exceeding this triggers the thermal overload protection, which requires 10 to 60 minutes of cool-down before the unit will operate again.
What causes the red SafeSense® light to stay on?
A persistent SafeSense® light indicates debris, moisture, or toner bridging the touch sensor strip. Clean the metal entry area with a dry cloth. If the light remains, the sensor board may be faulty and require replacement.
Is it worth repairing an old Fellowes shredder?
If the motor is dead, gears are shattered, or smoke persists, repair costs often exceed replacement for basic models. For premium or cross-cut units, contact Fellowes support for motor or part replacements before replacing the entire machine.
Final Thoughts on Fixing Your Fellowes Shredder
Start with the simplest fixes first: a 10-minute power reset, outlet verification, and bin re-seating resolve the majority of “not shredding” complaints. If those fail, work through jam clearance, thermal cooldown, and lubrication before assuming mechanical failure.
When the motor hums without cutting or smoke appears, replacement often makes more sense than repair for budget models. For higher-end units, Fellowes support can source specific gears, switches, or motor assemblies.
Your next step: Grab a flashlight, unplug your shredder, and start with the 10-minute reset. Most users identify the problem within the first three steps of this guide.





