

Is your Aurora paper shredder not turning on, jamming constantly, or failing to feed paper? Many users face unexpected shutdowns, sensor errors, or mechanical failures, especially after heavy use or improper maintenance. The good news is that most Aurora shredder issues can be diagnosed and fixed at home with basic tools and a systematic approach. Whether it is a silent motor, a stuck sensor, or grinding noises, this guide walks you through every common failure point, from power loss and safety interlocks to stripped gears and optical sensor malfunctions.
By the end, you will know exactly what to check first, how to avoid common repair mistakes, and how to keep your shredder running smoothly for years.
Power Failure Diagnosis

When your Aurora shredder shows no signs of life, no lights, no sound, it is time to trace the power path step by step.
Check Outlet and Plug Connection
Start simple. Ensure the shredder is fully plugged into a working outlet. Test the outlet with another device like a lamp or phone charger. If the outlet works but the shredder does not, move to internal checks. A loose plug or tripped circuit breaker can mimic internal failure.
Reset Thermal Overload Protection
Extended use can trigger thermal shutdown. The unit suddenly stops during operation and will not restart. Turn off and unplug the shredder. Let it cool for 30 to 60 minutes. This resets the internal thermal cutoff. Avoid continuous shredding beyond 5 to 10 minutes. Pause between batches to prevent overheating.
Test and Replace the 10-Amp Fuse
A blown fuse is a leading cause of total power loss. The fuse is located near the power input on the circuit board. Look through the glass window. Black discoloration means it is blown. Use a multimeter to test continuity. No continuity equals a faulty fuse. Install a 10-amp fuse with matching size. If tabs do not fit, bend or solder legs securely to the board. Always unplug before opening the unit. Discharge capacitors with a plastic tool to avoid shock.
Safety Interlock Issues
Even with power, the shredder will not run if safety switches detect improper assembly.
Verify Basket Seating Position
The head unit must sit flush on the wastebasket. A tab on the basket fits into a slot on the shredder base. If the unit powers but will not start, the basket may not be seated correctly. Re-seat the head firmly. Listen for a click. Check back-left, back-right, or center alignment tabs. In reverse mode, lifting the head should stop the motor. This confirms the interlock works.
Clear Pull-Out Basket Obstruction
For models with slide-out bins, push the basket fully inward until it clicks. A misaligned bracket can block the safety switch. Do not use plastic liners. These can lift the bin and prevent switch engagement.
Reset ShredSafe Tilt Protection
If the unit was tilted or jarred, place it upright on a level surface. Wait 10 seconds. Replug and test. ShredSafe cuts power when tipped more than 10 degrees. This feature prevents accidents.
Fix Optical Sensor Problems
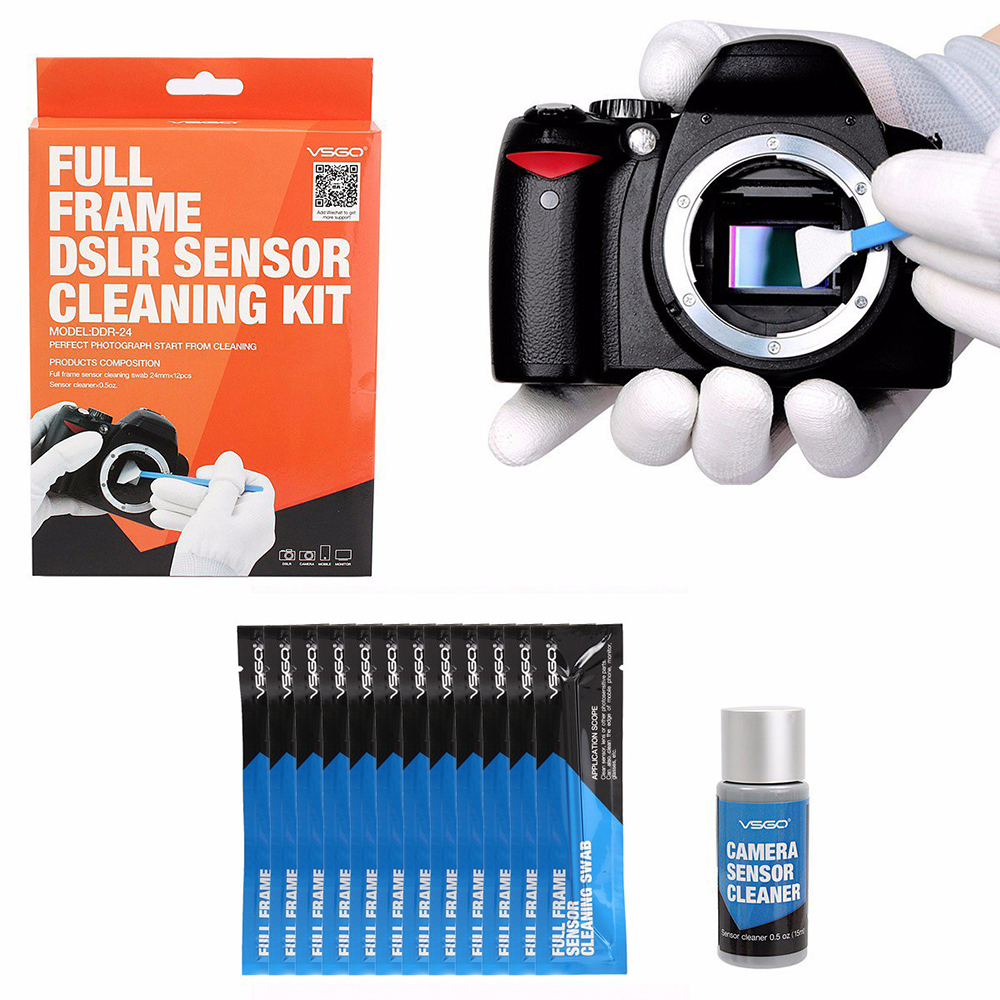
If the shredder runs in reverse but not in auto mode, the optical sensor is likely at fault.
Clean Sensor Lenses with Alcohol
Grease and dust block the infrared beam. The sensor is located in the center of the paper feed slot. Dip a cotton swab in isopropyl alcohol. Wipe both emitter and receiver lenses. Alcohol dissolves oily residue that water or dry wiping misses. Never use canned air. It spreads debris or moisture into circuits.
Align or Replace Faulty Sensor Components
Misalignment or component failure stops detection. Check wiring. Ensure connections to the photodiode or phototransistor are secure and not reversed. Test the IR LED with an iPhone camera. Point at the sensor while powered. A working LED shows a purple glow. Diagnose the receiver with a multimeter in light versus dark. Erratic readings suggest failure. If cleaning fails, swap out the IR LED and receiver together. Test by inserting a screwdriver. The motor should start only when the beam is broken.
Bypass Sensor for Testing
To isolate other issues, tape a small plastic piece over the sensor to simulate paper present. Or use a PVC strip to hold the bin switch closed. Never operate long-term with safety bypasses. Only use this for diagnostics.
Clear Paper Jams Effectively
Jams are common but often misdiagnosed. Use the right method to avoid damage.
Use Rigid Cardstock to Force Clear
For shallow jams blocking the feed, cut a cereal box, file folder, or index card into a narrow strip. Insert centered into the feed slot with firm pressure. Push through. This often frees stuck paper and activates the sensor.
Reverse Motor to Release Stuck Sheets
Switch to Reverse mode. Let the motor run briefly to back up paper. Pull out loosened sheets by hand. Never reverse when shredding CDs or credit cards. This can damage blades.
Soak Severe Jams with Oil
For deep, compacted paper, unplug the shredder first. Drizzle 2 to 3 tablespoons of shredder oil or cooking oil onto blades at the jam site. Wait 30 minutes for oil to soften paper. Return to Auto mode and feed rigid cardstock to push through. Never use spray oils. Aerosols can damage electronics and plastics.
Repair Stripped Gears

Grinding noise with no paper feed usually means gears are worn.
Confirm Gear Damage
The motor runs and blades spin, but paper is not pulled down. Overloading or shredding thick materials wears gear teeth flat. Remove six outer screws to open the casing. Inspect drive gears for smooth, rounded teeth.
Replace Gear Set Correctly
Remove two top and two bottom screws securing the gear housing. Note the bronze bushing orientation. They have flat sides and must align with keyed holes. Larger bushing goes in larger gear hole, flat side up. Insert small gear first, then large gear. Reuse the original pin. Ensure it passes through both gears. Apply a thin layer of paraffin-based grease to gears. Avoid oil. It attracts dust. Reassemble carefully. Test before full closure.
Prevent Future Mechanical Failures
.jpg)
Avoid repeat issues with smart usage and proper maintenance.
Avoid Prohibited Materials
Never shred envelopes, especially with window glue that jams sensors. Avoid adhesive labels, sticky notes, laminated paper, transparencies, or film. Do not shred cardboard, fabric, or plastic unless the model supports CDs. Avoid newsprint or tissue. These are too thin and cause misfeeds.
Feed Narrow Paper Centered
The sensor triggers only in the center of the feed slot. Off-center strips will not activate auto mode. Always align narrow documents down the middle.
Use Oil Regularly
Lubricate blades every 15 to 20 shredding sessions. Drizzle shredder oil or cooking oil across the blades. Run in reverse to spread oil evenly. No spray cans. Propellants degrade plastic and electronics.
Maintain Peak Performance
A few habits extend your shredder is life significantly.
Clean Sensors Monthly
Wipe the optical sensor with an alcohol-dampened swab. This prevents false readings and auto-mode failures. Do this during oiling cycles.
Inspect for Loose Hardware
After disassembly, check for stray screws or bolts under the circuit board. These can short the board or block moving parts. Use tape to hold screws on your driver tip during reassembly.
Store Properly
Keep in a dry, dust-free area. Empty the bin regularly. Overfilling trips safety switches. Unplug when not in use for long periods.
Frequently Asked Questions About Aurora Paper Shredder Troubleshooting
Why does my Aurora shredder not turn on at all?
Start by checking the outlet and plug connection. If the outlet works, the issue may be a blown 10-amp fuse or thermal overload protection. Let the unit cool for 30 to 60 minutes if it overheated. Test the fuse with a multimeter. Replace if necessary.
How do I fix a paper jam in my Aurora shredder?
Try using rigid cardstock or an index card to push through the jam. Switch to Reverse mode to back up the paper. For severe jams, unplug the shredder and apply 2 to 3 tablespoons of oil. Let it soak for 30 minutes before attempting to clear.
Why does my shredder run constantly in auto mode?
This indicates the optical sensor is blocked. Dust, grease, or a hidden paper jam is tricking the sensor into thinking paper is always present. Clean the sensor lenses with isopropyl alcohol. Use the cardstock method to clear any blockages in the feed slot.
What causes grinding noise when shredding?
Grinding noise with no paper feeding usually means stripped gears. Overloading the shredder or shredding prohibited materials wears the gear teeth flat. You will need to replace the gear set. Inspect the bronze bushings for proper alignment during reassembly.
How do I clean the optical sensor on my Aurora shredder?
Locate the sensor in the center of the paper feed slot. Dip a cotton swab in isopropyl alcohol. Wipe both the emitter and receiver lenses thoroughly. Do not use canned air. It can push debris into sensitive electronics.
Key Takeaways for Aurora Paper Shredder Troubleshooting

Most Aurora paper shredder problems stem from simple causes. Blown fuses, mis-seated baskets, dirty sensors, or paper jams account for the majority of failures. By following this guide, you can troubleshoot 90 percent of issues without professional help. Focus on safety interlocks first, then power, sensors, and mechanics. Regular cleaning and proper lubrication prevent the majority of failures. If your unit still will not run after checking all steps, the motor or circuit board may need replacement, but that is rare. Keep this guide handy, and your Aurora shredder will stay reliable for years.





