
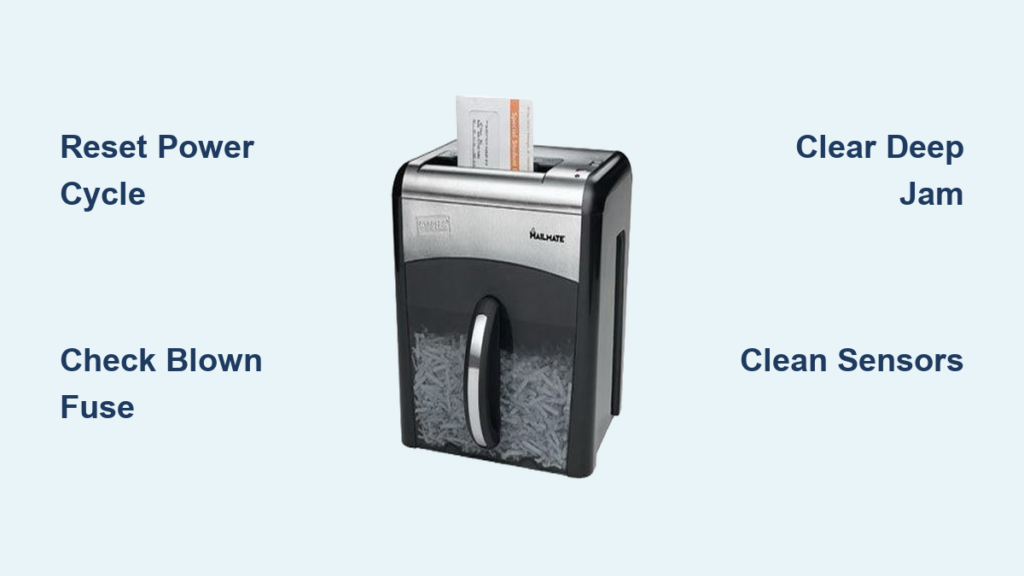
Is your Mailmate shredder refusing to turn on, making strange noises, or jamming repeatedly? You’re not alone. The Staples Mailmate model SPL-TXC12MA, once a reliable office staple, is prone to specific failure patterns as it ages, especially after years of heavy use. Whether your shredder powers off instantly, won’t start at all, or only runs in reverse, most issues stem from three root causes: mechanical jams, electrical overloads, and sensor errors. This guide delivers a precise, step-by-step approach to diagnosing and fixing your Mailmate shredder, based on real-world repair data and technical specifications. You’ll learn how to reset the system, clear deep jams, replace blown fuses, and prevent future breakdowns, saving time, money, and frustration.
Reset Unresponsive Mailmate Shredder

Before opening the unit, rule out simple power glitches. A Mailmate shredder that won’t turn on may just need a full reset.
Perform Full Power Cycle
Unplug the shredder and wait 2 to 3 hours. This allows thermal protectors and internal capacitors to discharge completely. Many units lock out power after repeated jams or overheating, and only a long reset clears the fault. After waiting, plug the unit back in and test the power button.
Execute Hard Reset
If the shredder remains dead, perform a hard reset using these steps:
- Plug in the unit.
- Press and hold the power button for 15 seconds.
- Release, wait 5 seconds, then try powering on normally.
This clears temporary logic board errors that mimic hardware failure. Combine this with the 2 to 3 hour unplugged wait for best results.
Verify Power Source and Bin Alignment
Check that the outlet works by testing it with another device. Inspect the power cord for fraying or bent prongs. Replace if damaged. Also, ensure the waste bin is fully inserted and seated. The safety interlock will disable operation if the bin is misaligned, even slightly. Remove and reinsert it firmly.
Diagnose No Power or Lights

When your Mailmate shows no lights and no sound, the issue could be electrical. Start with external checks, then move to internal components.
Confirm Fuse and Circuit Status
A common cause of total power loss, especially after a jam, is a blown 5-amp, 250-volt fuse on the circuit board. This fuse protects the motor from overload. If the shredder briefly hummed before dying, that’s a strong sign the motor drew too much current and blew the fuse.
To check the fuse:
- Unplug the unit.
- Remove the top casing with a screwdriver (4 screws).
- Locate the circuit board near the motor.
- Find the glass or ceramic fuse (usually inline with power input).
- Inspect the filament. If broken, the fuse is blown.
Replace only with an identical 5A/250V fuse. Do not use a higher-rated fuse. It can damage the motor or create a fire hazard.
Bypass Damaged Fuse Holder (Temporary Fix)
Some older units have fused holders that crack or melt over time. If the holder is damaged, a temporary fix is to solder a new fuse directly across the terminals. This bypasses the holder but removes safety protection. Use this only as a last resort and monitor the unit closely during use. Permanent repair requires replacing the entire power board or retiring the unit.
Clear Deep Paper Jams
Jams are the top cause of Mailmate shredder failure. Overloading (feeding 24 sheets into a 12-sheet machine) compresses paper deep in the cutting head, stalling the motor and potentially blowing the fuse.
Access the Cutting Mechanism
To reach stubborn jams:
- Unplug the shredder.
- Remove 4 screws from the top casing.
- For full access, remove 7 to 8 additional screws from the lower housing.
- Carefully separate the casing to expose the gear train and blades.
Keep screws organized. Some are different lengths.
Reverse the Gear Assembly
Once exposed, manually turn the gears backward using your fingers or a non-metal tool. This forces the blades to reverse and eject jammed paper. Apply steady, slow pressure. Rushing can strip plastic gears.
If paper fragments remain, use tweezers or needle-nose pliers to remove them. Never use sharp tools on the blades while powered.
Prevent Recurring Jams
Follow these usage rules to avoid future jams:
• Never exceed 12 sheets at once.
• Remove staples, paperclips, and plastic before shredding.
• Feed paper flat and aligned. No crumpled or folded sheets.
• Shred one or two sheets at a time if jamming persists.
Overloading is the number one cause of permanent damage.
Fix Overheating and Shutdown
If your shredder stops mid-use or refuses to start, it may be in thermal shutdown mode.
Allow Proper Cool-Down Time
After prolonged use, the motor heats up and triggers a safety cutoff. Wait at least 30 minutes before attempting to restart. Do not force operation. This can lead to permanent motor burnout.
Follow Duty Cycle Rules
To avoid overheating:
• Run for 10 to 15 minutes, then rest for 10 to 15.
• Avoid back-to-back shredding sessions.
• Keep vents unobstructed and unit in a well-ventilated area.
Older units (8 to 10 years) have reduced cooling efficiency and require longer rest periods.
Resolve Sensor Errors and False Alerts

If the bin full light stays on or the shredder only runs in reverse, the problem is likely a dirty or blocked sensor.
Clean Optical Sensors
Dust and paper particles block the infrared beam between sensors, tricking the board into thinking the bin is full or a jam exists.
To fix:
- Remove the waste bin.
- Use canned air to blow out sensor ports in the bin compartment and feed throat.
- Wipe sensor lenses with a dry, lint-free cloth. No liquids.
- Reinsert bin firmly until it clicks.
Test operation immediately after.
Realign Bin and Reset Signal
If the light persists, the bin may not be seating correctly. Check for shred buildup under the bin or misaligned guides. Vacuum the compartment and reseat the bin. Some models require the bin to be in a specific orientation. Refer to markings on the unit.
Reduce Noise and Vibration
Grinding, rattling, or loud operation signals maintenance issues.
Lubricate the Cutting Blades
Dry blades cause metal-on-metal friction, leading to noise and premature wear.
To oil correctly:
- Apply shredder-specific oil in a zigzag pattern on a sheet of plain paper.
- Run the oiled sheet through in reverse mode (if available) to coat blades deeply.
- Repeat monthly, or after every 15 to 20 minutes of use.
Never use cooking oil, WD-40, or aerosol sprays. They gum up blades and damage plastic parts.
Tighten Loose Components
Check all casing screws and internal mounts. Loose parts rattle and increase vibration. Use a screwdriver to tighten any that are loose, especially after disassembly.
Vacuum Internal Debris
Paper dust accumulates in the feed chute and under the cutting head, causing rattling and jams. Use a vacuum with a narrow nozzle attachment to clean hard-to-reach areas every month.
Prevent Future Failures
Most Mailmate shredder problems are preventable with consistent care. Follow this maintenance plan to extend your unit’s life.
Stick to Monthly Oil Schedule
Lubrication is non-negotiable. Even light users should oil the blades once a month. Skipping this leads to overheating, jams, and motor strain.
Clean Sensors Every Two Weeks
Blow out sensor areas with canned air every 14 days. This prevents false bin full signals and reverse-only operation.
Empty Bin Before It’s Full
Don’t wait for the alert. Empty the bin when it’s three-quarters full. Overfilling causes back-pressure jams and sensor blockage.
Know When to Replace Your Mailmate Shredder
Mailmate shredders over 10 years old are nearing end-of-life. If you’ve cleared jams, replaced the fuse, cleaned sensors, and still get no power, the motor or control board has likely failed permanently.
Signs It’s Time to Retire
Watch for these indicators:
• No response despite correct fuse and power supply
• Burnt smell from motor or circuitry
• Cracked or melted fuse holder
• Repeated jams even with proper use
At this stage, repair costs often exceed the price of a new, energy-efficient model. Consider replacement if the unit is no longer under warranty or parts are unavailable.
Frequently Asked Questions About Mailmate Shredder Troubleshooting
Why does my Mailmate shredder won’t turn on at all?
This usually indicates a blown fuse, power supply issue, or thermal shutdown. Start by performing a full power cycle (unplug for 2 to 3 hours) and check the outlet. If that fails, the internal 5-amp fuse may be blown from a previous jam.
How do I fix a paper jam deep in my Mailmate shredder?
Remove the top casing (4 screws) and lower housing (7 to 8 screws). Manually turn the gear assembly backward to reverse the blades and eject the paper. Use tweezers for remaining fragments. Never use sharp tools near powered blades.
Why does my shredder only run in reverse?
This typically indicates a sensor blockage. Dust and paper particles block the infrared sensor, tricking the logic board into thinking there’s a jam. Clean the sensors with canned air and wipe with a dry cloth.
Can I replace the fuse in my Mailmate shredder myself?
Yes. Access the circuit board by removing the casing. Replace the 5-amp, 250-volt fuse with an identical rating. Do not use a higher-rated fuse. If the holder is damaged, consider professional repair or replacement.
How often should I oil my Mailmate shredder?
Oil the blades after every 15 to 20 minutes of continuous use. For light home office use, monthly oiling is the minimum. Use only shredder-specific oil. Never use cooking oil or WD-40.
When should I replace my Mailmate shredder instead of repairing it?
Replace the unit if it’s over 10 years old, shows burnt smells, has a cracked fuse holder, or experiences repeated failures despite proper maintenance. Repair costs often exceed replacement value at this point.
Key Takeaways for Fixing Your Mailmate Shredder
Mailmate shredder troubleshooting doesn’t have to be guesswork. By following this structured approach, starting with resets, moving to jam clearance, then checking fuses and sensors, you can diagnose and fix most issues quickly. Remember: jams cause electrical failures, not the other way around. Always unplug before servicing, use only approved oil, and never overload the machine beyond the 12-sheet capacity.
With proper care, your shredder can keep running smoothly for years. But if it’s old and failing repeatedly, don’t waste time and money on temporary fixes. Upgrade to a newer model built for reliability.





