
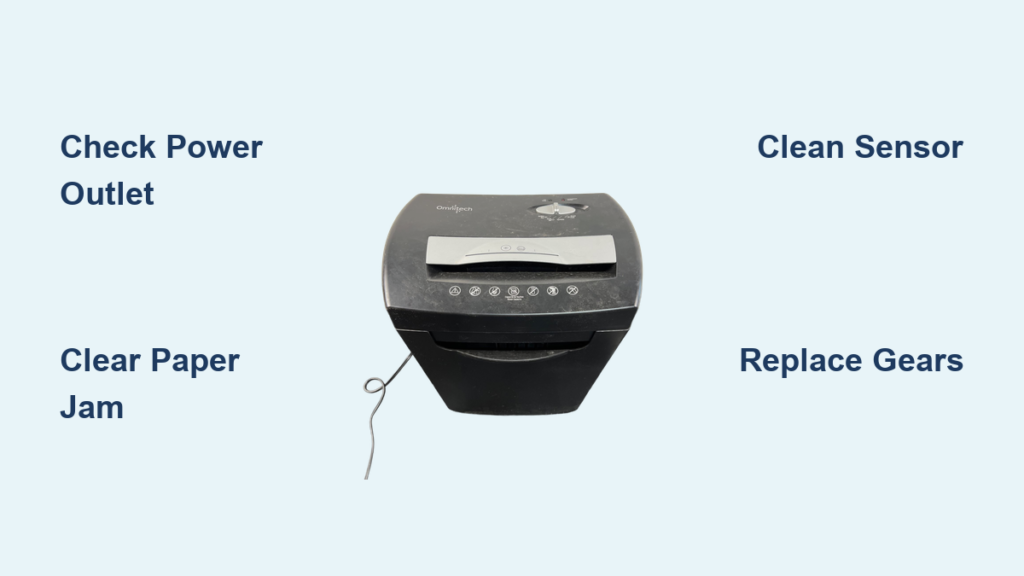
If your Omnitech paper shredder isn’t turning on, jams constantly, or the blades refuse to spin, you’re dealing with one of the most common complaints among home and small office users. These compact shredders are popular for their affordability, but they come with specific vulnerabilities that lead to frustrating breakdowns. The omnitech paper shredder troubleshooting process requires understanding safety systems, recognizing mechanical warning signs, and applying the right fix for each failure mode. This guide walks you through every major issue, from power failures and sensor problems to gear stripping and persistent jams, with step-by-step solutions you can try at home.
Power Source and Outlet Check

Before assuming your shredder has a serious mechanical fault, verify that power is actually reaching the unit. Many “dead” shredders are simply victims of electrical issues that have nothing to do with the internal components.
Test the Electrical Outlet
Plug a lamp, phone charger, or any small device into the same outlet your shredder uses. If the device powers on, the outlet is working correctly. If nothing activates, check your circuit breaker panel for a tripped breaker or a GFCI outlet that may have tripped. Try a different wall outlet on a separate circuit to rule out wiring problems entirely.
Inspect the Power Cord
Examine the entire length of the power cord for visible damage. Look for these specific issues:
- Fraying or exposed inner wires
- Kinks or crush marks from furniture pressure
- A loose connection where the cord meets the shredder base
A damaged cord can cut power even when the outlet functions perfectly. If the cord shows any wear, replacement is necessary. However, most Omnitech models don’t have user-serviceable cords, so you may need to replace the entire unit if the cord is the problem.
Check for Partial Power (Orange Light Only)
When you plug the shredder in and see an orange indicator light but nothing happens when you press the power button, the machine is receiving partial voltage. This specific symptom points to one of these internal failures:
- A failed power supply component
- A damaged control board
- An open circuit in the main switch
This partial-power condition is particularly common in older models like the OT-NXC-18PA and usually means the unit cannot be repaired cost-effectively.
Safety Interlock Verification
Omnitech shredders contain multiple safety interlocks that prevent operation when the unit isn’t properly assembled. If any of these safety features detect a problem, the machine will refuse to power on entirely.
Confirm Bin/Pail Alignment
The shredder head must sit flush on the waste bin for the safety system to engage. Even slight misalignment triggers the interlock and disables power. Check these details:
- The label and control panel must face forward
- The head must click securely into place on the bin
- No paper scraps or debris on the seating surface
Lift the unit off the bin and reseat it firmly. You should hear a soft click when it properly contacts the safety switch.
Examine the Safety Tab
A small plastic tab on the waste bin engages a micro switch inside the shredder head. If this tab is bent, broken, or missing entirely, the machine assumes the bin has been removed and locks out power. Inspect this tab carefully on your bin. If it’s damaged, replacement bins are available from third-party suppliers, though compatibility varies by model.
Verify Lid Closure
Some Omnitech models use a plunger-style lid safety switch. The lid must be fully closed to depress this switch and allow operation. If the lid is warped or the plunger is misaligned, the switch won’t engage. Test this by gently pressing down on the lid while attempting to power on. If the shredder starts, the lid switch needs realignment or cleaning.
Remove Plastic Bag Interference
Using a plastic liner in your waste bin? Loose bag edges can wedge between the bin and shredder head, blocking the safety bracket from engaging properly. Either remove the bag entirely during use, tuck all edges tightly beneath the bin rim, or replace the bag when it’s only three-quarters full to prevent bulging. For pull-out basket models, ensure the basket is fully pushed in so the safety bracket makes contact.
Thermal Overload Recovery
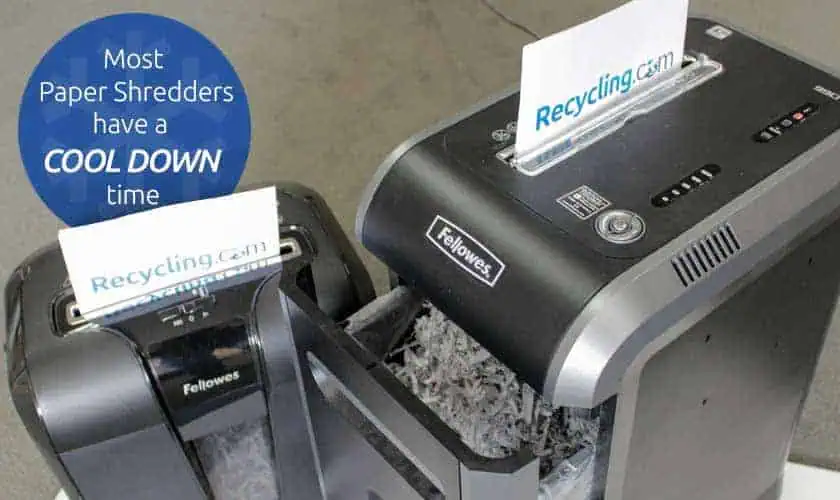
An overheated motor mimics a complete power failure. This is an intentional safety feature designed to protect the motor from burn-out during extended use.
Recognize Overheating Symptoms
Watch for these indicators that your shredder has shut down due to heat:
- The unit stops mid-shredding cycle
- No lights respond after prolonged use
- The casing feels warm or hot to the touch
Omnitech shredders are designed for intermittent use. Continuous shredding beyond 20 to 30 minutes triggers automatic thermal shutdown.
Cool Down Properly
When overheating occurs, follow these steps:
- Turn off the shredder and unplug it from the wall
- Wait 30 to 60 minutes, longer if the unit was heavily used
- Do not attempt to force-restart the machine early
After the cooling period, test with a single sheet of paper. If it powers on, resume use in short cycles of 5 to 10 minutes with 10-minute breaks between sessions.
Feed Sensor and Activation Arm Testing
Even with proper power and safety engagement, the shredder won’t run if it can’t detect paper. The activation system relies on mechanical and electrical components that can fail or become blocked.
Locate the Activation Arm
Inside the feed slot, look for a small plastic lever that protrudes into the paper path. When paper is inserted, it pushes this arm, which triggers a micro switch to start the motor.
Test for Click Response
With the unit unplugged, use a paperclip to gently press the activation arm. A functional switch produces a distinct click. No click indicates:
- The micro switch is broken or failed
- The arm is detached or stuck in position
If the switch is broken, replacement requires disassembly and soldering. For most users, replacement is more practical than repair.
Clean the Center Feed Sensor
Dust, paper fibers, or oil residue can block the sensor mechanism. Clean these areas carefully:
- Use a dry cotton swab to wipe the sensor surface
- Use canned air to blow out loose debris
- Avoid direct blasts on electronic components
Never use water or liquid cleaners near electrical parts.
Trigger the Auto-Sensor Correctly
In Auto mode, paper must bridge two metal contacts in the center of the feed slot. Narrow papers like receipts often fail to trigger the sensor because they don’t reach both contact points. Always feed paper straight and centered. Use standard 8.5 by 11 inch sheets for testing. Apply firm, even pressure when inserting paper.
Paper Jam Clearing Techniques
Paper jams are the number one operational issue with shredders. Clearing them properly prevents blade damage and gets your machine running again quickly.
Reverse Mode First
When a jam occurs, start with the safest method:
- Switch the control to Reverse mode
- Plug in the shredder and let the motor run briefly
- Gently pull any exposed paper backward
If paper moves in reverse, continue running until the jam is fully cleared.
Use Needle-Nose Pliers Carefully
With the shredder unplugged, use tweezers or needle-nose pliers to grasp jammed paper edges. Pull slowly and steadily. Never yank the paper forcefully. Avoid touching the cutting blades directly to prevent injury.
Force Through with Rigid Card
For stubborn jams that won’t budge, try this method:
- Cut a piece of file folder or cereal box cardboard to match paper width
- Insert the cardboard into the center of the feed slot
- Push down firmly to force the jam through the blades
Repeat this process as needed. The rigid card often resets the feed mechanism and dislodges trapped paper.
Oil Soak for Severe Jams
When nothing else works, the oil soak method softens compacted paper:
- Unplug the shredder completely
- Drizzle 2 to 3 tablespoons of shredder oil onto the blades at the jam site
- Wait 30 minutes for the oil to penetrate and soften the paper
- Try reverse mode or the rigid card method again
Shredder oil softens paper fibers and lubricates the mechanism. This step is essential for deep jams.
Post-Jam Lubrication
After clearing any jam, restore proper blade lubrication:
- Apply shredder oil in a zigzag pattern across a sheet of paper
- Run the oiled sheet through in Forward mode
- Repeat once more to ensure even distribution
This prevents immediate re-jamming caused by dry friction between blades.
Motor Runs But Blades Don’t Turn

This is a classic symptom of mechanical failure inside the gear train. The motor is spinning, but power isn’t reaching the blades.
Identify the Whining Noise
A high-pitched whining or buzzing sound while the blades remain stationary means the motor is running freely without engaging the cutting mechanism. This sound is distinct and unmistakable once you’ve heard it.
Understand the Gear Reduction System
Omnitech shredders use a multi-stage gear system to convert high motor speed into high-torque blade rotation:
- The motor drives a spiral gear that turns a small metal gear
- This engages a larger nylon gear for approximately 10x speed reduction
- A second reduction stage applies another 10x reduction
- The final output is roughly 1% of motor speed
The first nylon gear is the weakest point in this system.
Diagnose Stripped Gears
Open the shredder head if possible and inspect the gear train. Look for these signs:
- Gear teeth worn down, rounded, or missing entirely
- The nylon gear spinning freely on its shaft without engaging
Visible damage to the gear teeth confirms the mechanism is beyond repair. Replacement gears aren’t sold separately.
Why Overloading Causes Failure
A shredder rated for 10 sheets often handles only 6 to 7 sheets reliably in real-world use. Thick paper, folded documents, and envelopes easily overload the motor. The sudden torque spike strips the nylon gear teeth almost instantly. Always err on the side of caution and stay well below the rated capacity.
Repair or Replace?
Gear replacement requires full disassembly and specialized tools. The labor involved exceeds the cost of a new shredder. For stripped gear failures, replacement is the recommended solution.
Reverse Works But Forward Doesn’t
When reverse functions normally but forward or auto mode fails, the issue involves directional control rather than total mechanical failure.
Check for Sensor Blockage
Even after clearing a jam, debris can block the forward activation sensor. Clean the feed slot thoroughly with canned air and a cotton swab. Ensure nothing obstructs the sensor contact points.
Test the Main Switch
The main switch has separate contacts for Forward, Reverse, and Auto functions. If Forward doesn’t engage, the switch contact may be worn out or open circuit. Use a multimeter to test continuity. If the Forward contact shows no continuity, the switch requires replacement, though this is rarely cost-effective.
Rule Out Partial Jam
A tiny paper fragment may allow reverse rotation while blocking forward movement. Shine a flashlight into the blade area. Remove any visible debris with tweezers, even small pieces.
Continuous Running in Auto Mode
The shredder runs nonstop even when no paper is inserted. This wastes energy and indicates a sensor problem.
Cause: Blocked Activation Sensor
Dust or oil buildup on the sensor makes the machine think paper is constantly present. This is especially common after oiling or in dusty environments.
Fix: Clean and Reset
- Unplug the unit completely
- Clean the sensor with a dry cotton swab
- Use canned air to blow out the feed tray
- Insert a rigid card and remove it slowly to reset the mechanism
Test with Auto mode after cleaning. If it still runs continuously, the sensor or control board is faulty and likely requires replacement.
Persistent Bin Full Indicator
The bin full light stays on even after emptying the waste container. This prevents normal operation.
Empty and Reinstall the Bin
- Remove the bin completely from the shredder
- Empty all paper particles from the bin
- Wipe the sensor window (usually near the top of the bin) with a dry cloth
- Reinsert the bin until it clicks firmly into place
Clean the Sensor Area
Use canned air to blow dust from these areas:
- The optical sensor on the shredder head
- The corresponding window on the bin
Avoid touching the lens with your fingers. Skin oils cause false readings.
Replace the Bag Early
Plastic bags expand as they fill. Replace bags when they reach three-quarters full to prevent sensor obstruction, airflow blockage, and overheating.
Maintenance That Prevents Failure
Regular maintenance extends the life of your shredder significantly and prevents most common failures.
Oil Every 15–20 Minutes of Use
For heavy or continuous shredding tasks:
- Oil a sheet of paper every 15 to 20 minutes
- Use only shredder-specific oil, not WD-40 or spray lubricants
Spray lubricants attract dust and degrade plastic gears over time.
Clean Debris Bi-Weekly
Use canned air to blow out these areas while the unit is unplugged:
- The feed slot and blade housing
- Sensor areas and safety interlock points
This prevents buildup that causes jams and sensor failures.
Deep Clean Monthly
Use a vacuum with a narrow nozzle to remove:
- Dust accumulation under the shredder head
- Paper particles trapped in the bin compartment
- Fibers wrapped around the safety interlock mechanism
Follow Capacity Limits
These practices prevent overloading:
- If your model is rated for 10 sheets, shred 6 to 7 maximum
- Avoid envelopes, staples, and thick cardstock
- Cut large items into smaller strips if needed
Allow Cooling Between Cycles
Never shred continuously for more than 30 minutes. Take 10-minute breaks to let the motor cool and prevent thermal shutdown.
Model-Specific Failures
Knowing your specific model’s weaknesses helps diagnose problems faster.
Omnitech OT-NXC-18PA: Sudden Death
This model commonly experiences sudden complete failure with only an orange light showing. There is no reset button. If power and safety checks pass, internal failure is confirmed. The solution is replacement, as repair isn’t viable for this model.
10-Sheet & OT-NXC14PA: Stripped Gears
These models frequently fail with a whining motor and stationary blades. The cause is consistently overloading beyond 6 to 7 sheets. These are light-duty units not designed for heavy use. There are no user-replaceable gears. Replacement is the only option.
Sensor Quirks in Older Models
Auto-start requires paper to bridge two metal contacts in the center of the tray. Credit cards and non-conductive materials may not trigger the sensor. Always test with standard paper when diagnosing sensor issues.
Key Takeaways for Omnitech Paper Shredder Troubleshooting
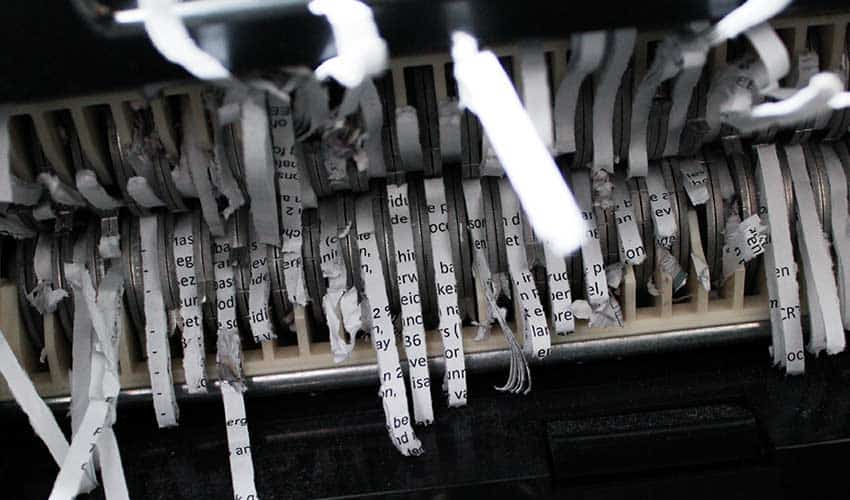
Most Omnitech shredder failures stem from three root causes: overloading beyond rated capacity, lack of proper lubrication, and sensor or safety interlock issues. The troubleshooting process follows a logical sequence from simple checks to complex diagnostics. Start with power and outlet verification, then move to safety interlock confirmation, followed by thermal recovery if the motor has overheated. Sensor cleaning and jam clearing resolve the majority of operational issues. When the motor runs but blades don’t turn, stripped gears are the culprit, and replacement is almost always more cost-effective than repair. By maintaining proper lubrication schedules, respecting capacity limits, and allowing cooling time between cycles, you can significantly extend the life of your Omnitech shredder.
Frequently Asked Questions About Omnitech Paper Shredder Troubleshooting
Why does my Omnitech shredder show an orange light but won’t turn on?
An orange light on startup indicates partial power reaching the indicator circuit while the main control system fails. This typically means a failed power supply, damaged control board, or open circuit in the main switch. These internal electrical failures are usually not economically repairable.
How do I clear a paper jam that won’t budge?
Try the oil soak method first. Unplug the shredder, apply 2 to 3 tablespoons of shredder oil directly onto the jammed area, wait 30 minutes, then attempt to push through with a rigid card. For severe jams, this softening step is essential before mechanical force.
Why does my shredder run continuously in auto mode?
The activation sensor is blocked by dust, debris, or oil residue, making the machine think paper is always present. Clean the sensor with a dry cotton swab and use canned air to blow out the feed slot. If the problem persists, the sensor or control board needs replacement.
Can I replace the gears in my Omnitech shredder myself?
No. Omnitech shredders don’t have user-replaceable gears. The gears are not sold separately, and replacement requires full disassembly with specialized tools. The cost of gear replacement exceeds the price of a new unit.
How often should I oil my Omnitech shredder?
For regular use, oil a sheet of paper every 15 to 20 minutes of continuous shredding. For light use, oil every few weeks. Always use shredder-specific oil, not spray lubricants like WD-40, which damage plastic components.





