
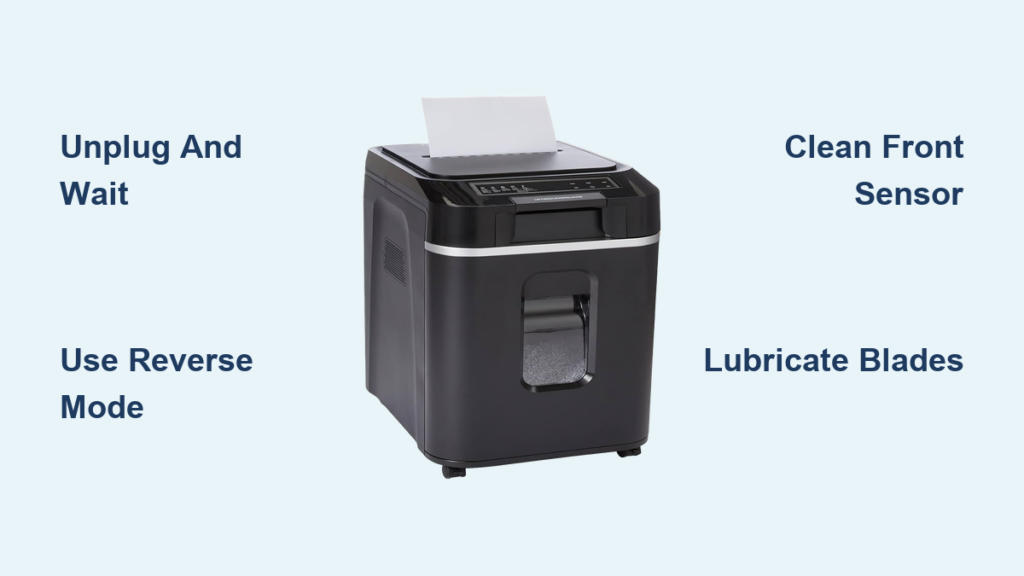
If your AmazonBasics paper shredder jam won’t run or stops mid-feed, you’re not alone. Jams are the most common issue with budget shredders, and often they’re easy to fix with the right steps. Whether it’s a paper blockage, sensor failure, or misaligned head, this guide delivers clear solutions based on real repair data and model-specific insights.
You’ll learn how to safely clear jams, clean critical sensors, and prevent future issues without damaging your unit. We’ll also show you when disassembly is necessary and when it’s smarter to replace the shredder. By the end, your AmazonBasics shredder will be back in action, or you’ll know it’s time for a new one.
Follow Immediate Safety Steps Before Any Repair
Before touching any internal part, prioritize safety. A jammed shredder still has live electrical components and sharp blades.
Unplug the unit immediately. This is non-negotiable. Even if the shredder seems off, always disconnect from power before inspection or repair.
Wait 4–5 minutes after unplugging before reconnecting. This allows the thermal protector to reset and clears temporary control board errors that mimic jam symptoms.
If you need to invert the shredder for cleaning, place it on a soft towel or carpet to avoid cracking the housing. Never force open covers or insert metal tools without first ensuring the unit is fully powered down.
Identify the Type of AmazonBasics Paper Shredder Jam
Not every “jam” is caused by stuck paper. Misdiagnosis leads to wasted effort. Use these symptoms to pinpoint the real issue.
Mechanical Paper Jam
Blades won’t turn, motor hums or stalls, or you hear grinding when pressing “Forward.” This means paper is physically blocking the cutting head.
Common causes include overfeeding more than 6–8 sheets, shredding staples or paper clips, and lack of lubrication causing paper buildup. Jams typically occur deep in the blade assembly where fibers accumulate and bind.
Front Sensor Failure
Shredder runs in Reverse but not Forward, or starts then stops suddenly. Paper may feed halfway and eject.
The front sensor in the paper entry chute isn’t detecting paper due to dust, lint, or misalignment. It’s an optical or mechanical switch that, when blocked, makes the machine think no paper is present.
Visual clue: Paper sits at the entrance but blades don’t engage.
Back Sensor Failure
No lights, no response in any mode, even after plugging in. Indicator stays red or off.
The back sensor confirms the shredder head is seated on the waste bin. If misaligned or loose, the safety interlock disables all functions.
On older models, a green light means “ready.” If it’s missing, the sensor likely isn’t engaged, even if the head looks properly attached.
Clear Surface-Level Jams Without Disassembly

Start with the simplest fixes. Most jams can be resolved without opening the unit.
Use Reverse Mode Effectively
Press and hold the Reverse button for 5–10 seconds. Repeat 4–5 times.
Even if it didn’t work earlier, the intermittent reverse torque can loosen tightly packed paper. Don’t rush. Let the motor cycle between attempts.
Extract Jammed Paper Safely
With the unit unplugged, use needle-nose pliers or tweezers to grip exposed paper ends.
Insert tools gently through the entry slot. Pull straight back and never twist or force.
Avoid rigid objects like screwdrivers or knives. They can scratch blades or break off inside the mechanism.
If paper tears and fragments remain, move to internal cleaning.
Pro Tip: Dull blades increase jam risk. If paper consistently shreds unevenly, lubrication or replacement may be needed.
Open the Shredder Head When External Methods Fail
If reverse mode fails, open the top cover to access the blade assembly directly. This applies to AmazonBasics 6- and 8-sheet cross-cut models.
Gather Required Tools
You will need a Phillips head screwdriver, needle-nose pliers, and a soft cloth or towel.
Warning: One screw is hidden under a label marked “Void.” Removing it voids the 1-year warranty. Proceed only if the shredder is out of warranty or replacement isn’t viable.
Remove the Top Cover Step by Step
- Unplug the unit.
- Turn it upside down on a soft surface.
- Remove all six screws, including the one under the warranty sticker. Apply firm pressure to avoid stripping the heads.
- Gently lift the top cover straight up.
Visual Cue: Watch for a small sensor tab on the underside. It must align with a slot during reassembly or the shredder won’t power on.
Clear Internal Paper Debris
With blades exposed, use pliers to remove visible paper fragments. Inspect between cross-cut blades, since tiny scraps often wedge deep. Check gear areas for fiber buildup or blockages.
Work slowly. One missed shred can cause another jam.
Reassemble Correctly
- Align the sensor tab and lower the cover.
- Reinsert all six screws securely.
- Plug in and test with a single sheet.
If it still won’t run, suspect sensor issues rather than mechanical blockage.
Clean the Front Sensor to Fix False Jams

A dirty front sensor is often mistaken for a jam. Fix it in seconds with no disassembly needed.
Quick External Clean
- Unplug the shredder.
- Fold a paper towel into a narrow strip.
- Gently insert it into the center of the paper slot where the sensor sits.
- Move it up and down to wipe dust and paper fibers.
Never use cotton swabs. They leave lint and can damage optical sensors.
Deep Clean With Partial Disassembly
If external cleaning fails, remove the top cover as described above. Locate the front sensor by looking for two small LEDs on either side of the feed channel. Wipe gently with a dry paper towel and ensure no paper fibers block the lens.
Reassemble and test. This fixes most “no feed” issues.
Fix Back Sensor Issues That Prevent Power
When the shredder shows no lights or response, the back sensor is likely the culprit.
Re-Seat the Head Properly
- Lift the shredder head off the bin.
- Reattach it firmly until you hear a distinct click.
- Check the indicator light. It should turn green on compatible models.
No click? The sensor tab isn’t engaging.
Apply the Paper Shim Fix for Loose Fits
On older units, the sensor housing may loosen over time. The fix is a simple paper shim.
- Cut a small strip of stiff paper or tape.
- Insert it into the sensor hole on the bin interface.
- Push it in just enough to keep the sensor pin slightly depressed.
This simulates constant head contact, keeping the circuit closed. The shredder powers on normally, even if the head fits loosely.
Lubricate Blades to Prevent Future Jams
Lack of oil is the leading cause of recurring jams. Regular maintenance keeps blades clean and motors cool.
Oil Every 10–15 Uses
Use shredder-specific oil only. Household oils gum up over time.
- Apply 3–5 drops across the paper entry slot.
- Plug in and run in Reverse for 10–15 seconds to distribute oil.
- Shred one sheet of paper to absorb excess.
Oil after clearing a jam to protect blades from residual friction damage.
Follow Best Operating Practices to Avoid Jams
Prevention beats repair. Avoid jams entirely with smart usage habits.
Don’t Overload the Shredder
Stay below maximum sheet capacity to reduce strain:
- 6-sheet models: Never exceed 5–6 sheets at once
- 8-sheet models: Stick to 6–7 to stay safe
Feeding too much at once overwhelms the motor and increases jam risk.
Avoid Forbidden Materials
Never shred staples, paper clips, binder rings, plastic (including ID cards unless specified), glossy photo paper, or thick cardstock. These materials dull blades and cause immediate jams.
Respect Run-Time Limits
Most AmazonBasics shredders allow 2–5 minutes of continuous use before needing a 30-minute cool-down.
Exceeding this causes overheating, which is often mistaken for a jam. If the motor sounds strained or shuts off quickly, let it rest.
Vacuum Internal Debris Every Few Months
Paper dust builds up fast and clogs sensors and gears.
- Unplug and invert the unit on a soft surface.
- Use a vacuum with a brush attachment to suck out fragments from the blade area.
- Focus on corners and gear housings.
Never use compressed air. It forces dust deeper into motors and sensors. Vacuuming after jam clearance prevents repeat issues.
Know When to Replace the Shredder

Some damage can’t be fixed. If you’ve tried everything, consider replacement.
Signs of irreparable damage include:
- Gears visibly stripped or cracked
- Motor runs but blades don’t move
- Persistent jams despite cleaning and oiling
- Burning smell during operation
In these cases, repair cost exceeds replacement value. AmazonBasics shredders are budget tools, and a new unit often costs less than professional repair while coming with a fresh warranty.
Use This Troubleshooting Decision Flow
| Symptom | Likely Cause | Action |
|---|---|---|
| Motor hums, blades stuck | Mechanical jam | Run Reverse 4–5 times, then disassemble |
| Reverse works, Forward doesn’t | Dirty front sensor | Clean with paper towel |
| No lights, no response | Back sensor disengaged | Re-seat head or apply paper shim |
| Stops after 30 seconds | Overheating | Wait 30 mins, reduce feed volume |
| Shreds slowly, unevenly | Dull blades or no oil | Lubricate or replace unit |
| Persistent jams after cleaning | Gear or motor failure | Replace shredder |
Frequently Asked Questions About AmazonBasics Paper Shredder Jams
Why does my AmazonBasics shredder jam so often?
Frequent jams usually result from overfeeding, shredding prohibited materials like staples or glossy paper, or lack of lubrication. Regular oiling every 10–15 uses and staying below sheet capacity prevents most recurring jams.
Can I use cooking oil or WD-40 on my shredder?
No. Only use shredder-specific oil. Household oils like cooking oil or WD-40 gum up over time, attract dust, and can damage internal components. Shredder oil is designed to evaporate cleanly and protect blades.
How do I know if it’s a jam or a sensor problem?
If the motor hums or grinds, it’s likely a mechanical jam. If the shredder runs in Reverse but not Forward, or shows no response at all, the issue is probably a dirty or disengaged sensor rather than stuck paper.
Will opening my shredder void the warranty?
Yes. One screw is hidden under a “Void” sticker. Removing it technically voids the 1-year warranty. Only disassemble if the unit is out of warranty or replacement isn’t practical.
How long should I wait after unplugging before trying again?
Wait at least 4–5 minutes. This allows the thermal protector to reset and clears temporary control board errors that can mimic jam symptoms.
Is it worth repairing an AmazonBasics shredder?
For most issues, yes. Simple jams, sensor cleaning, and lubrication are all cost-effective fixes. However, if gears are stripped or the motor is burned out, replacement is usually cheaper than professional repair.
Key Takeaways for Fixing Your AmazonBasics Paper Shredder Jam
Most AmazonBasics paper shredder jams resolve with three core actions: power cycling, sensor cleaning, and proper lubrication. Start with safe, non-invasive steps like reverse mode and paper towel sensor wipes before opening the unit. When disassembly is needed, track all six screws and align the sensor tab carefully during reassembly.
If cleaning and lubrication don’t restore function, replacement is often the most cost-effective path. With regular care, your next shredder can last years without jam issues. Start by unplugging your unit and trying the reverse cycle.





