

Your Fellowes shredder powers on, spins fine in reverse, but refuses to shred when you insert paper. This is one of the most frustrating and surprisingly common issues Fellowes owners face. The good news? In nearly every case, your shredder isn’t broken. The problem lies with the auto-run sensor system, which has become blocked by debris, dust, or dried lubricant.
This guide walks you through exactly why this happens, how to identify whether your model uses mechanical or optical sensors, and step-by-step fixes that restore forward operation, often in under 10 minutes. You’ll learn practical cleaning techniques, maintenance habits that prevent recurrence, and when it’s time to call Fellowes support.
Identify Your Shredder’s Sensor Type
Before attempting repairs, you must determine what sensor technology your Fellowes model uses. The fix differs significantly between mechanical and optical sensors, and using the wrong approach wastes time.
Locate Mechanical Sensors in Entry-Level Models
Entry-level Fellowes shredders like the 8MC use mechanical sensors. Look directly into the paper entry slot: you’ll see a small plastic lever or bar positioned in the center. This lever must physically depress when paper is inserted to trigger the forward motor.
These levers commonly become stuck due to paper fragments, accumulated dust, or hardened lubricant underneath. When stuck, the lever won’t move even when paper sits on top, so the machine assumes nothing is there and refuses to engage forward.
Find Optical Sensors in Higher-End Models
Mid-range and premium Fellowes models use electronic optical sensors. These appear as small glass-like beads or domes centered in the feed slot. They work by detecting when a light beam is interrupted by paper insertion.
The failure mode here differs from mechanical sensors. Paper dust, grime, or oil residue coats these glass surfaces and blocks the light beam entirely. The sensor can’t detect paper even when it’s sitting directly on top, so the shredder simply won’t run forward automatically.
Verify Basic Operational Settings
Many users panic and assume catastrophic failure before checking simple settings that take seconds to verify. Save yourself time by ruling these out first.
Confirm the Mode Switch Position
Locate the toggle switch on top of your shredder. It must be set to “Auto” or “Forward,” not “Reverse.” Some models use icons instead of words, so check that the arrow points toward the forward shredding direction.
If this switch is accidentally left in reverse, the shredder runs backward regardless of what you do. This isn’t a sensor issue at all, just an easily overlooked setting.
Test Manual Forward Activation
Set the switch to “Forward” and press the manual forward button while inserting a sheet of paper. If the motor runs, your motor and control board are functional. The problem is specifically the auto-sensor not detecting paper.
This test tells you whether you need to focus on sensor cleaning or investigate more serious electrical issues.
Perform a Power Reset
Unplug your shredder from the wall and wait at least 5 minutes. This allows the internal logic board to fully reset, clearing any temporary glitches that might cause sensor malfunction.
After waiting, plug it back in and immediately test with a single A4 sheet fed straight into the center. Many “stuck” sensors recover after a proper power cycle, especially if the unit recently experienced a jam or overload.
Clear Sensor Obstructions

If basic checks fail, the sensor itself is obstructed. Always unplug the shredder before inserting any tools near the feed slot.
Gather the Right Tools
You need non-conductive tools to safely work near sensors. Collect a wooden or plastic toothpick, tweezers or needle-nosed pliers, scissors for stubborn paper fragments, and a credit card or similar stiff plastic card.
Metal tools can damage electronic components or create short circuits, so reserve them only for situations where plastic tools won’t work, and ensure the unit stays unplugged.
Remove Visible Debris from the Feed Slot
Shine a flashlight into the center of the feed slot and inspect carefully. For mechanical sensors, look beneath the plastic lever for paper fragments, dust clumps, or hardened lubricant. For optical sensors, check the surface of the glass beads for dust, smudges, or fiber buildup.
Use tweezers or a toothpick to gently lift and remove any visible debris. Never use excessive force, and avoid touching electronic components with bare hands since oils from your skin can create additional residue.
Free a Stuck Mechanical Lever
If the lever doesn’t move freely when lightly pressed with a toothpick, it’s likely gummed up with old oil or compacted dust. Don’t force it.
Insert a credit card into the center of the slot directly over the sensor area. Push the card up and down rapidly for about 5 seconds, repeating several times if needed. This motion forces the lever to cycle through its full range, breaking up buildup and dislodging trapped debris.
You should feel the lever begin to move more smoothly after this treatment.
Clean Optical Sensor Surfaces
For glass-bead sensors, wipe the surface gently with a dry, soft cloth. Use a toothpick to remove any fibers clinging to the edges. Never apply liquids or cleaning sprays directly on the sensor.
After cleaning, run the credit card up and down over the sensor area to simulate paper insertion and verify the mechanism responds properly.
Test Forward Operation After Cleaning
Once cleaning is complete, verify the fix works before reassuming normal use.
Plug the shredder back in and set the switch to “Auto.” Feed a single sheet of A4 paper directly into the center of the slot. The shredder should engage forward automatically and pull the paper in.
If nothing happens, try feeding the paper slowly and holding it in place for 2 to 3 seconds. Some sensors require sustained contact to activate after being dormant or recently cleaned.
Prevent Future Reverse-Only Failures

A clean sensor fixes the immediate problem, but recurrence is likely without proper maintenance. These habits prevent the issue from coming back.
Always Center Paper Insertions
Every document, receipt, or credit card must align with the center of the feed slot. Off-center feeding misses the sensor entirely, causing the auto-mode to fail even when the sensor works perfectly.
This is the most common cause of false “sensor failures” where users believe their shredder is broken when it simply wasn’t triggered.
Clean the Feed Slot Monthly
Add sensor inspection to your routine maintenance schedule. Every 4 to 6 weeks, shine a flashlight into the slot and check for dust buildup. Use a dry cloth or toothpick to clean the area, then perform the credit card up/down motion to keep mechanisms loose.
This takes under a minute and prevents approximately 90% of sensor-related issues.
Oil Blades Regularly
Dry blades create excess friction and generate more paper dust, which settles into the sensor area. Use only shredder-specific oil, not household oils.
Apply oil to a piece of paper or use pre-oiled sheets, then run them through in reverse mode first to distribute evenly. Follow with forward mode to clear excess. Lubricate every 15 to 20 shredding sessions or monthly with heavy use.
Handle Jams Properly
When paper jams, resist pulling it backward manually. This forces debris deeper into the sensor housing and can damage internal gears.
Instead, use the reverse function to eject jammed paper, then inspect and clean the slot afterward.
Diagnose Persistent Issues
If your shredder still only works in reverse after thorough cleaning, advanced diagnostics are needed.
Forward Works Only with Manual Button
If the motor runs when you press the forward button but not automatically when paper is inserted, the auto-sensor is likely dead or disconnected. This could indicate a broken wire, moisture damage, or a failed control board.
At this point, contact Fellowes support with your model and serial number. Some units have replaceable sensor assemblies under warranty.
No Response in Any Mode
If neither forward nor reverse responds, even with manual buttons, the issue is electrical. Test your outlet with another device to confirm power is working. If power is confirmed, the shredder may need professional service or replacement.
Case Study: Fellowes 8MC Restoration
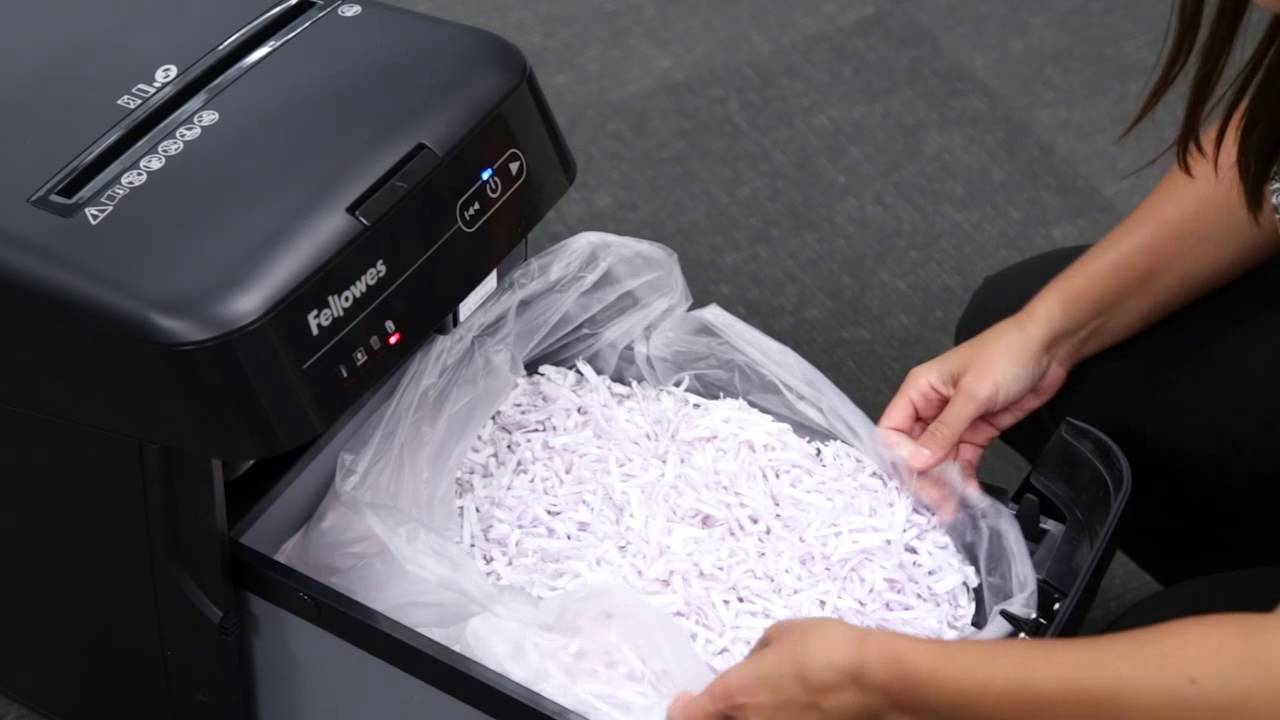
A user reported their Fellowes 8MC stopped shredding after two months of storage. It powered on and reversed fine but wouldn’t pull in paper.
Inspection revealed tiny paper fibers stuck on top of the optical sensor, barely visible without strong lighting. The user unplugged the unit, used tweezers to remove the fibers, ran a credit card up and down over the sensor area, then tested.
Full forward function was restored immediately. This case demonstrates that even short storage periods allow dust and micro-debris to settle onto sensors.
Safety Warnings During Troubleshooting
Never compromise safety while fixing your shredder. Always unplug before inserting tools. Use only non-conductive tools like plastic or wood near sensors. Never insert fingers into the feed slot, and keep all liquids away from the motor housing.
Following these rules prevents injury and avoids short-circuiting internal electronics.
Frequently Asked Questions About Fellowes Shredders Running in Reverse
Why does my Fellowes shredder only work in reverse?
The most common cause is a blocked auto-run sensor. Either debris is preventing a mechanical lever from moving, or dust is blocking an optical sensor’s light beam. Both situations fool the shredder into thinking no paper is present.
Can I fix this myself without professional help?
Yes. In nearly all cases, cleaning the sensor with basic tools restores full function. The issue is almost always debris-related, not motor failure. Only advanced electrical failures require professional service.
How do I know if my model has mechanical or optical sensors?
Look into the paper feed slot. If you see a physical plastic lever or bar, it’s mechanical. If you see small glass-like beads or domes, it’s optical. This determines which cleaning method to use.
Will oiling my blades help prevent this issue?
Yes. Regular lubrication reduces friction and paper dust accumulation, which keeps sensors cleaner longer. Use only shredder-specific oil and follow the recommended schedule.
How often should I clean my shredder’s sensor?
Inspect the feed slot monthly and clean as needed. If you notice the shredder starting to hesitate before engaging, clean immediately rather than waiting for complete failure.
Key Takeaways for Fixing Your Fellowes Shredder
A Fellowes shredder that only works in reverse is almost always fixable with simple sensor cleaning. The root cause is typically debris blocking either a mechanical lever or an optical sensor, not hardware failure. Identifying your sensor type and using the appropriate cleaning technique resolves the issue in most cases.
Preventive maintenance makes the difference between a one-time fix and recurring problems. Center your paper insertions, clean the feed slot monthly, and oil blades regularly to keep sensors functioning properly. If all troubleshooting steps fail, contact Fellowes support before replacing the entire unit, as many models have replaceable sensor assemblies available.
Your shredder isn’t broken. Give it a thorough cleaning first, and you’ll likely save yourself the cost of a replacement.





