
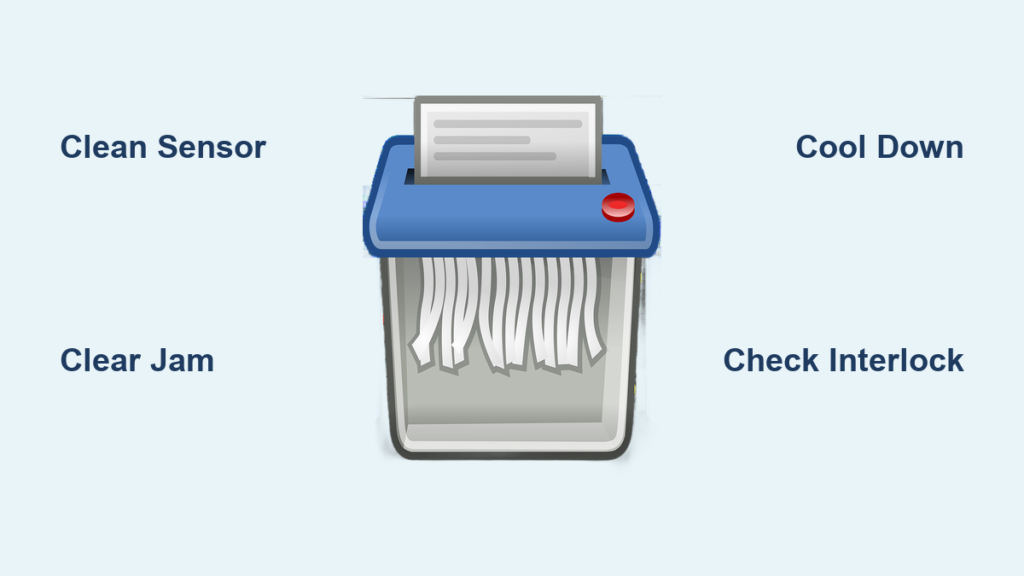
You’re ready to shred a stack of documents, but your paper shredder refuses to pull paper in. Instead, it only runs in reverse. Frustrating? Absolutely. But before you toss it or assume the motor is dead, here is what you need to know: if your shredder works in reverse, the motor and power supply are likely fine. The problem lies in what triggers forward operation, usually a blocked sensor, paper jam, or safety feature.
This guide cuts through the confusion with a step-by-step fix plan. You will learn exactly why your shredder will not run forward, how to diagnose the real culprit in under 10 minutes, and what to do next, whether it is a simple cleaning or time to consider replacement. Most fixes require nothing more than a cotton swab, tweezers, or a stiff piece of cardboard. Let us get your shredder back to full function.
Why Reverse Works But Forward Does Not
The reverse function is a manual override designed to clear jams. It bypasses the auto-sensing system that powers forward shredding. So when only reverse works, it means power reaches the motor and the motor itself is functional. The issue is not a blown fuse or dead outlet.
Instead, the failure occurs in the activation chain for forward mode. Something is stopping the shredder from detecting paper or allowing the motor to engage. The most common culprits are a blocked auto-run sensor, a hidden paper jam, an overheating thermal cut-off, a misaligned safety interlock, or a faulty forward switch.
Clean the Auto-Run Sensor

The most common cause of forward operation failure is a dirty or blocked auto-run sensor. Located dead-center in the feed slot, this sensor detects when paper is inserted and triggers forward motion. There are two sensor types, and identification is critical for proper troubleshooting.
Find Your Sensor Type
Mechanical sensors appear as a plastic bar or lever in the very center of the feed entry. They rely on physical pressure from the paper to depress the lever and activate the motor. Electronic sensors, also called optical sensors, look like small glass beads or marbles embedded in the center of the feed slot. These are photo sensors that detect the interruption of light caused by inserted paper.
Both fail when clogged with paper dust, oil, or debris.
Clean Optical Sensors
If your shredder has glass-bead sensors, follow these steps:
- Unplug the unit. Safety first.
- Inspect the center of the feed slot for cloudy or oily residue.
- Dampen a cotton swab with rubbing alcohol.
- Gently wipe both sensor points until clear.
- Repeat if needed. Do not use canned air because it pushes debris deeper.
Cross-cut shredders are prone to oil buildup on sensors. Clean monthly during regular maintenance.
Reset Mechanical Sensors
For models with a plastic lever, try this:
- Unplug the shredder.
- Check under the lever with a flashlight. Look for paper fragments.
- Remove debris with tweezers or a toothpick.
- Use a credit card. Push it up and down on the sensor 5 to 10 times to free stuck parts.
- Test with a rigid sheet. Insert an index card to ensure smooth movement.
Never force the lever. If it does not move freely, stop and inspect for deeper blockage.
Clear Hidden Paper Jams
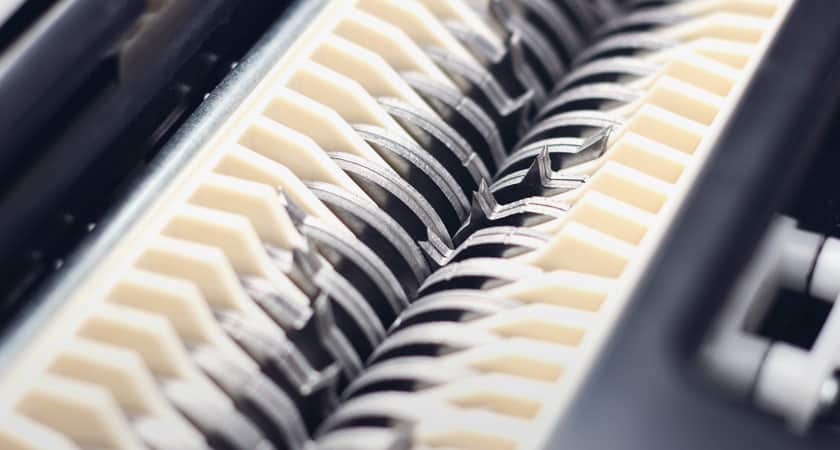
Even a tiny piece of paper can block forward operation while allowing reverse. Symptoms include the shredder humming but not pulling paper in, reverse working but forward refusing to start, and a faint crinkling sound near the blades. Jams often hide behind the feed rollers or near the sensor path.
Remove the Jam Safely
- Turn off and unplug the shredder.
- Switch to reverse. Run for 5 to 10 seconds to back up stuck paper.
- Pull gently on any visible paper. Do not yank.
- Use needle-nose pliers to extract stubborn fragments.
- Insert a rigid sheet. Use cardboard from a cereal box or file folder, centered, and push it through firmly.
Never use reverse when shredding credit cards or CDs. This can damage blades.
Break Up Severe Jams with Oil
For compacted paper:
- Drizzle 2 to 3 tablespoons of shredder oil or cooking oil onto the blades.
- Let soak for 30 minutes. This softens the paper.
- Switch to auto mode.
- Force a stiff cardboard sheet through the center.
Never use WD-40 or spray lubricants. They damage plastic gears and create fire risks.
Reset Overheating Protection

Shredders have built-in thermal cut-offs to prevent motor burnout. If used continuously, the unit shuts down forward operation, sometimes allowing only reverse. Symptoms include no forward action after heavy use, an overheat light being on if equipped, and the motor feeling hot to the touch.
Cool Down and Restart
- Turn off and unplug.
- Wait 30 to 60 minutes for full cooldown.
- Do not attempt to force operation during this time.
- After cooling, test with a single sheet of paper.
Prevent recurrence by following the duty cycle. Avoid shredding more than 6 to 8 sheets at once.
Verify Safety Interlocks
Modern shredders will not run unless fully assembled. Common interlocks include bin seating where the head must sit flush on the wastebasket, alignment tabs where a raised strip on the bin fits into a slot on the shredder base, pull-out bins that must be fully closed, and tilt sensors where you should not tilt the cover open past the first click.
Test the Setup
- Remove the head from the bin.
- Check for obstructions in the bin rails or sensor area.
- Re-seat firmly, ensuring alignment marks face forward.
- Avoid plastic bags. They can prevent the bin from closing fully.
If the shredder suddenly stops working, simply reseat the head. Misalignment is a frequent cause.
Test the Forward Switch
If sensors, jams, and interlocks are clear, the issue may be electrical. Symptoms include the auto or forward button not clicking, indicator lights working but no response to paper, and reverse working normally.
Check Button Function
- Fold a piece of paper into a thick strip.
- Insert center-first into the feed slot.
- Watch for delayed or no response.
If it still will not engage, the switch may need replacement. Switch replacement requires disassembly. For older or low-cost models, replacement may be more economical than repair.
Inspect for Gear Damage
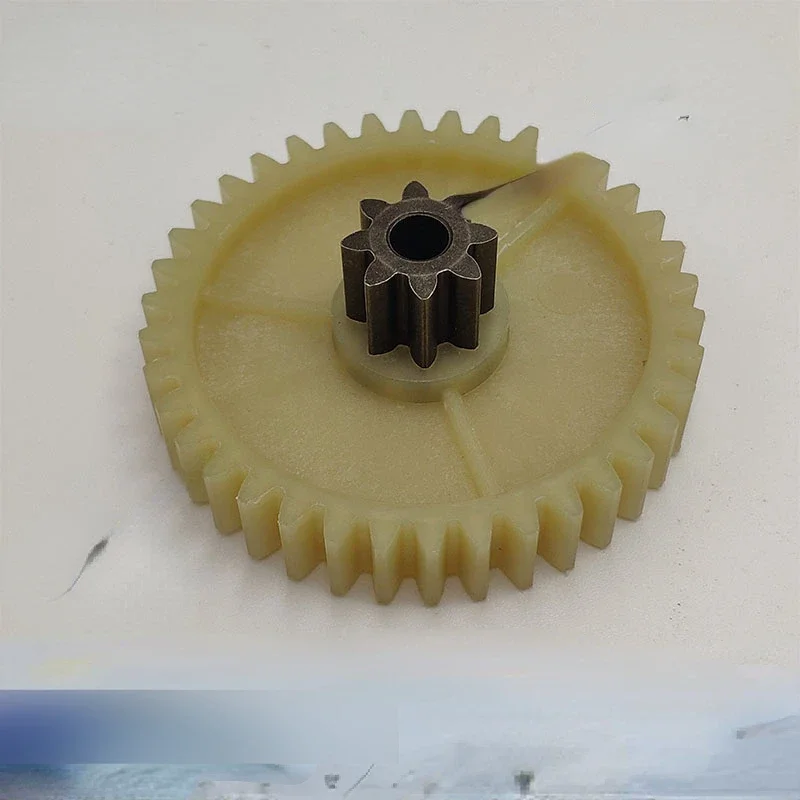
A high-pitched whining noise during forward attempts, while the motor runs but paper does not move, is a telltale sign of stripped gears. Causes include overloading beyond sheet capacity, shredding thick materials like cardboard or binders, and lack of lubrication over time.
Assess Repair Options
Under warranty? Contact the manufacturer. Out of warranty? Replacement gear kits exist but require technical skill. If the unit is over $50, repair may be viable. Otherwise, replacement is often the better choice.
No forward pull plus motor noise equals likely gear failure. Sensor cleaning will not fix this.
Prevent Future Issues
Avoid reverse-only mode with regular care. Stick to a maintenance routine that includes oiling every 30 minutes of use, cleaning sensors monthly, and feeding paper correctly.
Oil the Blades Regularly
Use shredder oil or cooking oil. Drizzle across the blade width. Run in reverse for 5 seconds, then forward with 2 to 3 test sheets. Never use aerosol sprays. They degrade plastic and attract dust.
Clean Sensors Monthly
Use alcohol swabs on optical sensors. Tap mechanical sensors with a credit card weekly.
Feed Paper Correctly
Always center paper, especially receipts or checks. Do not overload. Stay under the max sheet count. Avoid prohibited items like envelopes with windows, stickers, labels, tape, laminated paper, and transparencies.
Model-Specific Tips

Fellowes 8MC users report this model often fails to start after inactivity. The fix involves cleaning under the sensor with tweezers or a toothpick, using the credit card method to reset the lever, and lubricating if used infrequently.
Aurora shredders are known for strict safety systems. Center alignment is critical. Narrow paper must hit the sensor dead-on. Do not open the lid too far. This cuts power. The bin must be fully seated. Listen for the click.
Cross-cut models are more prone to oil-clouded sensors due to fine paper dust. Clean optical sensors every 2 to 3 weeks if used daily.
Final Diagnostic Checklist
Before declaring your shredder dead, run through this list. Verify the shredder is plugged into a working outlet. Confirm the bin is properly seated and closed. Ensure the switch is set to auto or forward. Check for no jam. Clean with pliers and rigid sheet. Clean the sensor with alcohol or credit card method. Observe a cool-down period if overheated. Test with a single sheet centered.
If all steps fail, the issue is likely internal. Faulty circuit board, motor capacitor, or damaged wiring may be the culprit. At this point, contact the manufacturer or replace the unit.
When to Replace Your Shredder
Consider replacement if the shredder is over 3 years old and heavily used, gears are stripped and repair cost exceeds $30, there is no forward function after full troubleshooting, or you rely on it daily and need reliability.
A new mid-range shredder with auto-feed and safety sensors often pays for itself in time saved.
Frequently Asked Questions About Paper Shredders That Only Work in Reverse
Why does my shredder work in reverse but not forward?
Reverse works because the motor and power supply are functional. The problem lies in the forward activation system, typically a blocked sensor, hidden jam, overheating protection, or misaligned safety interlock.
How do I clean the auto-run sensor on my shredder?
Unplug the shredder first. For optical sensors, use a cotton swab dampened with rubbing alcohol to gently wipe the glass-bead sensors in the center of the feed slot. For mechanical sensors, remove debris with tweezers and use a credit card to push the lever up and down several times.
Can overheating cause my shredder to only work in reverse?
Yes. Shredders have thermal cut-offs to prevent motor burnout. If the unit overheats from continuous use, it may shut down forward operation while still allowing reverse. Let the shredder cool for 30 to 60 minutes before testing again.
What should I do if my shredder has a severe paper jam?
Unplug the shredder first. Use reverse mode to loosen the jam, then gently pull out visible paper with pliers. For compacted jams, drizzle 2 to 3 tablespoons of shredder oil onto the blades, let soak for 30 minutes, then force a stiff cardboard sheet through to push the softened paper out.
How often should I oil my paper shredder?
Oil every 30 minutes of use or at least monthly with regular use. Drizzle oil across the blade width, run in reverse for a few seconds, then forward with 2 to 3 test sheets to distribute the lubricant evenly.
Is it worth repairing a shredder with stripped gears?
If the unit is under $50, replacement is usually more cost-effective. If over $50 and under warranty, contact the manufacturer. Out-of-warranty gear replacement requires technical skill and may not be worth the effort compared to buying a new unit.
Key Takeaways for Fixing a Reverse-Only Paper Shredder
A paper shredder that only works in reverse is rarely beyond repair. In over 80% of cases, the fix is a clean sensor, cleared jam, or reset interlock. Start by cleaning the auto-run sensor with rubbing alcohol, then check for hidden paper jams even if reverse seems to work. Verify safety interlocks are properly engaged and allow the unit to cool if it has overheated.
Save time, money, and e-waste by following this guide before giving up. With proper care, your shredder can last years. Remember to center the paper, oil the blades regularly, and unplug before poking around inside. If all troubleshooting steps fail, the internal components may be damaged, and replacement is the practical next step.





