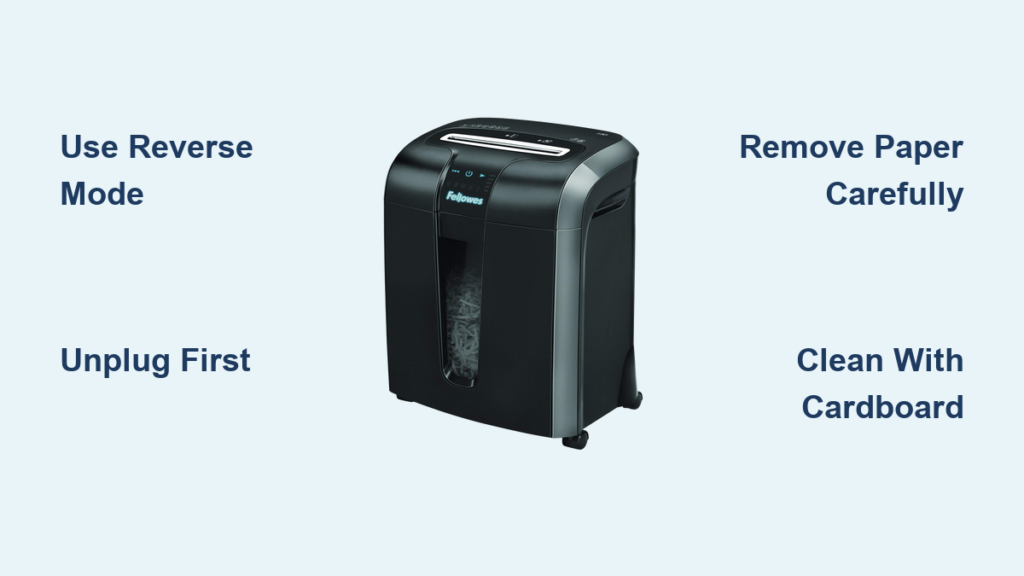

Is your paper shredder struggling to chew through even a single sheet? A gummed up shredder is a common but fixable problem. Over time, paper dust, adhesive residue from labels and envelopes, and tiny metal fragments from staples accumulate inside the machine, creating a sticky, compacted mess that slows or stops operation. Left unattended, this buildup can permanently damage blades and motors.
The good news: with the right tools and techniques, you can restore your shredder to full function, often in under 30 minutes. This guide walks you through diagnosing the jam, safely removing debris, cleaning internal components, and applying proper lubrication. You’ll also learn how to prevent future gumming with simple daily habits.
Identify the Type of Jam in Your Paper Shredder

Before attempting any fix, identify how severe the gumming is. The right approach depends on whether you’re facing a minor blockage or a deep mechanical jam.
Listen for Warning Sounds
A healthy shredder runs with a steady hum. If you hear grinding, clunking, or straining, the blades are fighting resistance. A sudden stop mid-feed usually means a jam has formed. Some older models make a rhythmic clunk during normal operation due to their elliptical cutting motion, which is normal. But if the sound becomes labored or inconsistent, it is time to investigate.
Check for Performance Drops
If paper feeds slower than usual or hesitates at the entry point, friction is building up. This early warning sign means dust or light adhesive residue is coating the rollers or blades. Address it now before it turns into a full jam.
Inspect Visually with a Flashlight
Unplug the shredder and shine a small flashlight into the feed slot. Look for paper fibers stuck between cutting discs, dark compacted dust around the rollers, shiny adhesive residue from labels or envelope glue, and any non-paper items like staples or plastic. If you see debris deep in the blade assembly, manual removal will likely be necessary.
Preparing Your Shredder for Safe Cleaning
Safety comes first. Never reach into a powered shredder because rollers can cause serious injury. Follow these steps before touching any internal parts.
Power Down Completely
Unplug the shredder from the wall. This prevents accidental activation during cleaning. Even if the unit is switched off, a stray button press or sensor trigger could engage the motor and cause injury.
Gather Essential Tools
Have these items ready before starting:
• Needle-nose pliers
• Tweezers
• Soft-bristle brush or old toothbrush
• Compressed air can
• Dull butter knife or plastic pry tool
• Small flashlight
• Lint-free cloth
Avoid sharp tools that could scratch rollers or blades. Using the wrong tools can cause more damage than the original jam.
Contain the Mess
Place a bucket or tray under the shredder. When you flip it over or open the case, dust and paper fragments will fall out. Working over a trash can or newspaper makes cleanup much easier.
Clearing Minor Jams Without Disassembly
If the shredder still turns or the reverse function works, try these non-invasive methods first. These approaches work best for jams that have formed recently and have not yet hardened into dense blockages.
Empty the Waste Bin
A full bin causes backup into the cutting head, especially in models with small bins. Remove the bin and empty it completely, even if it looks only half-full. A loose bin can trigger safety sensors and prevent proper operation.
Run the Reverse Function
Plug the shredder back in and switch to Reverse mode. Let it run for 10 to 15 seconds. This often pulls jammed paper back out. If reverse does not work, toggle between Reverse and Forward modes several times. The back-and-forth motion can break apart compacted paper and free up the mechanism.
Feed a Single Test Sheet
Once movement returns, feed one clean sheet of paper slowly. If it shreds smoothly, the jam is cleared. If it snags, proceed to manual extraction methods.
Manually Extracting Stuck Paper from the Blades

For stubborn jams, you will need to access the blades directly. This method works for gummed-up cutters and deep blockages that resist reverse functions.
Access the Blade Assembly
Flip the shredder upside down. Remove any screws holding the case together. Gently pry off the plastic paper guard from the feed slot using a butter knife. If needed, remove the back panel to expose the cutter head and rollers.
Extract Paper with Pliers
Use needle-nose pliers or tweezers to grip and pull out paper strands. Pull from both the top and bottom of the blade stack, never side to side, as this can bend cutters. If paper is tightly wrapped, use small scissors to cut it into sections before pulling.
Cut Through Dense Blockages
For thick wads or adhesive-heavy clumps, carefully slice through the mass with a small knife. Work slowly to avoid nicking the blades. Focus on breaking the jam into smaller pieces for easier removal.
Freeing Locked Rollers Using the Wooden Wedge Method
If the rollers will not turn at all, they are likely seized by rigid debris like a credit card or dense paper wad. This technique applies controlled force to break the grip without damaging internal components.
Apply Pressure with Wood
Find a scrap wood block that fits against the roller housing. Place it against one side of the shredder’s roller assembly. Tap gently with a hammer to apply outward pressure. This helps rotate the rollers slightly and break the grip of the jam.
Alternate Sides for Even Force
Move to the opposite side and repeat the tapping. Alternating sides prevents internal gears from binding. Stop once the rollers begin to turn freely by hand.
Reassemble and Test
Once movement returns, reattach all panels and guards. Plug in the unit and test with a single sheet of paper. If it feeds smoothly, proceed to deep cleaning and lubrication.
Deep Cleaning Blades and Rollers

With the jam cleared, remove residual dust and gummy buildup to prevent recurrence. This step is essential for long-term performance.
Brush Out Paper Dust
Use a soft brush or compressed air to blow debris from the cutter head and feed rollers. Focus on areas between the blades and under the roller shafts. Paper dust acts like sandpaper, and if left behind, it accelerates wear on all moving parts.
Wipe Down the Feed Slot
Dampen a lint-free cloth slightly and wipe the feed opening. Remove any sticky residue from adhesives. Never spray liquids directly into the shredder. Let the area air dry completely before powering on.
Remove Adhesive Buildup
For stubborn glue, use a dry cloth and gentle scraping with a plastic tool. Avoid solvents, which can damage plastic components. Consistent cleaning prevents future gumming and extends the life of your machine.
Lubricating for Smooth Operation

Lubrication reduces friction, cools the blades, and repels dust. This is the final step in restoring full performance.
Use Proper Lubricants Only
Shredder oil sheets are the safest and easiest option. Gun oil with Teflon is a high-performance option that lasts longer. Apply sparingly to blades. WD-40 can help free sticky parts but never spray it on jammed paper because it swells dry paper and worsens clogs.
Avoid Household Oils
Never use vegetable oil, mineral oil, or cooking sprays. These attract dust and turn gummy over time, creating new jams that are harder to clear than the original problem.
Apply Oil Correctly
If using liquid oil, apply a few drops to a piece of cardstock and feed it through. Run 2 to 3 oil-lubricated sheets to distribute evenly. Then run plain paper to absorb excess.
Preventing Future Gumming and Jams

A clean shredder will not stay that way without good habits. Preventative care extends lifespan and avoids repeat jams.
Limit Sheets Per Pass
Even if your shredder claims a 12-sheet capacity, feed only 2 to 3 sheets at a time. Overloading strains rollers and increases dust production significantly.
Remove Staples and Clips
Despite staple-safe claims, staples dull blades and create burrs that catch paper fibers. Always remove staples, paperclips, and binder clips before shredding. This simple habit dramatically reduces gumming problems.
Avoid Adhesives
Never shred envelopes with windows or glue strips, sticky notes, labeled documents, or self-adhesive labels. These melt into sticky residue that gums up blades fast and creates hard-to-remove blockages.
Feed Paper Correctly
Push paper down and slightly forward into the feed slot. This keeps it from lifting and binding at the top. Folding large sheets in half reduces strain on rollers and prevents jams.
Maintaining Proper Cooling and Maintenance Schedules
Heat and neglect are silent shredder killers. Stick to these routines for long-term reliability.
Operate in Short Bursts
Run the shredder for 10 to 15 minutes maximum, then let it rest for 30 minutes. Continuous use causes thermal overload, warping plastic parts and inviting jams.
Empty the Bin Frequently
Do not wait until the bin is completely full. A packed bin forces shredded paper back into the cutter head, especially with rectangular-cut models prone to tangling.
Clean Weekly
Once a week, use compressed air or a brush to clear dust from the feed area. Run a lubrication sheet through the machine to keep blades smooth and operating quietly.
Troubleshooting Common Post-Cleaning Issues
Even after cleaning, problems may persist. Use this quick-reference guide to diagnose remaining issues.
Shredder Still Slows Down
Likely cause is residual dust or insufficient lubrication. Run 2 to 3 oil sheets followed by plain paper. If the issue continues, inspect for hidden debris that may have been missed during cleaning.
Rollers Spin But Do Not Grab
Dusty or dry rollers lose traction. Clean with a dry cloth and compressed air. Apply lubricant via maintenance sheet to restore grip.
Grinding Noise Returns
Possible metal fragment or blade damage. Unplug and inspect for staples. If blades are nicked, replacement may be needed.
Machine Overheats Quickly
This is a sign of motor strain. Reduce sheet count per pass and follow 10-minute on and 30-minute off cycles. Let the unit cool fully before resuming use.
Frequently Asked Questions About Cleaning a Gummed Up Paper Shredder
What causes a paper shredder to become gummed up?
The most common causes are overloading beyond recommended sheet capacity, shredding materials with adhesive like envelopes or labels, accumulation of paper dust that compacts into a binding residue, and metal fragments from staples that create burrs catching paper fibers.
Can I use WD-40 to clean my shredder?
WD-40 can help free sticky parts, but it should only be applied after all debris is cleared. Never spray WD-40 directly onto jammed paper because it causes dry paper to swell and makes the jam worse.
How often should I lubricate my paper shredder?
Lubricate every 50 to 100 reams of paper shredded, or whenever the machine feels gritty or sounds rough. For heavy users, monthly maintenance is recommended.
Is it safe to shred staples?
No. Despite retailer claims, staples dull cutter blades and create microscopic burrs that catch paper fibers, accelerating wear and increasing jam risk. Always remove staples manually before shredding.
How long can I run my shredder continuously?
Most consumer shredders should run for 10 to 15 minutes maximum before resting for 30 minutes. Continuous operation causes thermal overload that trips motors and warps plastic components.
What should I do if the reverse function does not work?
If reverse fails, the rollers are likely mechanically locked. Use the wooden wedge technique to apply outward pressure and break the grip of the jam. If that fails, manual disassembly may be necessary.
Key Takeaways for Cleaning and Maintaining Your Paper Shredder
A gummed up paper shredder is rarely beyond repair. By diagnosing the jam type correctly and using the appropriate method, you can restore full function in most cases. The wooden wedge technique works wonders for locked rollers, while regular reverse operation prevents minor buildups from becoming major problems.
The key to long-term performance lies in prevention. Limit your feed to 2 to 3 sheets at a time, always remove staples and paperclips, avoid shredding adhesives, and maintain a regular cleaning schedule. Lubricate monthly and never overload the machine beyond its actual capacity.
With these practices, your shredder can last for years, saving you time, money, and the frustration of dealing with repeated jams. A little preventative maintenance goes a long way toward keeping your shredder running smoothly.