

A faulty 24″ guillotine paper cutter can bring your workflow to a halt, especially when the blade won’t align or the motor starts acting up. These heavy-duty machines are workhorses, but like any mechanical equipment, they need occasional attention to perform their best. The good news is that many common guillotine paper cutter problems can be diagnosed and resolved at home with basic tools and a little patience. This guide covers everything you need to know to fix a guillotine paper cutter, from safety prep and blade alignment to motor troubleshooting and hydraulic system service.
Essential Safety Precautions Before You Start
Guillotine cutters combine sharp blades with powerful mechanisms. Taking proper precautions protects you from serious injury during any repair.
Power Down and Unplug the Machine
Always disconnect the unit from its power source before beginning work, even if it currently won’t turn on. This single step prevents accidental activation while your hands are inside the machine.
Wear Cut-Resistant Gloves
Use ANSI-rated cut-resistant gloves whenever handling or adjusting the blade. Keep your hands completely clear of the cutting zone during any test cycle.
Lock the Blade During Maintenance
Engage the blade lock if your model has one. Otherwise, secure the cutting head with a wooden block to prevent it from dropping unexpectedly while you work.
Diagnose the Core Issue First
Accurate diagnosis saves time and prevents unnecessary part replacement. Most guillotine problems fall into three categories: mechanical, electrical, or alignment-related.
When the Blade Won’t Move or Drop
A stuck blade usually points to one of these culprits:
– Paper debris or fragments jammed beneath the blade rail
– A triggered safety interlock switch (often caused by an open guard)
– A seized blade drive gear or worn clutch on electric models
Try manually rotating the flywheel to test for resistance. High resistance suggests mechanical binding rather than motor failure.
Motor Runs but the Blade Doesn’t Cut
If you hear the motor humming but nothing happens:
– Inspect the drive belt for cracks, slack, or disconnection
– Check the gearbox for stripped or worn gears
– Test the clutch engagement, since worn clutch pads slip under load
Blade Drops Too Fast or Jerks Erratically
Uncontrolled movement typically indicates:
– Hydraulic fluid loss or air in the cylinder (hydraulic models)
– Worn damping seals or a damaged piston rod
– Incorrect blade tension spring adjustment
Fix Blade Alignment Problems
Misalignment is one of the most common reasons for ragged, uneven cuts. Proper alignment also extends blade life and reduces strain on the motor.
Check the Blade Gap
Measure the space between the blade edge and the backstop with a feeler gauge. The ideal gap is 0.002 to 0.005 inches (0.05 to 0.13 mm). A gap that’s too tight risks blade binding, while too wide a gap causes incomplete cuts. Adjust the set screws on the blade clamp by loosening, repositioning, and retightening evenly.
Level the Blade Across the Bed
Side-to-side misalignment causes one-sided cutting. Here’s how to check:
1. Lay a steel ruler along the cutting edge
2. Shine a light behind the ruler to spot any gaps
3. Adjust the mounting bolts in small increments
4. Recheck after every adjustment
A consistent shadow line along the edge confirms proper contact.
Align the Back Gauge
If your cuts aren’t coming out square, the backstop likely needs adjustment. Cut a small stack of paper, flip the top sheet, and check whether the edges match. To fix it, loosen the back gauge mounting screws, align it perpendicular to the blade using a precision square, then retighten and test again.
Troubleshoot Motor and Electrical Issues
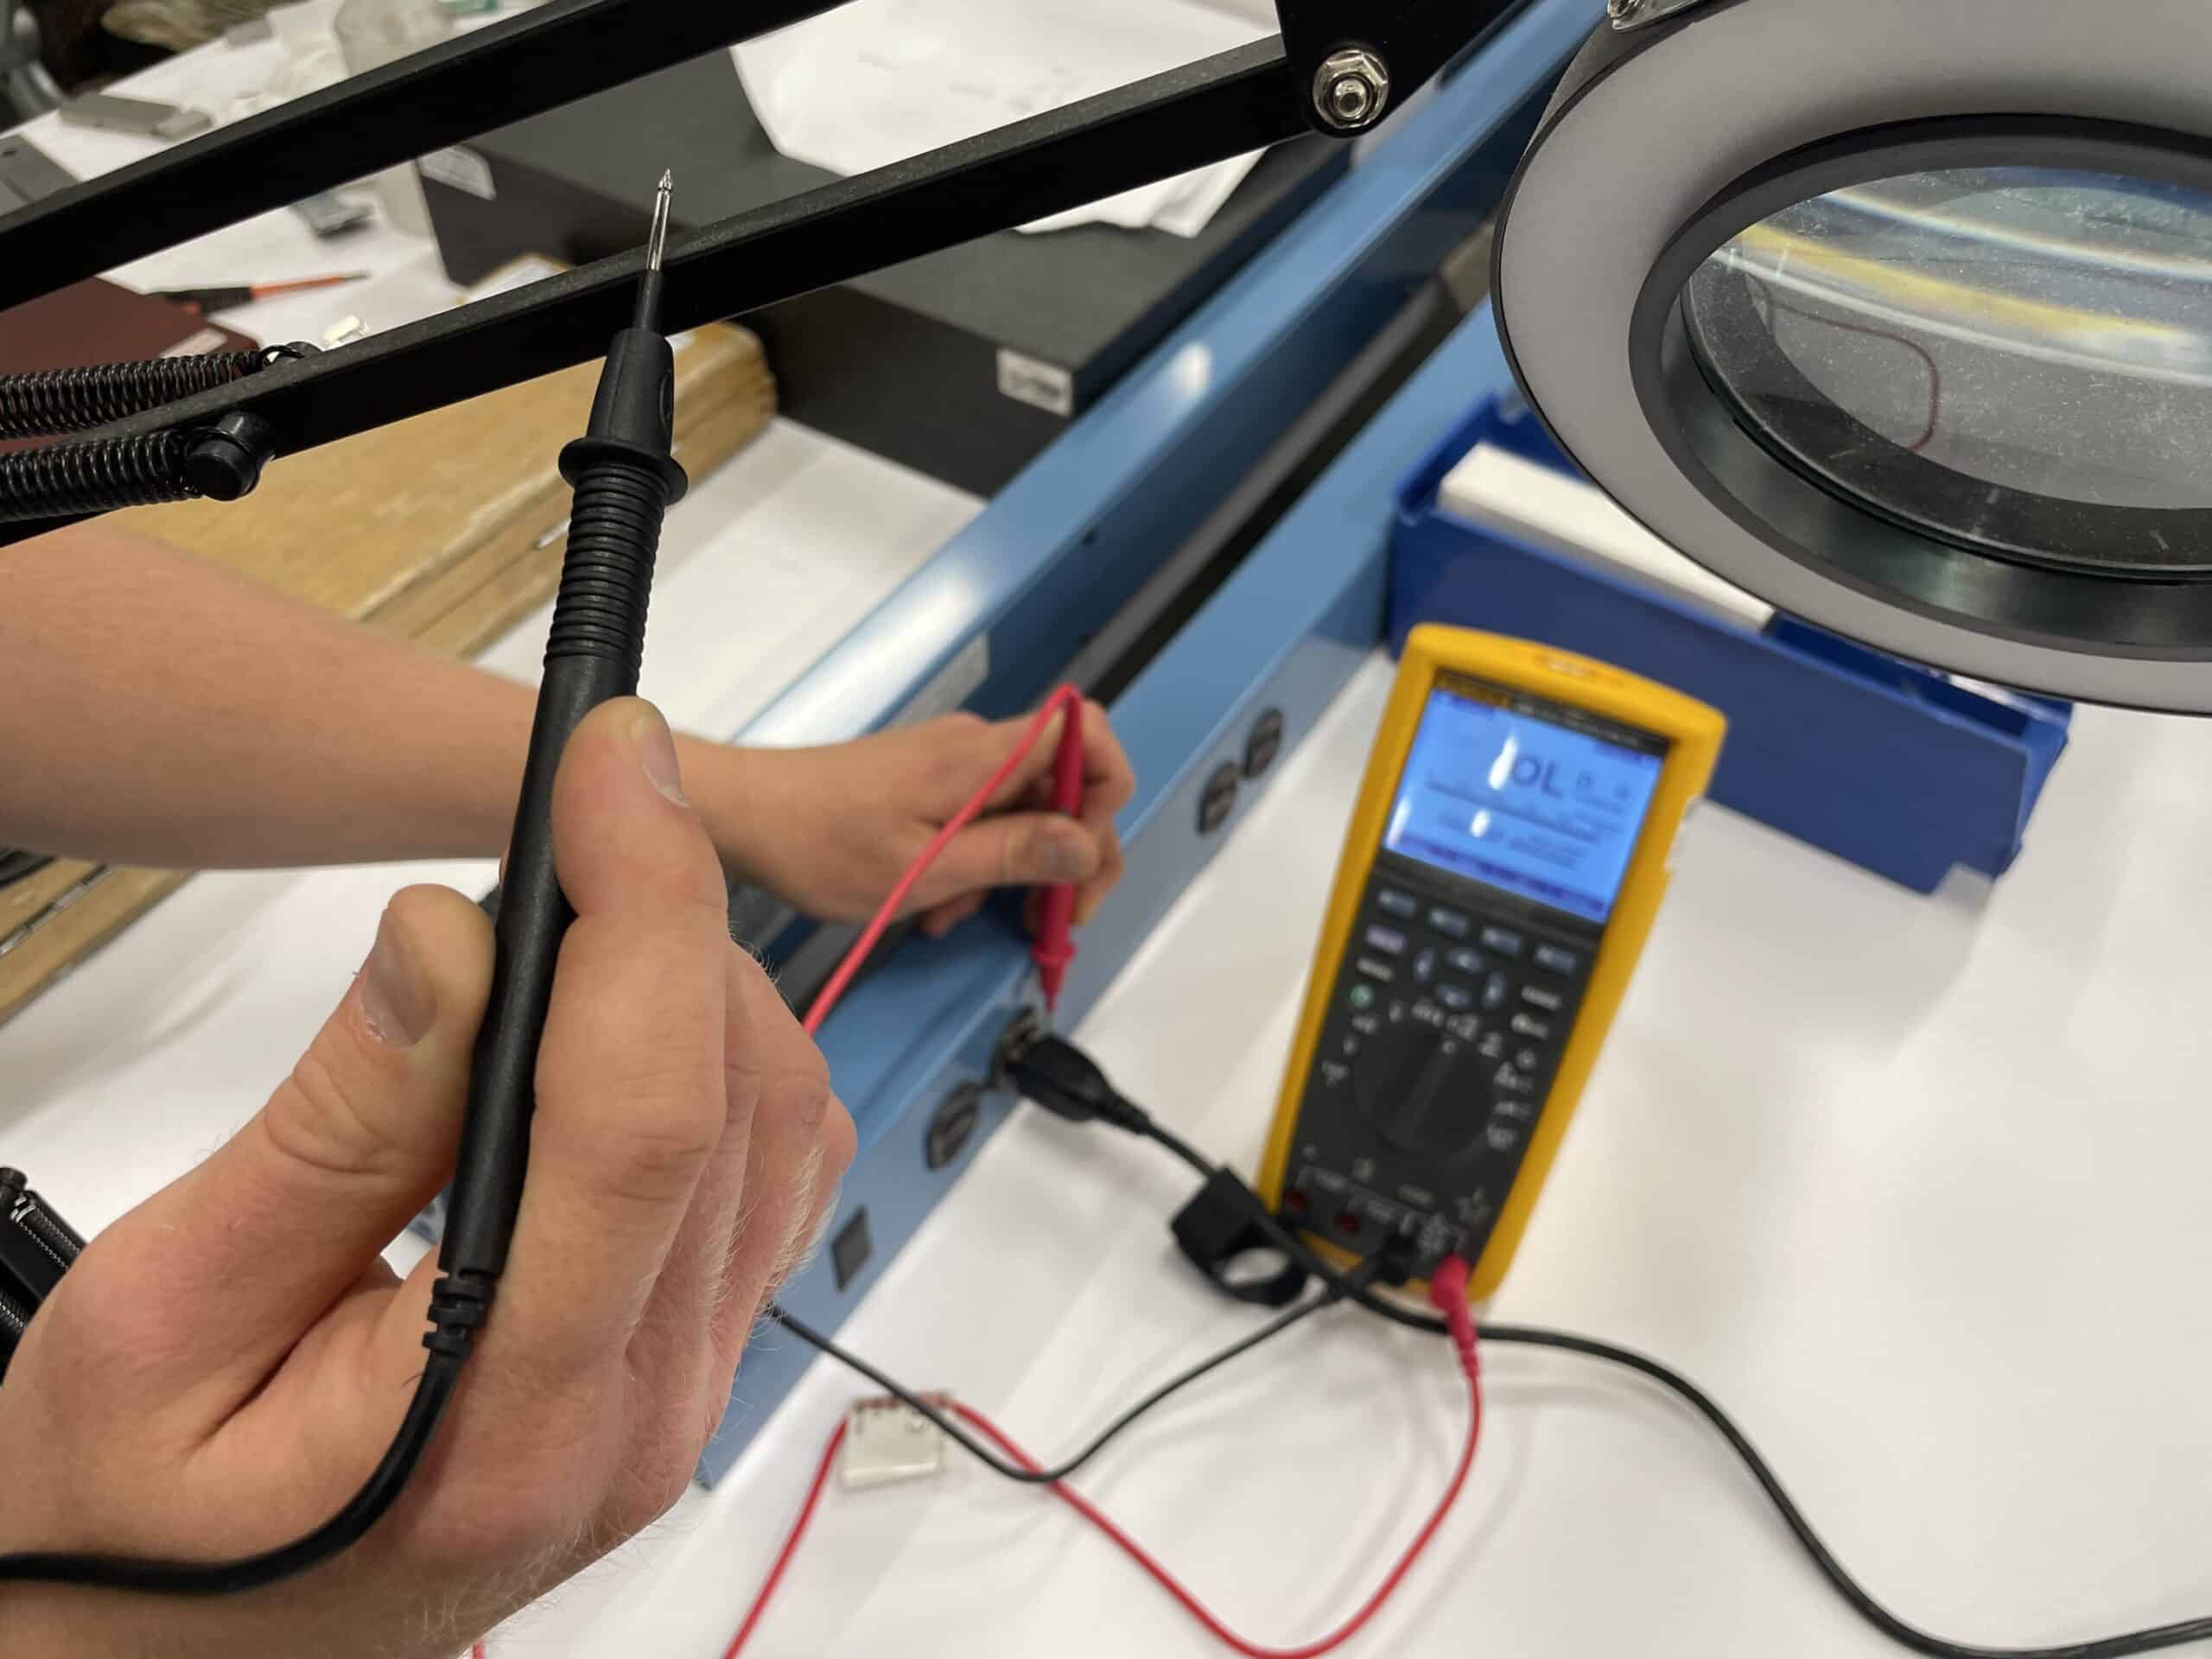
Electric guillotine cutters depend on reliable power delivery. Most electrical problems have simple causes you can address yourself.
No Power to the Machine
Start with the basics:
– Plug another device into the same outlet to confirm power
– Use a voltage tester to verify the outlet is live
– Inspect the power cord for frays, kinks, or burn marks
– Test cord continuity with a multimeter
Faulty Start Switch
A worn start switch is a common failure point. With the power off, open the control panel and test switch continuity using a multimeter. If there’s no connection when you press the switch, replacement is needed.
Overheating Motor
Burning smells or a tripped thermal reset signal overheating. Let the motor cool completely, then press the reset button (usually red and located on the motor housing). To prevent recurrence, reduce your duty cycle and let the motor rest 1 to 2 minutes after every 10 to 15 cuts on heavy stock.
Service the Hydraulic System
Hydraulic models use fluid pressure to control blade descent. Problems here create erratic, unsafe blade movement.
Check Hydraulic Fluid Level
Locate the reservoir, typically at the rear or base of the machine. Remove the fill plug and check whether the fluid reaches the bottom of the threads. Top up with ISO 32 hydraulic oil or an equivalent product. Never overfill, as this can damage the seals.
Bleed Air from the System
Air bubbles cause spongy or slow blade action. Follow these steps:
1. Raise the blade fully and lock it in position
2. Locate the bleed screw (consult your manual if needed)
3. Open the screw slightly
4. Slowly lower and raise the blade 5 to 6 times
5. Tighten the screw once fluid flows without bubbles
Sharpen or Replace the Blade
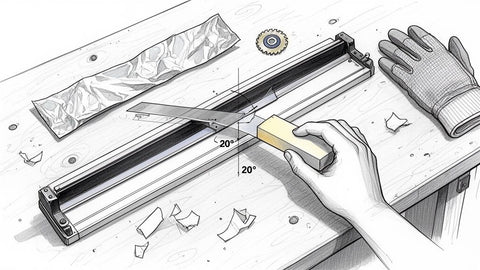
Even a perfectly aligned blade won’t perform well if it’s dull.
Signs You Need a New Blade
Watch for these indicators:
– Paper fibers tearing rather than cutting cleanly
– Increased force needed to complete cuts
– Visible nicks or rolled edges on the blade
Sharpen vs. Replace
Sharpen when the blade has minor dullness without major damage. This can extend blade life by 2 to 3 sharpening cycles. Replace the blade when you see deep nicks, warping, or after multiple sharpenings. Professional sharpening uses precision grinders, so avoid DIY files or bench stones that create uneven edges.
Installing a New Blade
- Secure the cutting head in the raised position
- Remove retaining bolts in sequence (front to back)
- Carefully slide out the old blade
- Clean the clamp channel thoroughly
- Insert the new blade with the bevel facing the correct direction for your model
- Torque bolts evenly to manufacturer specifications
Maintain the Cutting Stick and Bed
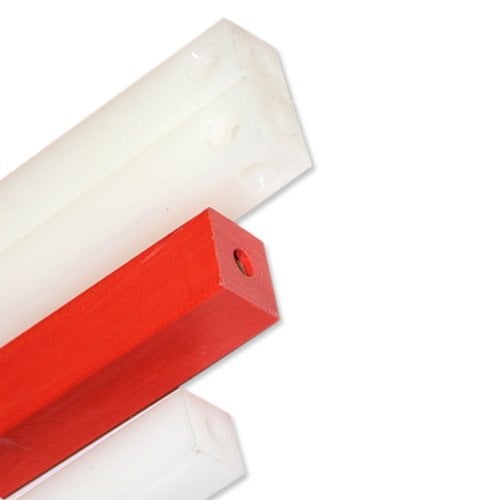
The cutting stick absorbs impact and protects the blade. A damaged stick ruins both cut quality and blade life.
Inspect the Cutting Stick
Look for deep grooves, compression damage, or charring. Rotate or replace the stick if cuts appear fuzzy near the surface.
Replace the Cutting Stick
- Slide out the old stick (some models use segmented pieces)
- Insert a new high-density plastic or self-healing stick
- Ensure it sits flush with no overhang
Clean the Cutting Bed
Wipe the bed with isopropyl alcohol to remove adhesive residue. Avoid oil-based cleaners, which attract dust and debris.
Prevent Future Problems
Routine maintenance prevents the majority of equipment failures.
Weekly Maintenance Tasks
- Wipe down the bed and back gauge
- Lubricate blade rails with dry PTFE spray (avoid oil)
- Check bolt tightness on moving parts
Monthly Checks
- Inspect drive belt tension
- Test the emergency stop function
- Verify blade gap and alignment
Keep a service log tracking blade changes, repairs, and maintenance dates. This habit is especially valuable when multiple people use the machine.
When to Call a Professional
Some repairs go beyond DIY territory. Seek expert help for:
– Internal gearbox damage
– Hydraulic cylinder leaks
– Electrical control board faults
If you’re in Manitoba and need local assistance, small businesses specializing in office equipment or industrial sewing machine repair often have the skills to service paper cutters. Posting in local trade groups or reaching out to vocational schools with technical programs can also connect you with qualified technicians. Supporting local repair professionals keeps both your equipment and your community’s small businesses running strong.
Frequently Asked Questions About Guillotine Paper Cutter Repair
What causes uneven cuts on a guillotine paper cutter?
Uneven cuts usually result from blade misalignment, a dull blade, or a worn cutting stick. Check the blade gap with a feeler gauge, inspect the cutting edge for nicks, and examine the cutting stick for deep grooves.
How do I know if my guillotine blade needs sharpening or replacing?
Sharpen the blade if you notice minor dullness with no visible damage. Replace it if you see deep nicks, warping, or if cuts remain poor after sharpening. Most blades can be sharpened 2 to 3 times before replacement.
Why won’t my electric guillotine cutter turn on?
Common causes include a tripped thermal reset, a faulty start switch, a damaged power cord, or a triggered safety interlock. Test the outlet, inspect the cord, and check the reset button on the motor housing.
How often should I service my guillotine paper cutter?
Perform basic maintenance weekly, including cleaning the bed and lubricating the rails. Conduct more thorough inspections monthly, checking belt tension, alignment, and emergency stop function. A service log helps track intervals.
Can I use regular oil to lubricate the blade rails?
No. Use dry PTFE spray instead. Oil-based lubricants attract dust and debris, which can build up on the rails and cause grinding or premature wear.
Where can I find a technician to repair my guillotine paper cutter in Manitoba?
Look for small businesses specializing in office equipment or industrial sewing machine repair. Local trade groups and vocational schools with technical programs are also good resources for finding qualified technicians.
Key Takeaways for Fixing Your Guillotine Paper Cutter
Restoring a guillotine paper cutter to proper working order comes down to methodical diagnosis and consistent maintenance. Start by identifying whether the problem is mechanical, electrical, or alignment-related, then address the root cause rather than just the symptoms. Safety should always come first, especially when working around the blade and motor systems. With the right approach, you can extend your machine’s life significantly and avoid the cost of replacement. And when a repair goes beyond your skill set, connecting with a local Manitoba technician is a smart way to support skilled tradespeople while getting your equipment back in action.





