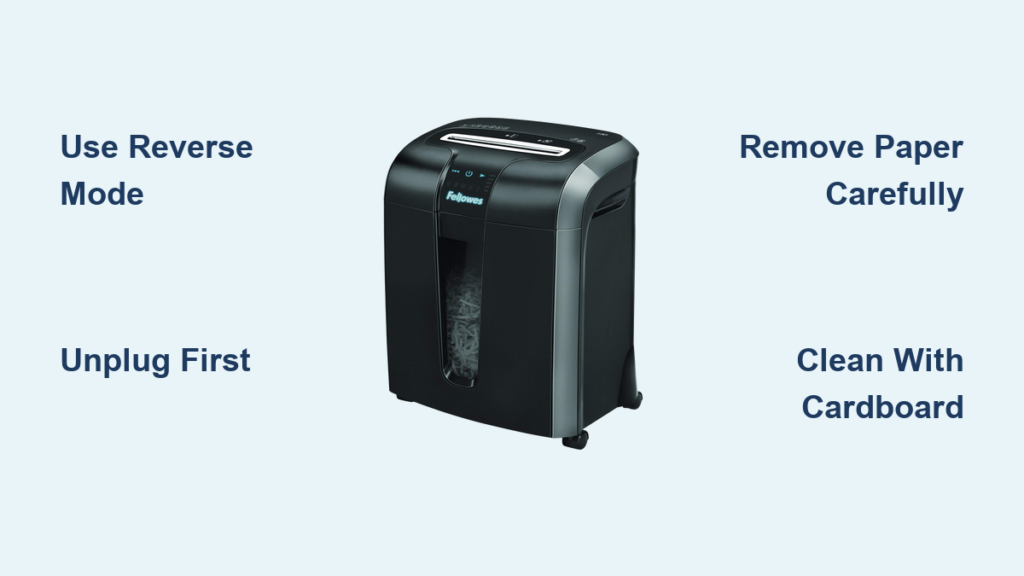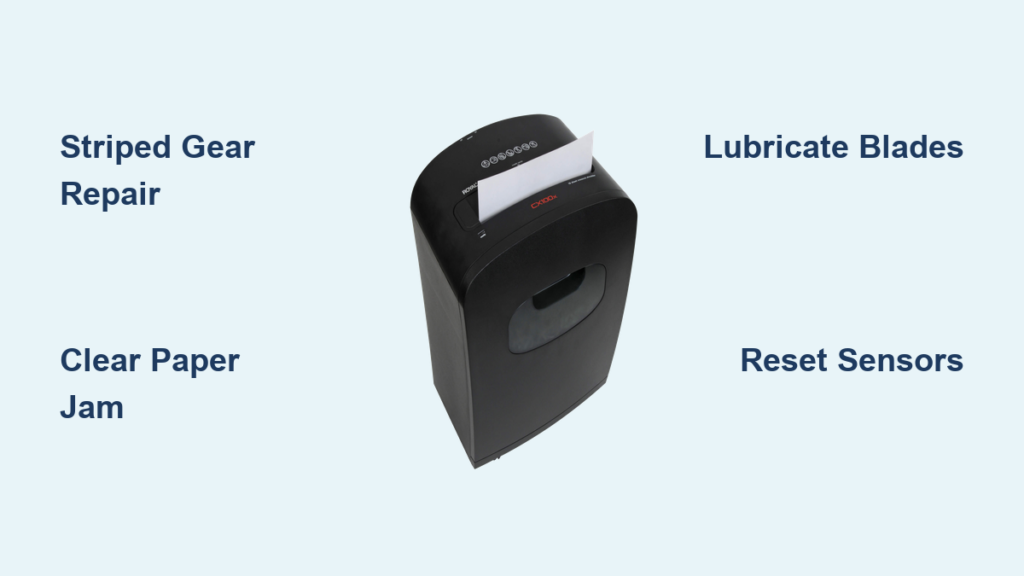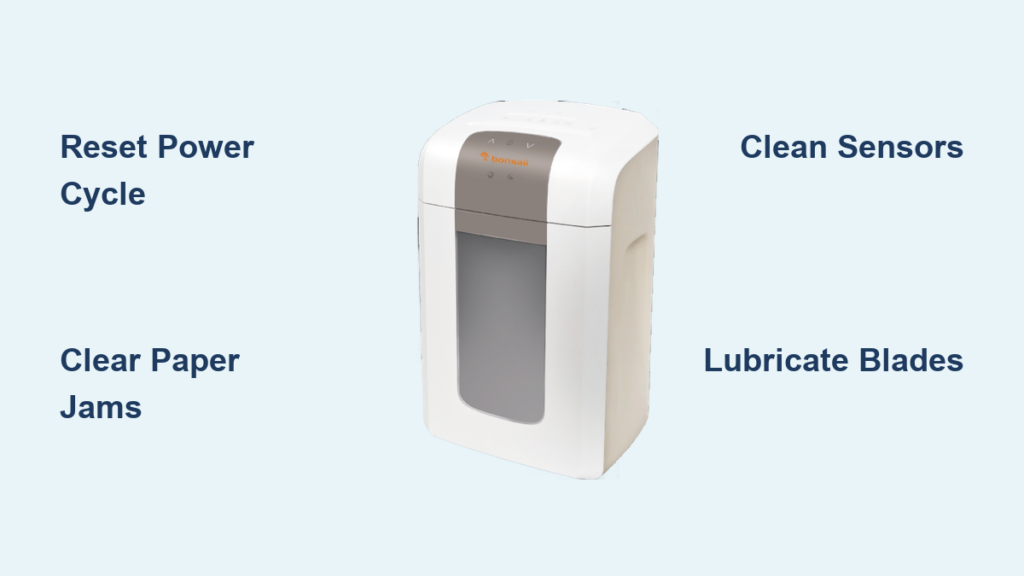

You’re mid-shred, documents piling up, and suddenly nothing happens. The motor groans, the blades stop, and your paper shredder is jammed solid. It’s one of the most common office frustrations, but here’s the relief: most jams can be cleared in under 10 minutes with the right approach. Whether it’s a simple paper overload or a stubborn tangle wrapped around the rollers, this guide covers every solution from reverse cycles to emergency extraction methods.
The key to fixing a jammed paper shredder lies in systematic troubleshooting. Start safe, assess the jam type, use non-invasive methods first, then escalate only when needed. With the right tools and techniques, even severe jams caused by plastic or adhesive residue can be cleared without damage. Below is the complete walkthrough for getting your shredder back in action.
Power Down and Unplug the Shredder
Before touching anything, unplug the shredder from the wall outlet. This step is non-negotiable. Even if the unit appears off, leaving it plugged in risks accidental activation while your hands or tools are near the blades. A moment’s lapse can lead to serious injury.
Once unplugged, switch the mode dial to “Off” or “Reverse” to prevent unintended forward motion during clearing. Never attempt manual extraction or tool use while the shredder is powered. Safety first protects both you and the machine.
Empty the Waste Bin Completely
A full bin is often the hidden cause of a jam. When the bin overflows, shredded paper backs up into the cutting head, creating resistance that mimics a blade jam. To rule this out:
- Detach the motor unit from the bin.
- Empty all contents completely.
- Reattach the bin only after confirming it’s clean.
This simple step resolves many phantom jams and gives you clear access to inspect the underside of the mechanism.
Inspect for Visible Paper in the Feed Slot

Look into the feed slot for any exposed paper. If you see an edge or corner sticking out, the fix may be this easy.
Pull Out Stuck Paper Gently
With the shredder unplugged, grasp the paper firmly and pull slowly and steadily. Yanking can tear the paper, leaving fragments deeper inside. If fingers can’t grip it:
- Use tweezers to grab the edge.
- Insert a plastic card (old credit card or ID) into the slot to nudge the paper loose.
- Avoid metal tools, as they can scratch or dull the blades.
If the paper tears during extraction, move to internal clearing methods.
Run Reverse Mode to Clear the Jam
Plug the shredder back in and set it to “Reverse.” Press and hold for 2–3 seconds. The blades will spin backward, often ejecting the jammed paper on their own.
Alternate Reverse and Forward Cycles
If one reverse cycle doesn’t work:
- Run Reverse for 3–5 seconds.
- Switch to Forward briefly.
- Return to Reverse.
This oscillation loosens tightly gripped paper. If the motor strains, hums, or smells burnt, stop immediately. These signs mean the jam is too severe for automatic clearing.
Access the Cutting Blades Directly
When reverse mode fails, you need direct access to the blade assembly.
Remove the Paper Guard
Many shredders have a plastic safety baffle inside the feed slot. Use a dull butter knife to gently pry it off. This exposes the blade area for better visibility and tool access.
Flip and Inspect the Bottom
Turn the unit over and look for paper buildup under the cutting head or around the gears. Use tweezers or needle-nose pliers to pull out debris from the bottom. Jams often start from backed-up material below, so this step is crucial.
Cut Coiled Paper Around the Rollers

Paper wrapped tightly around rollers won’t pull free. Forcing it can bend shafts or strip gears, creating more damage.
Slice Paper Into Small Sections
- Use scissors, a box cutter, or a razor blade.
- Carefully cut the coiled paper into smaller loops.
- Remove each piece with tweezers or pliers.
Work slowly and never cut toward the blades, only toward the paper. Once freed, rotate the rollers by hand to confirm smooth movement.
Remove Plastic or Credit Cards Safely
Plastic items like ID holders or credit cards wedge between rollers and resist reverse cycles entirely.
Use a Wooden Wedge to Free the Rollers
- Unplug the shredder.
- Place a wood block against one side of the roller.
- Tap gently with a hammer to nudge the roller forward.
- Repeat on the opposite side to realign.
This breaks the friction lock without damaging gears. Once movement returns, pull the plastic out by hand.
Never use pliers to yank plastic out. This often strips internal gears and worsens the problem.
Soften Stubborn Jams With Oil

Hardened paper or adhesive residue can glue components together, making extraction nearly impossible without lubrication.
Apply Shredder Oil or Olive Oil
- Drip 2–3 drops of shredder oil (or olive oil in a pinch) into the feed slot.
- Let it sit for 1–2 minutes to penetrate.
- Try reverse mode again.
Oil softens paper fibers and dissolves light adhesive. It’s especially effective after cutting a jam into smaller pieces.
Never Use WD-40
WD-40 is not a lubricant for shredders. It damages rubber rollers, attracts dust, and can create fire hazards when the motor heats up. Stick to shredder-specific oil or minimal vegetable oil only.
Push Through Remaining Debris
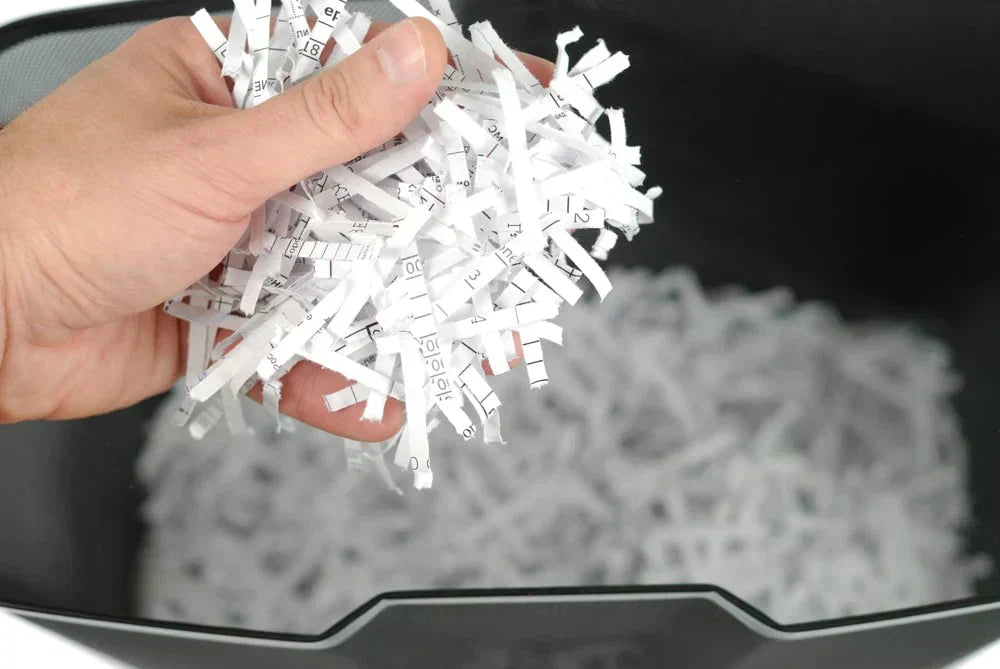
After clearing the bulk of the jam, small fragments may linger in the blade assembly.
Use Cardstock to Clear Residue
- Cut a piece of cereal box cardboard or thick cardstock.
- Insert it into the feed slot behind the jam area.
- Plug in the shredder and run in Forward mode while applying firm pressure.
The stiff cardstock pushes leftover bits through the blades and into the bin. Repeat until feeding is smooth.
Prevent Future Jams With Better Habits
Fixing a jam is half the battle. Preventing the next one keeps your shredder running smoothly long-term.
Follow Sheet Capacity Limits
If your shredder is rated for 8 sheets, never exceed it. For older models or thick paper, shred 1–2 fewer sheets than the maximum. Overfeeding is the number one cause of recurring jams.
Feed Paper Slowly and Straight
Insert paper at a steady pace, not in rapid bursts. Angle feeding increases jam risk significantly. Keep documents aligned and centered in the feed slot.
Avoid Prohibited Materials
Certain items destroy shredders and should never enter the feed slot:
- Plastic envelopes, credit cards, and ID holders cause immediate jams.
- Adhesive tape and sticky notes leave residue that gums up blades.
- Wet or damp paper clumps and clogs the mechanism.
- Staples and paper clips should be removed unless your model is labeled “staple-safe.”
When in doubt, remove staples and avoid non-paper items entirely.
Lubricate the Blades Regularly
Blades need consistent lubrication to run smoothly and resist wear.
Oil Every Few Months
- Apply shredder oil across the feed slot.
- Run 5–10 sheets of plain paper through in Forward mode to spread the oil.
- Do this after heavy use or if shredding feels sluggish.
Alternatively, use pre-oiled shredder sheets for hassle-free maintenance.
Run the Shredder Weekly to Prevent Seizing
Infrequent use causes dust buildup and static clumping, both of which lead to jams. Even if you have no documents to shred, run the shredder for 5–10 seconds once a week. This keeps gears moving and prevents parts from seizing up.
Clean Dust and Debris Monthly
Dust reduces efficiency and increases friction inside the mechanism.
Use Compressed Air or a Soft Brush
Once a month:
- Unplug the shredder.
- Use compressed air (held upright) to blow dust from gears and the blade housing.
- Wipe down the feed slot with a dry microfiber cloth.
Avoid water or liquid cleaners, as they can damage internal components.
Know When to Replace the Shredder

Some jams signal the end of your shredder’s functional life.
Signs of Permanent Damage
Replace your shredder if any of these occur:
- The motor hums but blades won’t turn, even after clearing all obstructions.
- A burning smell or smoke appears during operation.
- Blades are visibly chipped, bent, or broken.
- Gears are stripped or the internal shaft is bent.
- The unit fails after full cleaning and oiling.
These symptoms indicate internal damage beyond DIY repair.
Check Warranty Before Disassembling
If your shredder is under warranty, do not disassemble the casing. Removing screws often voids coverage. For persistent jams after basic fixes, contact the manufacturer or retailer for support. For high-security or industrial models, professional servicing may be cost-effective.
Frequently Asked Questions About Fixing a Jammed Paper Shredder
Can a jammed paper shredder fix itself?
No, a jammed paper shredder cannot fix itself. The obstruction must be manually cleared using reverse mode, manual extraction, or lubrication. Leaving a jam unresolved can cause motor burnout or permanent gear damage.
How long does it take to fix a jammed paper shredder?
Most basic jams are resolved in under 10 minutes using reverse cycling and gentle extraction. Complex jams involving coiled paper or plastic can take 30–60 minutes of systematic cutting, oiling, and extraction.
Is it safe to use tweezers inside a shredder?
Yes, tweezers are safe and recommended for extracting small paper fragments. Always unplug the shredder first and avoid metal screwdrivers or knives that can damage the cutting blades.
What oil is best for a jammed shredder?
Shredder-specific oil is the best choice. In emergencies, a small amount of olive oil or vegetable oil can soften paper jams. Never use WD-40, as it damages rubber components and creates fire hazards.
Why does my shredder keep jamming after I fix it?
Recurring jams usually indicate overfeeding, improper material insertion, or a need for lubrication. Check that you’re within the sheet capacity, feeding paper straight, and oiling the blades regularly.
When should I replace my shredder instead of repairing it?
Replace your shredder if the motor hums without blade movement, you smell burning, blades are visibly damaged, or the unit fails after thorough cleaning and lubrication. These signs indicate irreparable internal failure.
Key Takeaways for Resolving a Jammed Paper Shredder
Fixing a jammed paper shredder comes down to three core principles: prioritize safety, escalate gradually, and maintain consistently. Always unplug the unit before any manual intervention. Start with the simplest solutions like reverse cycling and bin emptying before moving to tools or disassembly. And once your shredder is working again, commit to regular lubrication, proper feeding habits, and avoiding prohibited materials.
Your next step is simple: run a test sheet through your shredder right now to confirm smooth operation, then schedule a monthly reminder to oil the blades. A few minutes of prevention saves hours of troubleshooting later.