

Struggling to bind handmade journals with messy glue or uneven stitching? The Cinch binding machine offers a clean, fast solution for crafters who want professional-looking results without coils or wires. This compact punch-and-bind tool, made by We R Memory Keepers under American Crafts, has become a favorite among junk journal makers, scrapbookers, and paper crafters.
In this guide, you’ll learn exactly how to use the Cinch binding machine from setup to finished project. You’ll also get troubleshooting fixes, maintenance tips, and creative ideas to get the most out of your machine.
Download the Official Cinch Instructions First
Before you punch a single hole, grab the official instruction guide. American Crafts provides printable PDF guides in English, French, Spanish, and German, complete with diagrams and step-by-step photos.
Why this matters: The diagrams help you identify every part of the machine, align your paper correctly, and avoid common setup mistakes. Many beginners skip this step and end up with crooked holes or jammed mechanisms.
Pro tip: Print the guide and keep it near your workspace for quick reference until you’ve mastered the workflow.
Set Up Your Workspace for Smooth Binding
A stable setup makes every other step easier and safer.
Choose a Sturdy, Flat Surface
Place the Cinch on a solid table or desk with enough room to slide paper stacks in and out. The punch mechanism should face you, and the metal binding bar should be open and accessible.
Avoid: Wobbly tables or crowded surfaces that force you to work at odd angles.
Add Non-Slip Padding
Place a rubber shelf liner or silicone mat under the machine. This prevents shifting when you press down to punch, which is the number one cause of misaligned holes.
Visual cue: The machine should feel solid and immovable when you press the top arm.
Prepare Your Paper Stack for Clean Punching
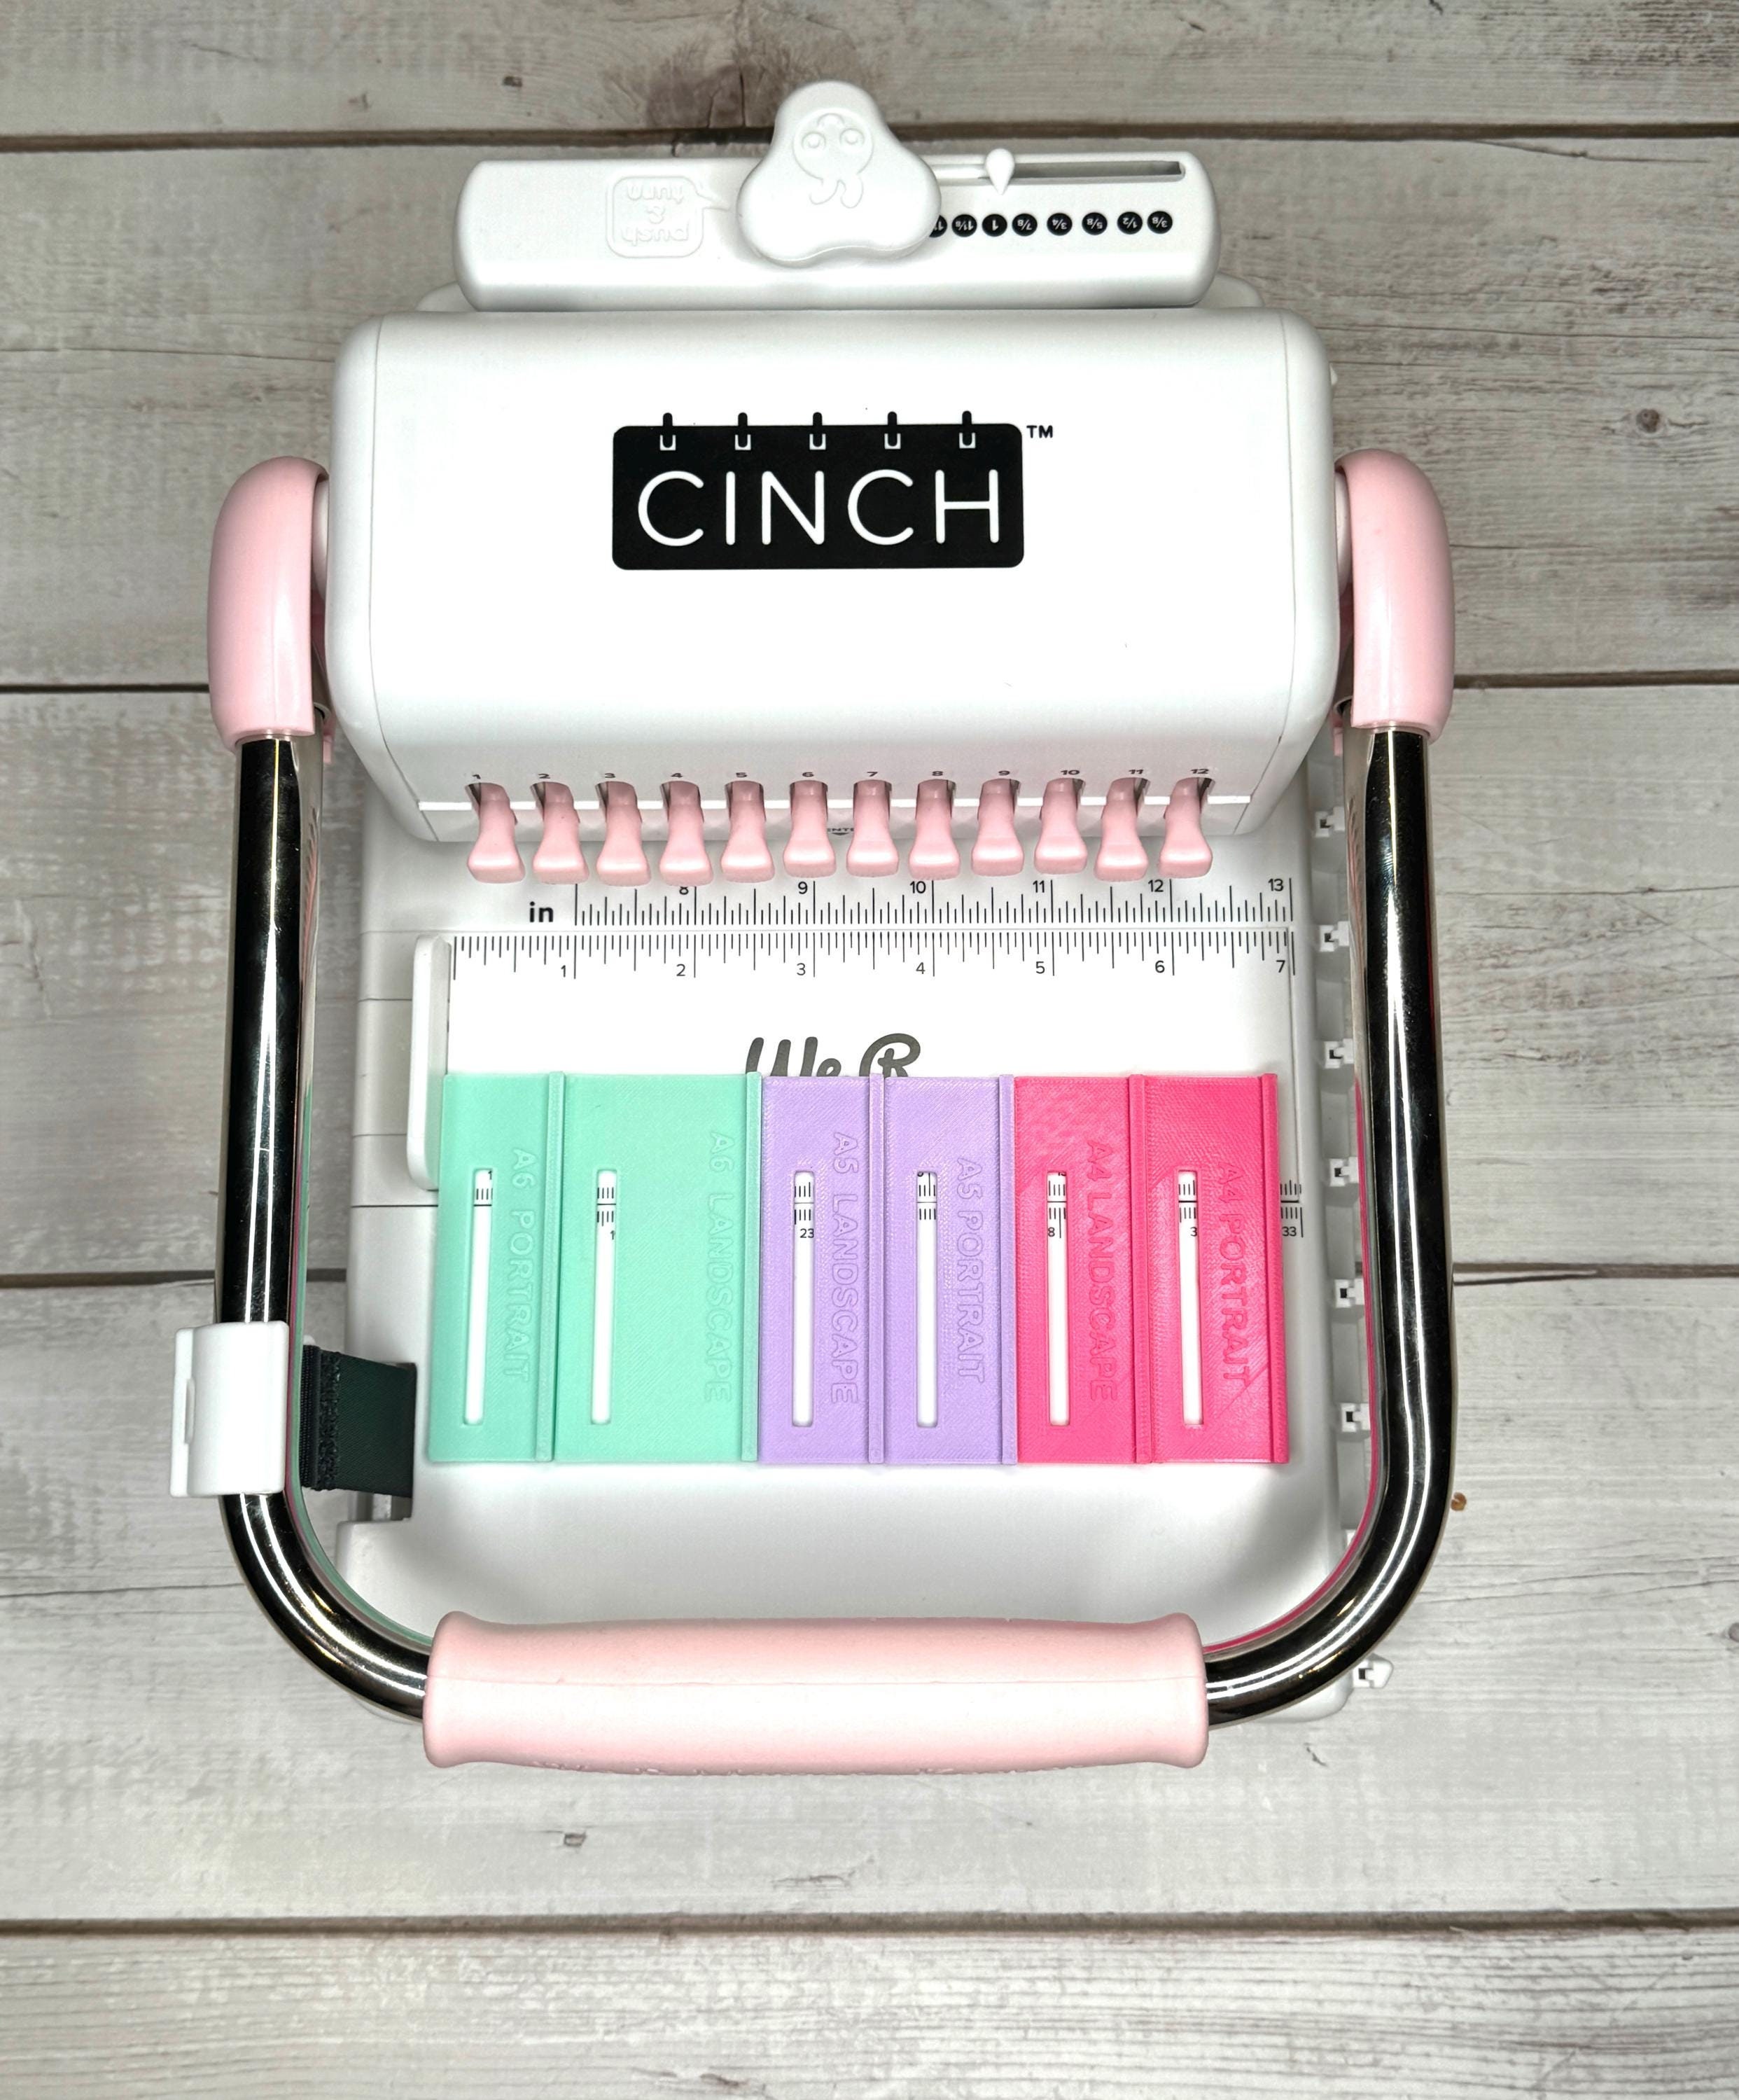
How you prep your pages determines the quality of your final bind.
Select the Right Materials
The Cinch works best with standard 12″ x 12″ scrapbook paper, though you can bind smaller projects by aligning them in the top-left corner of the grid. Acceptable materials include:
- Cardstock (up to 65 lb)
- Patterned scrapbook paper
- Mixed-media sheets
- Lightweight chipboard for covers
Avoid: Laminated sheets, heavy watercolor paper, or stacks over 1/2 inch thick. These can damage the punch blades or produce incomplete holes.
Align Pages with the Grid
Stack your pages in order and tap the edges on a flat surface to remove air pockets. Place the stack in the top-left corner of the Cinch’s grid, using the printed lines as your guide.
Warning: Even a 1/8-inch misalignment will cause crooked holes. Take your time here.
Max capacity: About 100 sheets of 65 lb cardstock per punch.
Punch the Binding Holes Correctly
This is the core step in learning how to use the Cinch binding machine.
Lock the Paper in Place
Lower the top arm of the machine until it clicks into position. This secures your paper stack and activates the punch mechanism.
Common mistake: Forcing the arm down. If it resists, check for misaligned paper or an overstacked pile.
Apply Even Pressure
Press down firmly with both hands on the top arm. You’ll hear and feel a crisp “thud” when the holes are fully punched.
What good holes look like: Two perfectly round holes with no tearing or fraying at the edges. Jagged holes usually mean the stack is too thick or the blades need cleaning.
Remove the Paper Carefully
Lift the arm gently and slide your stack straight out. Pulling at an angle can tear the holes and ruin your pages.
Pro tip: Inspect every page to make sure the holes go all the way through. If one page has a partial hole, re-punch just that sheet.
Bind Your Pages with the Metal Strip
With your holes punched, it’s time to assemble the book.
Position the Binding Bar
Open the metal binding bar on the front of the machine. Slide it under the punched holes so the two prongs point upward.
Tip: The bar has a flat side and a raised side. Always place the flat side down against your work surface for a clean finish.
Thread Pages onto the Prongs
Lift your punched stack and slide it onto the prongs, pushing it all the way down to the base. The top of your paper should sit flush with the top of the binding bar.
Close the Clamp
Lower the hinged clamp over the prongs and press down firmly with the palm of your hand until it clicks shut. This bends the prongs inward, locking all pages together.
Pro tip: You should hear a solid snap. A weak click means the clamp isn’t fully closed and pages may slip out later.
Finish and Inspect Your Bound Book
You’re almost done. One final step ensures a polished result.
Release and Remove the Book
Lift the clamp and slide your bound book straight off the prongs. The metal strip should now lie flat against the spine with no sharp edges sticking out.
Trim Excess Prongs (Optional)
If the folded prongs extend past the edge of the binding bar, snip them flush with wire cutters or flush-cut scissors. Always wear eye protection when cutting metal.
Troubleshoot Common Cinch Problems

Even experienced users run into issues. Here’s how to fix the most frequent ones.
Holes Are Misaligned
Cause: Paper shifted during punching.
Fix: Realign in the top-left corner using the grid, and press the arm down slowly to avoid sliding.
Pages Are Loose or Falling Out
Cause: The clamp didn’t fully close, or the stack is too thick.
Fix: Re-clamp with more force. If pages still slip, split the project into smaller signatures and bind them together with a second strip.
Binding Strip Won’t Insert
Cause: Holes are too small or crushed.
Fix: Re-punch with lighter pressure. Crushed fibers happen when you press too hard or stack too many pages.
Machine Feels Stiff
Cause: Paper dust buildup in the punch area.
Fix: Clean the mechanism with a dry brush or compressed air. Never use water or oil-based lubricants.
Maintain Your Cinch for Years of Use
A little care goes a long way toward keeping your machine in top shape.
Clean After Every Session
Brush out paper dust from the punch area and wipe the base with a dry cloth. This prevents debris from dulling the blades.
Never use liquid cleaners—they can corrode the metal parts.
Store in a Dry Location
Keep the machine in a craft cabinet or covered drawer to protect it from humidity and dust.
Replace Worn Parts Promptly
If punches become inconsistent or the clamp loses its snap, contact American Crafts for replacement parts. Their customer service team can be reached at:
American Crafts
517 Crofton Street Southeast
Grand Rapids, Michigan, USA
They help with order inquiries, product questions, and project troubleshooting.
Explore Creative Cinch Project Ideas
Once you’ve mastered the basics, try these popular project types:
- Junk journals with memorabilia and found papers
- Travel journals for documenting trips
- Recipe collections that lay flat for easy use
- Wedding guest books with a custom look
- Monthly planners with reinforced chipboard covers
- Art sketchbooks that handle mixed media
Time estimate: Most projects take under 10 minutes once you’re comfortable with the process.
Frequently Asked Questions About the Cinch Binding Machine
What languages are the Cinch instructions available in?
American Crafts provides printable guides in English, French, Spanish, and German. You can download them directly from the official website.
Is the Cinch binding machine worth the investment?
Yes. Users consistently describe it as “totally worth the investment,” noting that it makes binding easier and produces more professional-looking results than hand-sewing or glue methods.
What types of projects can I make with the Cinch?
Beyond junk journals, you can create scrapbook albums, photo books, planners, guest books, recipe collections, and custom notebooks. The machine works with any paper project under 1/2 inch thick.
How do I fix misaligned holes on the Cinch?
Always align your paper in the top-left corner of the grid and press the arm down slowly. If holes are already misaligned, you’ll need to re-punch the stack with fresh paper since the existing holes are now compromised.
Where can I buy a Cinch binding machine?
The Cinch is available through the American Crafts website, major craft retailers like Michaels and Joann, and online marketplaces such as Amazon and eBay. Watch for holiday sales to find it at a discount.
How do I contact customer support for the Cinch?
Reach out to American Crafts customer service at their Grand Rapids, Michigan address: 517 Crofton Street Southeast. They handle order inquiries, product questions, and replacement part requests.
Final Thoughts on Mastering the Cinch Binding Machine
The Cinch binding machine turns DIY bookbinding from a frustrating chore into a quick, satisfying process. By following the core workflow of align, punch, bind, and finish, you’ll create journals, planners, and albums that look store-bought but carry your personal touch.
Start with a simple project, download the official instructions for visual reference, and join a craft community like the Junk Journal Swap And Connection group for ongoing inspiration. With regular use and basic maintenance, your Cinch will deliver consistent, professional results for hundreds of projects to come.





